
Here is the step-by-step guide to creating a chart using Chart.js with Laravel 11 and Vue.js 3.
Step 1: Install and configure Laravel
composer create-project laravel/laravel lavuecharts --prefer-dist
Go inside the “lavuecharts” folder.
cd lavuechartrs
Install the dependencies.
npm install
It will install the basic dependencies, but there are some dependencies that we need to install manually.
We have to build our frontend using the Vue framework using the Vite frontend building tool, so we need to install the vue and @vitejs/plugin-vue plugin:
npm install vue @vitejs/plugin-vue
Here, we installed Vue.js and an important plugin that enables Vue.js using Vite.
Now, modify the vite.config.js file, which is at the root of your Laravel project, and add support for Vue.js.
import { defineConfig } from 'vite';

import laravel from 'laravel-vite-plugin';
import vue from '@vitejs/plugin-vue';

export default defineConfig({
    plugins: [
        laravel({
            input: [
                'resources/sass/app.scss',
                'resources/js/app.js',
            ],
            refresh: true,
        }),
        vue({
            template: {
                transformAssetUrls: {
                    base: null,
                    includeAbsolute: false,
                },
            },
        }),
    ],
});
Now, we have configured Vite with Vue.js.
Step 2: Integrating Bootstrap CSS Framework
To install the bootstrap and bootstrap-icons modules, type the below command:
npm install bootstrap bootstrap-icons --save-dev
Open the resources >> js >> bootstrap.js file and add the below code.
import 'bootstrap/dist/css/bootstrap.min.css';
import 'bootstrap-icons/font/bootstrap-icons.css';

import bootstrap from 'bootstrap/dist/js/bootstrap';
window.bootstrap = bootstrap;

import axios from 'axios';
window.axios = axios;
You can see that we imported bootstrap.min.css, bootstrap-icons.css, and axios.
Go to the root of your Laravel project, open the terminal, and run the vite development server to compile our JavaScript files using this command:
npm run dev
It will start the development server to compile our front-end assets.
Add the below code to the resources >> views >> welcome.blade.php file.
<!doctype html>
<html lang="{{ app()->getLocale() }}">
    <head>
        <meta charset="utf-8">
        <meta http-equiv="X-UA-Compatible" content="IE=edge">
        <meta name="viewport" content="width=device-width, initial-scale=1">
        <title>Laravel Vue Charts</title>
        @vite(['resources/js/app.js'])
    </head>
    <body>
        <div id="app">
        </div>
        <script>
           window.Laravel = <?php echo json_encode([
            'csrfToken' => csrf_token(),
            ]); ?>
        </script>
    </body>
</html>
Step 3: Create an App.vue root component
Create an App.vue component file inside the resources/js folder.
<template>
    <add-coin></add-coin>
</template>

<script>
export default {

}
</script>
Now, import this component inside the resources/js/app.js file:
import './bootstrap';
import { createApp } from 'vue';

import App from './App.vue';

const app = createApp(App);

app.mount('#app');
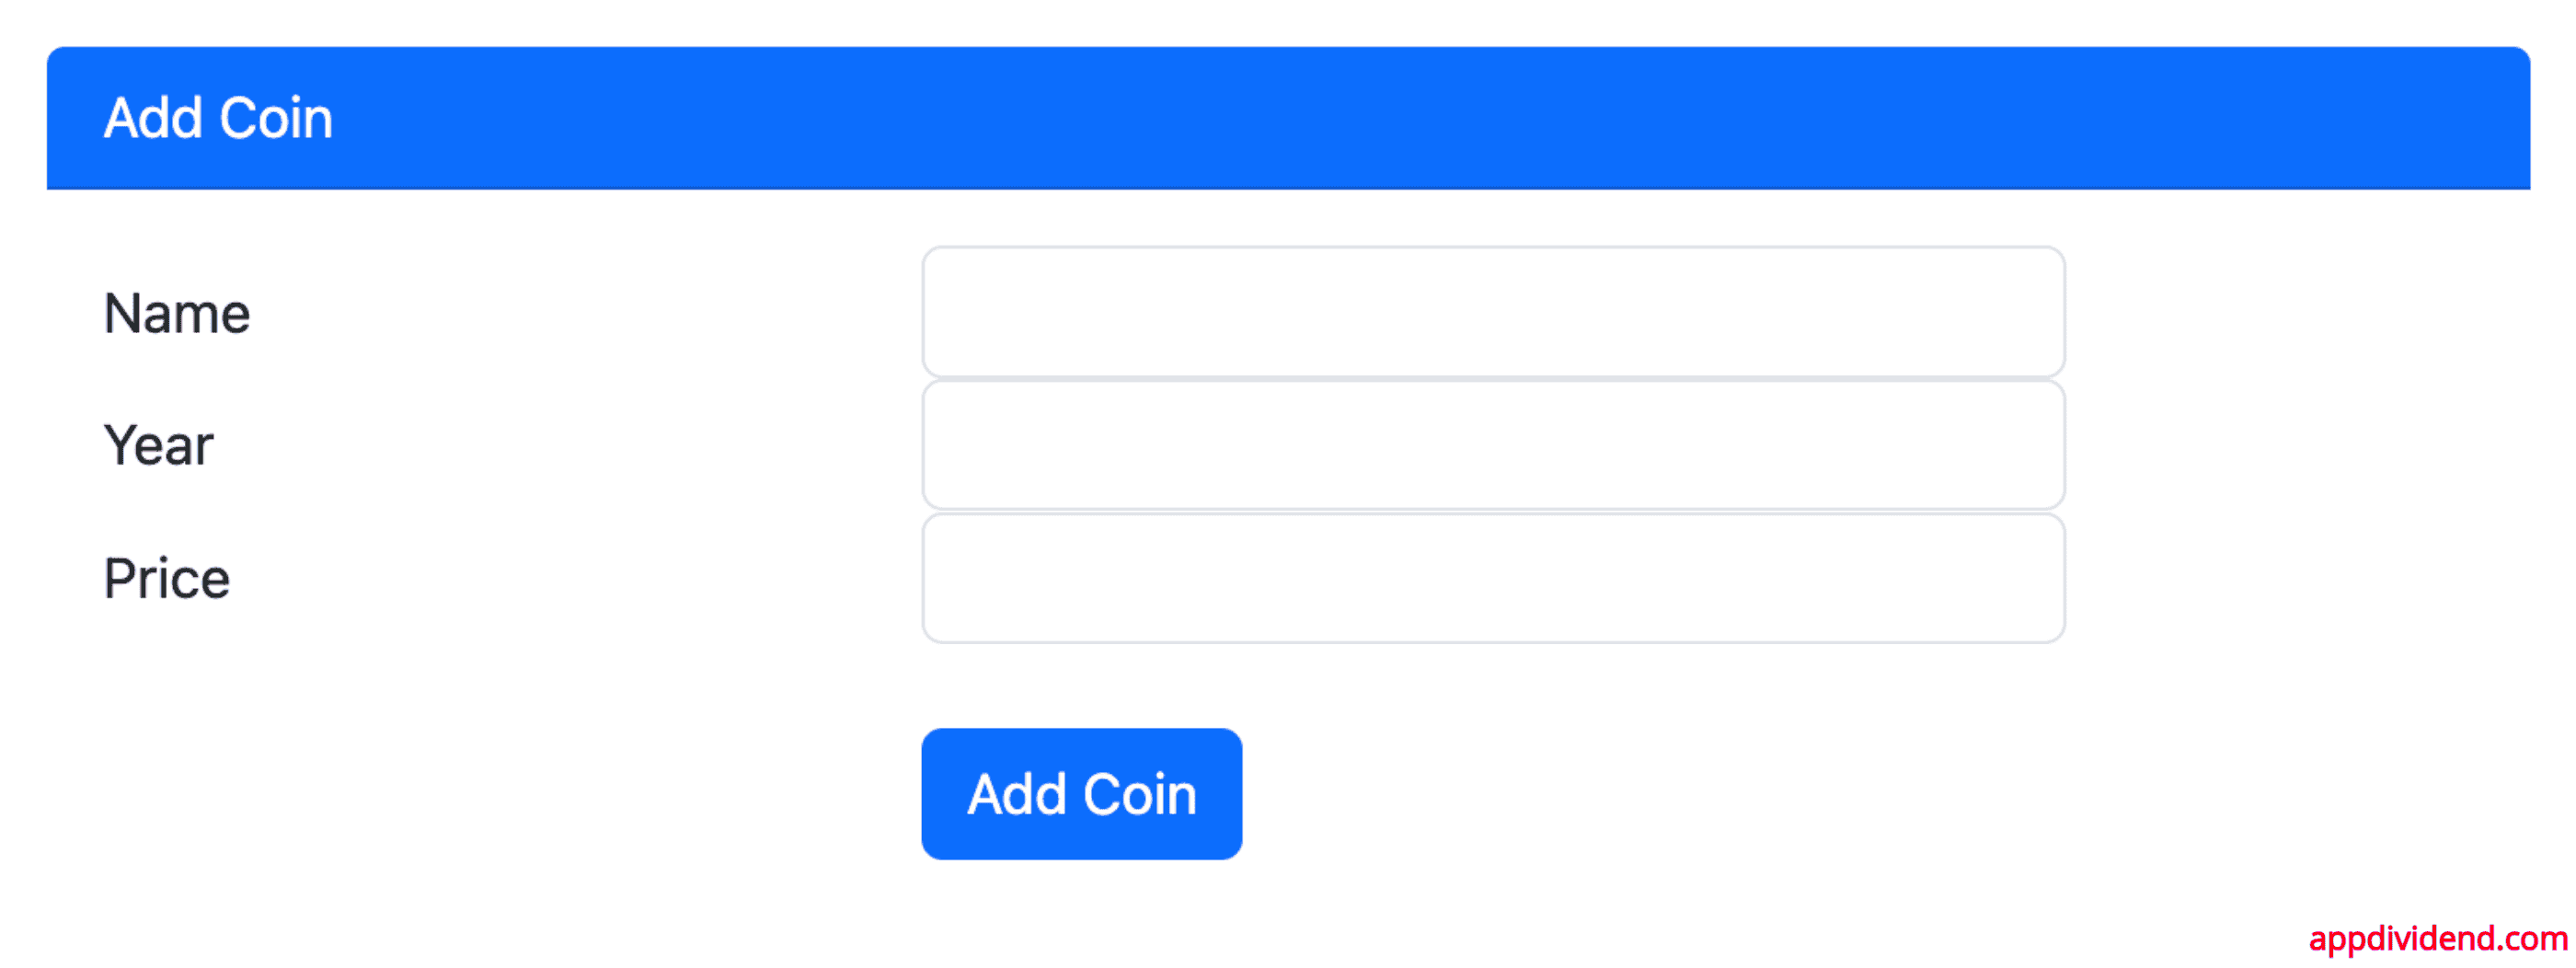
Step 4: Create a Component that displays the form.
The next step is to create a form component inside the resources >> assets >> js >> components folder called AddCoin.vue.
<template>
    <div class="container">
        <div class="col-md-8 mx-auto">
            <div class="card shadow-lg p-3 mb-5 bg-white rounded">
                <div class="card-header bg-primary text-white d-flex align-items-center">
                    <i class="fas fa-coins mr-2"></i>
                    Add Coin
                </div>

                <div class="card-body">
                    <form @submit.prevent="addCoin">
                        <div class="form-group row">
                            <label for="name" class="col-sm-4 col-form-label text-md-right">Name</label>
                            <div class="col-md-6">
                                <input id="name" type="text" class="form-control" v-model="coin.name" required autofocus>
                                <div v-if="errors.name" class="text-danger small">{{ errors.name }}</div>
                            </div>
                        </div>

                        <div class="form-group row">
                            <label for="year" class="col-md-4 col-form-label text-md-right">Year</label>
                            <div class="col-md-6">
                                <input type="text" class="form-control" v-model="coin.year" required>
                                <div v-if="errors.year" class="text-danger small">{{ errors.year }}</div>
                            </div>
                        </div>

                        <div class="form-group row">
                            <label for="price" class="col-md-4 col-form-label text-md-right">Price</label>
                            <div class="col-md-6">
                                <input type="text" class="form-control" v-model="coin.price" required>
                                <div v-if="errors.price" class="text-danger small">{{ errors.price }}</div>
                            </div>
                        </div>

                        <div class="form-group row mt-4">
                            <div class="col-md-8 offset-md-4">
                                <button class="btn btn-primary">
                                    Add Coin
                                </button>
                            </div>
                        </div>
                    </form>
                </div>
            </div>
        </div>
    </div>
</template>

<script>
import { reactive, toRefs } from 'vue';

export default {
    data() {
        return {
            coin: reactive({ name: '', year: '', price: '' }),
            errors: reactive({})
        };
    },
    methods: {
        addCoin() {
            // Simple validation
            this.errors.name = this.coin.name ? '' : 'Name is required.';
            this.errors.year = this.coin.year ? '' : 'Year is required.';
            this.errors.price = this.coin.price ? '' : 'Price is required.';

            if (!this.errors.name && !this.errors.year && !this.errors.price) {
                alert('submitted');
            }
        }
    }
};
</script>
We have created the component; now we need to include this component inside resources >> assets >> js >> app.js file.
import './bootstrap';
import { createApp } from 'vue';

import App from './App.vue';
import AddCoin from './components/AddCoin.vue';

const app = createApp(App);

app.component('add-coin', AddCoin);

app.mount('#app');
Your web.php file looks like this.
<?php

use Illuminate\Support\Facades\Route;

Route::get('/', function () {
    return view('welcome');
});
Start the Laravel development server.
php artisan serve
Go to http://localhost:8000.
Step 5: Create controller, model, and migration files.
Type the below command to generate model and migration files.
php artisan make:model Coin -m

php artisan make:controller CoinController
It generates a model, migration, and controller file.
In the controller file, write the store() function to save the details of the coins.
Configure your database inside the .env file.
Create the schema for our coins table. So go to the newly created migration file.
<?php

use Illuminate\Database\Migrations\Migration;
use Illuminate\Database\Schema\Blueprint;
use Illuminate\Support\Facades\Schema;

return new class extends Migration {
    /**
     * Run the migrations.
     */
    public function up(): void
    {
        Schema::create('coins', function (Blueprint $table) {
            $table->id();
            $table->string('name');
            $table->integer('year');
            $table->integer('price');
            $table->timestamps();
        });
    }

    /**
     * Reverse the migrations.
     */
    public function down(): void
    {
        Schema::dropIfExists('coins');
    }
};
Next, migrate the table.
php artisan migrate
Add the store() function inside the CoinController.php file.
<?php

namespace App\Http\Controllers;

use App\Models\Coin;

use Illuminate\Http\Request;

class CoinController extends Controller
{
    public function store(Request $request)
    {
        $coin = new Coin;
        $coin->name = $request->name;
        $coin->year = $request->year;
        $coin->price = $request->price;

        $coin->save();

        return response()->json(['success' => 'Coin has been successfully added'], 200);
    }
}
Define the post route for a coin to save in the database.
Add the below code into the routes/web.php file.
<?php

use Illuminate\Support\Facades\Route;
use App\Http\Controllers\CoinController;

Route::get('/', function () {
    return view('welcome');
});

Route::post('/coins', [CoinController::class, 'store']);
Step 6: Send a Post request and save the coin.
We need to send a post request to the Laravel server to store the coin data in the database.
// AddCoin.vue

<script>
import { reactive } from 'vue';

export default {
    data() {
        return {
            coin: reactive({ name: '', year: '', price: '' }),
            errors: reactive({})
        };
    },
    methods: {
        addCoin() {
            // Simple validation
            this.errors.name = this.coin.name ? '' : 'Name is required.';
            this.errors.year = this.coin.year ? '' : 'Year is required.';
            this.errors.price = this.coin.price ? '' : 'Price is required.';
            if (!this.errors.name && !this.errors.year && !this.errors.price) {
                let uri = 'http://localhost:8000/coins';
                axios.post(uri, this.coin).then((response) => {
                    window.location.reload();
                });
            }
        }
    }
};
</script>
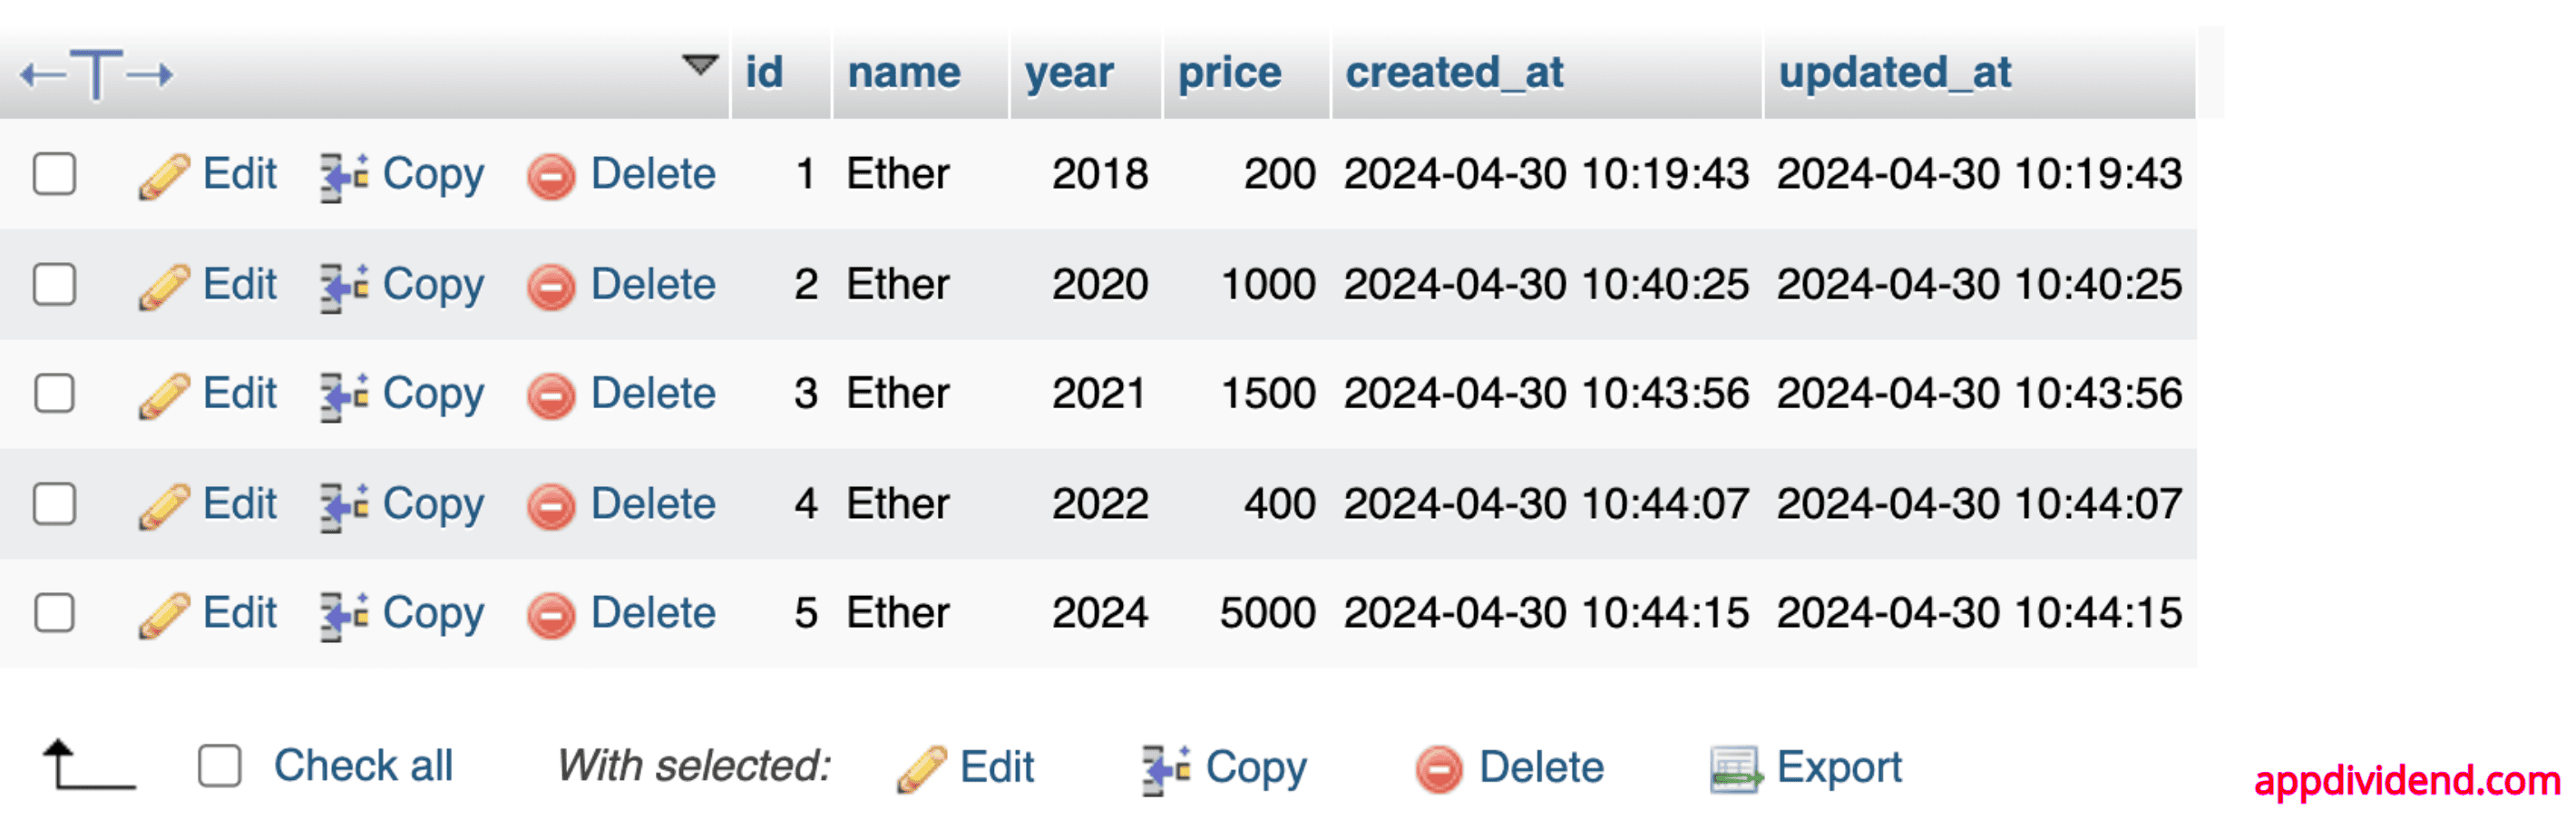
If you fill out the form and submit the data, it will save the data into the database.
Insert a minimum of 5 values of Ether to the database like this:
Step 7: Fetching the chart data
We are going to display Ether’s chart throughout the years. I have hard-coded the query right now, but it is dynamic in real-time.
First, we will fetch Ether’s data from the database. Then, we need to define the route and write the query in the controller file.
Add the below line in the routes/web.php file.
Route::get('/coins', [CoinController::class, 'index']);
Write the index() function in the CoinController.php file.
public function index()
{
        $coins = \DB::table('coins')
            ->where('name', '=', 'Ether')
            ->orderBy('year', 'ASC')
            ->get();

        if ($coins->isEmpty()) {
            return response()->json(['message' => 'No coins found'], 404);
        }

        return response()->json($coins);
}
Step 8: Register the chart
Install the vue-chartjs library using this command:
npm i vue-chartjs --save-dev
Start the vite development server using this command:
npm run dev
Create a new file called “chartMixin.js” file inside the resources/js folder.
import { Chart, registerables } from 'chart.js';

Chart.register(...registerables);

export const chartMixin = {
    methods: {
        renderChart(canvas, data, options) {
            new Chart(canvas.getContext('2d'), {
                type: 'line',
                data,
                options,
            });
        }
    }
};
Create a ChartComponent.vue file inside the components folder and import the “chartMixin.js” file.
<template>
    <div>
        <canvas ref="chartCanvas"></canvas>
    </div>
</template>

<script>
import { chartMixin } from '../chartMixin';

export default {
    mixins: [chartMixin],

    mounted() {
        let uri = 'http://localhost:8000/coins';
        let Years = [];
        let Labels = [];
        let Prices = [];

        axios.get(uri).then((response) => {
            let data = response.data;

            if (data) {
                data.forEach(element => {
                    Years.push(element.year);
                    Labels.push(element.name);
                    Prices.push(element.price);
                });

                this.renderChart(this.$refs.chartCanvas, {
                    labels: Years,
                    datasets: [{
                        label: 'Etherium',
                        backgroundColor: '#FC2525',
                        data: Prices,
                    }]
                }, {
                    responsive: true,
                    maintainAspectRatio: false,
                });
            } else {
                console.log('No data');
            }
        });
    },
};
</script>
I sent the get request to the Laravel server and got the Ether data. I stored that data in an array and then passed it to the chart configuration object.
You can find more configurations in this documentation.
Step 9: Register ChartComponent.vue in app.js file.
Register the ChartComponent.vue component inside the app.js file.
import './bootstrap';
import { createApp } from 'vue';

import App from './App.vue';

import AddCoin from './components/AddCoin.vue';
import ChartComponent from './components/ChartComponent.vue';

const app = createApp(App);

app.component('add-coin', AddCoin);
app.component('chart', ChartComponent);

app.mount('#app');
Also, include the component inside the resources/js/App.vue file:
<template>
    <add-coin></add-coin>
    <chart></chart>
</template>
<script>
export default {

}
</script>
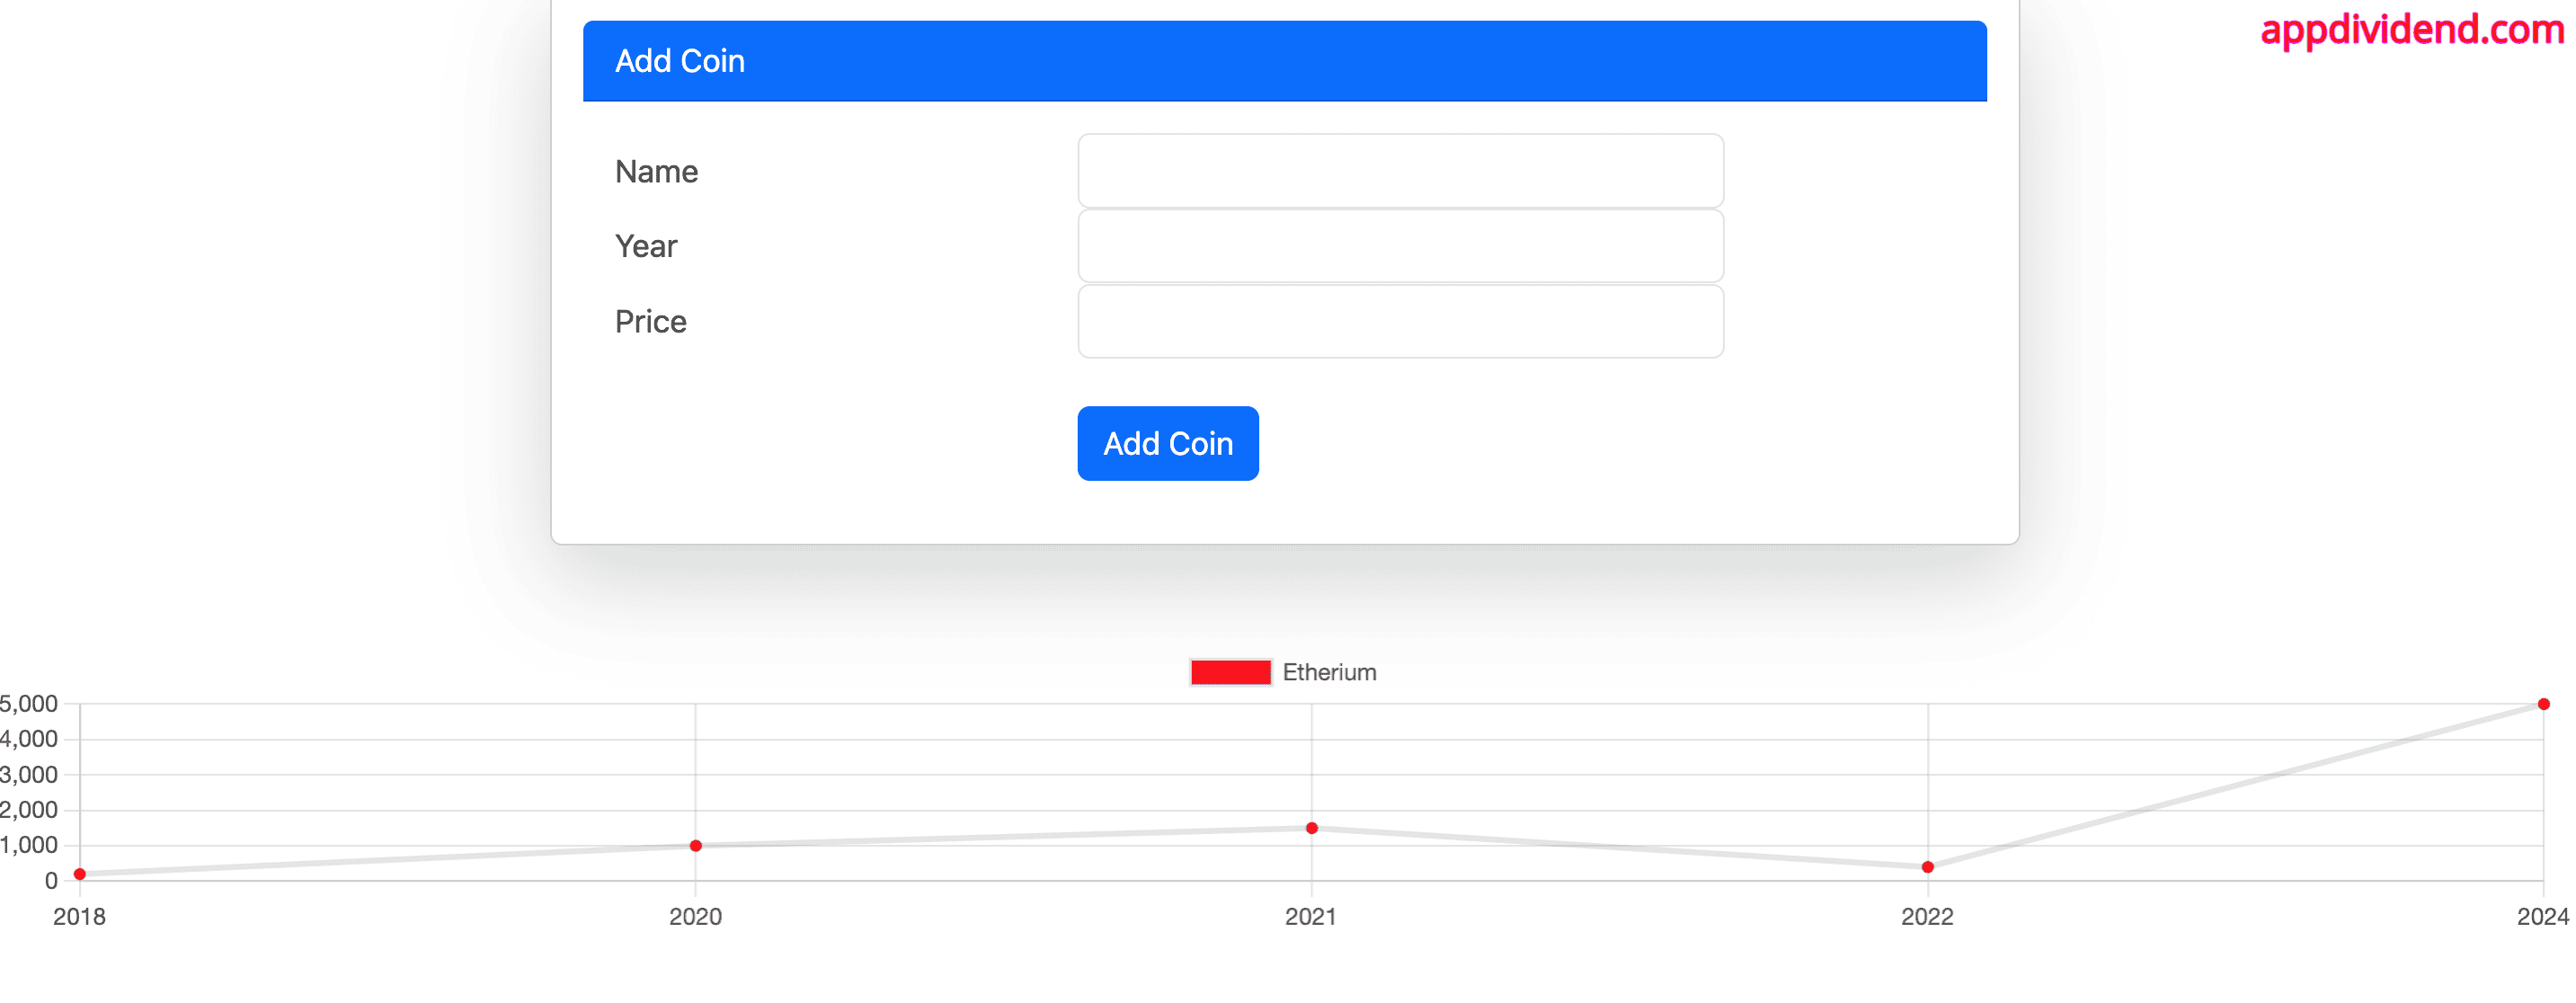
Save this file and go to the http://localhost:8000/
The chart looks like this:
That’s it for this tutorial. Thanks for taking it.

Shirshak
why you stopped writing tutorial bro?
Thanks
hoping more
Krunal
Thanks for appreciating. I am trying my best to come up with latest web development tutorials.
samira
the data is not displaying on the graph, can u help me please
Ryan AR Liem
Good tutorial, bro. This really help me to try implement chart.js using vue.js in laravel 5. If you mind, can I use your tutorial as one of my source material for writing some blog?
Krunal
Thanks for the appreciation. Actually, my suggestion is not to write my post. You can create your own.
Ryan AR Liem
Sure, that should be good. It would be easy to write something that you understand in your own way. Or should I call it as “self practice”? Thank you again for your advice.
Krunal
Thanks!!
mnd
where do you add chart.js?