
We will create two separate projects:
- Project for Angular (For frontend)
- Project for Laravel (For backend)
Here is the step-by-step guide to setting up Laravel with Angular:
Step 1: Set up an Angular 18
Install Angular CLI globally. So type the following command.
npm install -g @angular/cli
Type the following command to create a project.
ng new ngtutorial
Let’s install Angular material for designing using this command:
ng add @angular/material
Step 2: Creating a form
To create the form, we need to modify the app.component.ts file.
This file resides in the src/app directory.
// app.component.ts

import { Component } from '@angular/core';
import { RouterOutlet } from '@angular/router';
import { MatInputModule } from '@angular/material/input';
import { MatButtonModule } from '@angular/material/button';
import { MatFormFieldModule } from '@angular/material/form-field';
import { FormsModule } from '@angular/forms';

@Component({
  selector: 'app-root',
  standalone: true,
  imports: [
    RouterOutlet,
    MatInputModule,
    MatButtonModule,
    MatFormFieldModule,
    FormsModule,
  ],
  templateUrl: './app.component.html',
  styleUrl: './app.component.css',
})
export class AppComponent {
  title = 'Laravel Angular App';
}
We imported material modules, ReactiveFormsModule, and FormsModule.
Write the below code in the src/app/app.component.html file:
<div class="container">
  <h1>Welcome to {{ title }}!!</h1>
  <hr />
  <form>
    <mat-form-field class="full-width">
      <mat-label for="name">Item Name:</mat-label>
      <input matInput type="text" class="form-control" />
    </mat-form-field>
    <mat-form-field class="full-width">
      <mat-label for="price">Item Price:</mat-label>
      <input matInput type="text" class="form-control" />
    </mat-form-field>
    <button mat-raised-button color="primary" type="submit">Add</button>
  </form>
</div>
Also, add the below CSS code in the src/app/app.component.css file:
.container {
  max-width: 600px;
  margin: 0 auto;
  padding: 20px;
}

.full-width {
  width: 100%;
  margin-bottom: 16px;
}
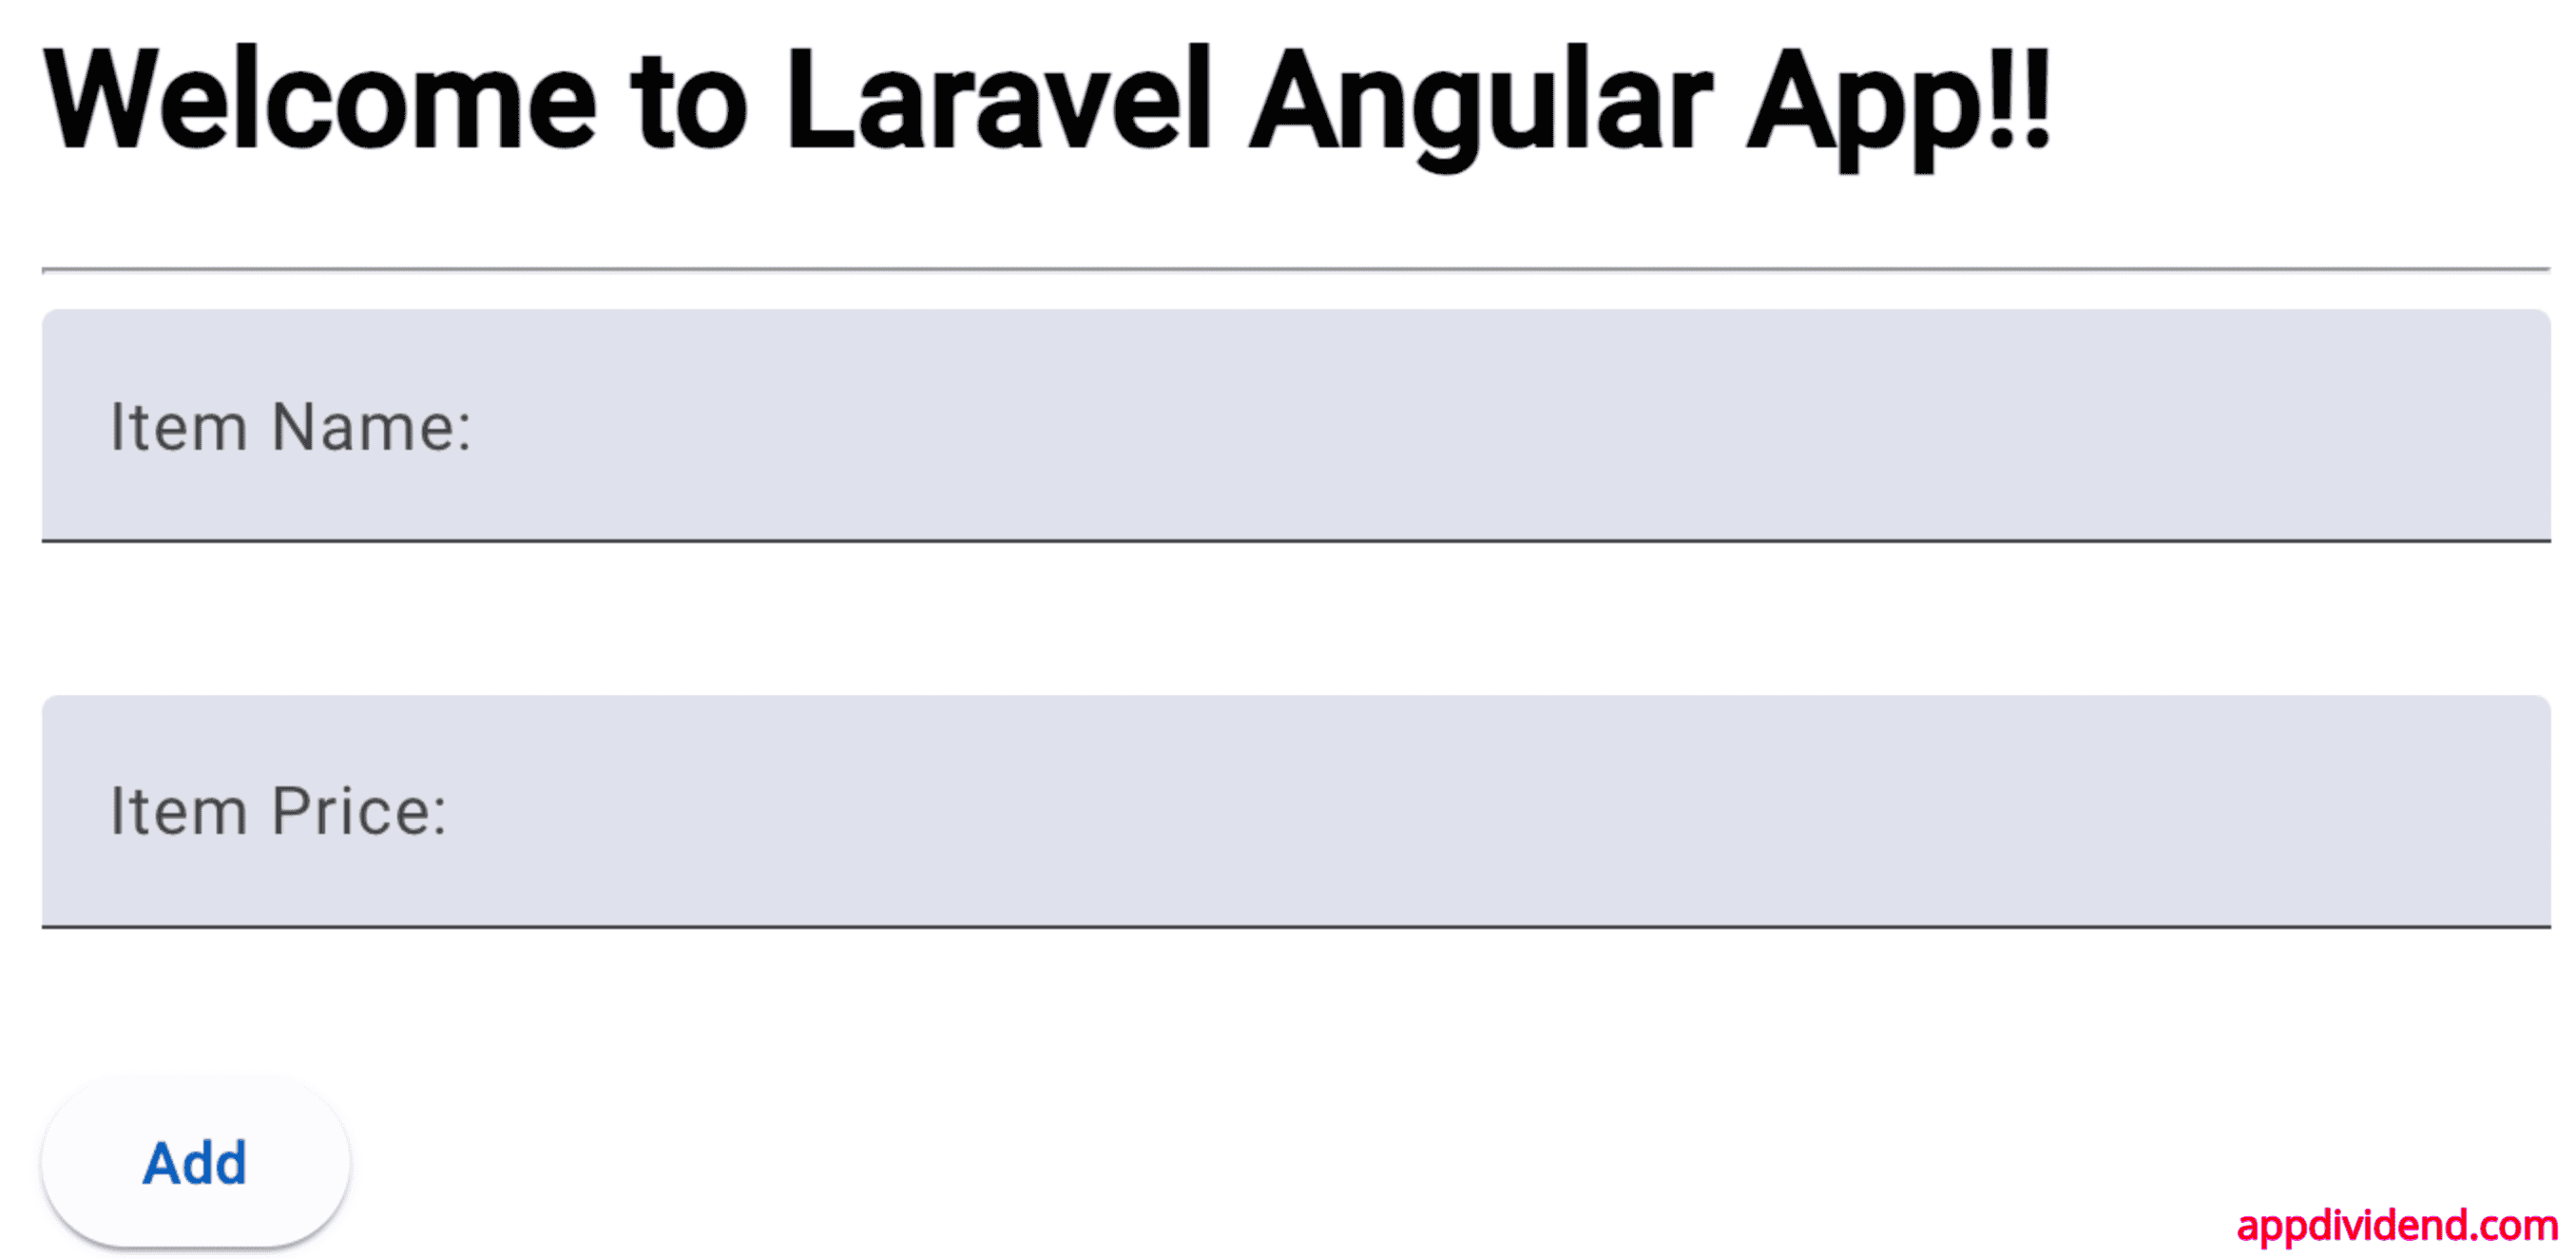
Our Form looks like this:
Step 3: Handling the input data
We need to include an Angular Form Object in our HTML.
Our modified code of app.component.ts looks like this:
// app.component.ts

import { Component } from '@angular/core';
import { RouterOutlet } from '@angular/router';
import { MatInputModule } from '@angular/material/input';
import { MatButtonModule } from '@angular/material/button';
import { MatFormFieldModule } from '@angular/material/form-field';
import { NgForm, FormsModule } from '@angular/forms';

@Component({
  selector: 'app-root',
  standalone: true,
  imports: [
    RouterOutlet,
    MatInputModule,
    MatButtonModule,
    MatFormFieldModule,
    FormsModule,
  ],
  templateUrl: './app.component.html',
  styleUrl: './app.component.css',
})
export class AppComponent {
  title = 'Laravel Angular App';

  onSubmit(ngForm: NgForm) {
    console.log('Form Submitted!', ngForm.value);
  }
}
And the src/app/app.component.html file looks like this:
<div class="container">
  <h1>Welcome to {{ title }}!!</h1>
  <hr />
  <form (ngSubmit)="onSubmit(fm)" #fm="ngForm">
    <mat-form-field class="full-width">
      <mat-label for="name">Item Name:</mat-label>
      <input matInput type="text" ngModel name="name" />
    </mat-form-field>
    <mat-form-field class="full-width">
      <mat-label for="price">Item Price:</mat-label>
      <input matInput type="text" ngModel name="price" />
    </mat-form-field>
    <button mat-raised-button color="primary" type="submit">Add</button>
  </form>
</div>
We added one attribute to the input box called “ngModel.” This attribute tells Angular how many values are in the HTML Form.
So, first, it creates an object, and later, after it submits, we can access it and pull out the values.
<form (ngSubmit)="onSubmit(fm)" #fm="ngForm">
It is the way to tell Angular to create an object that describes the whole form element and its values.
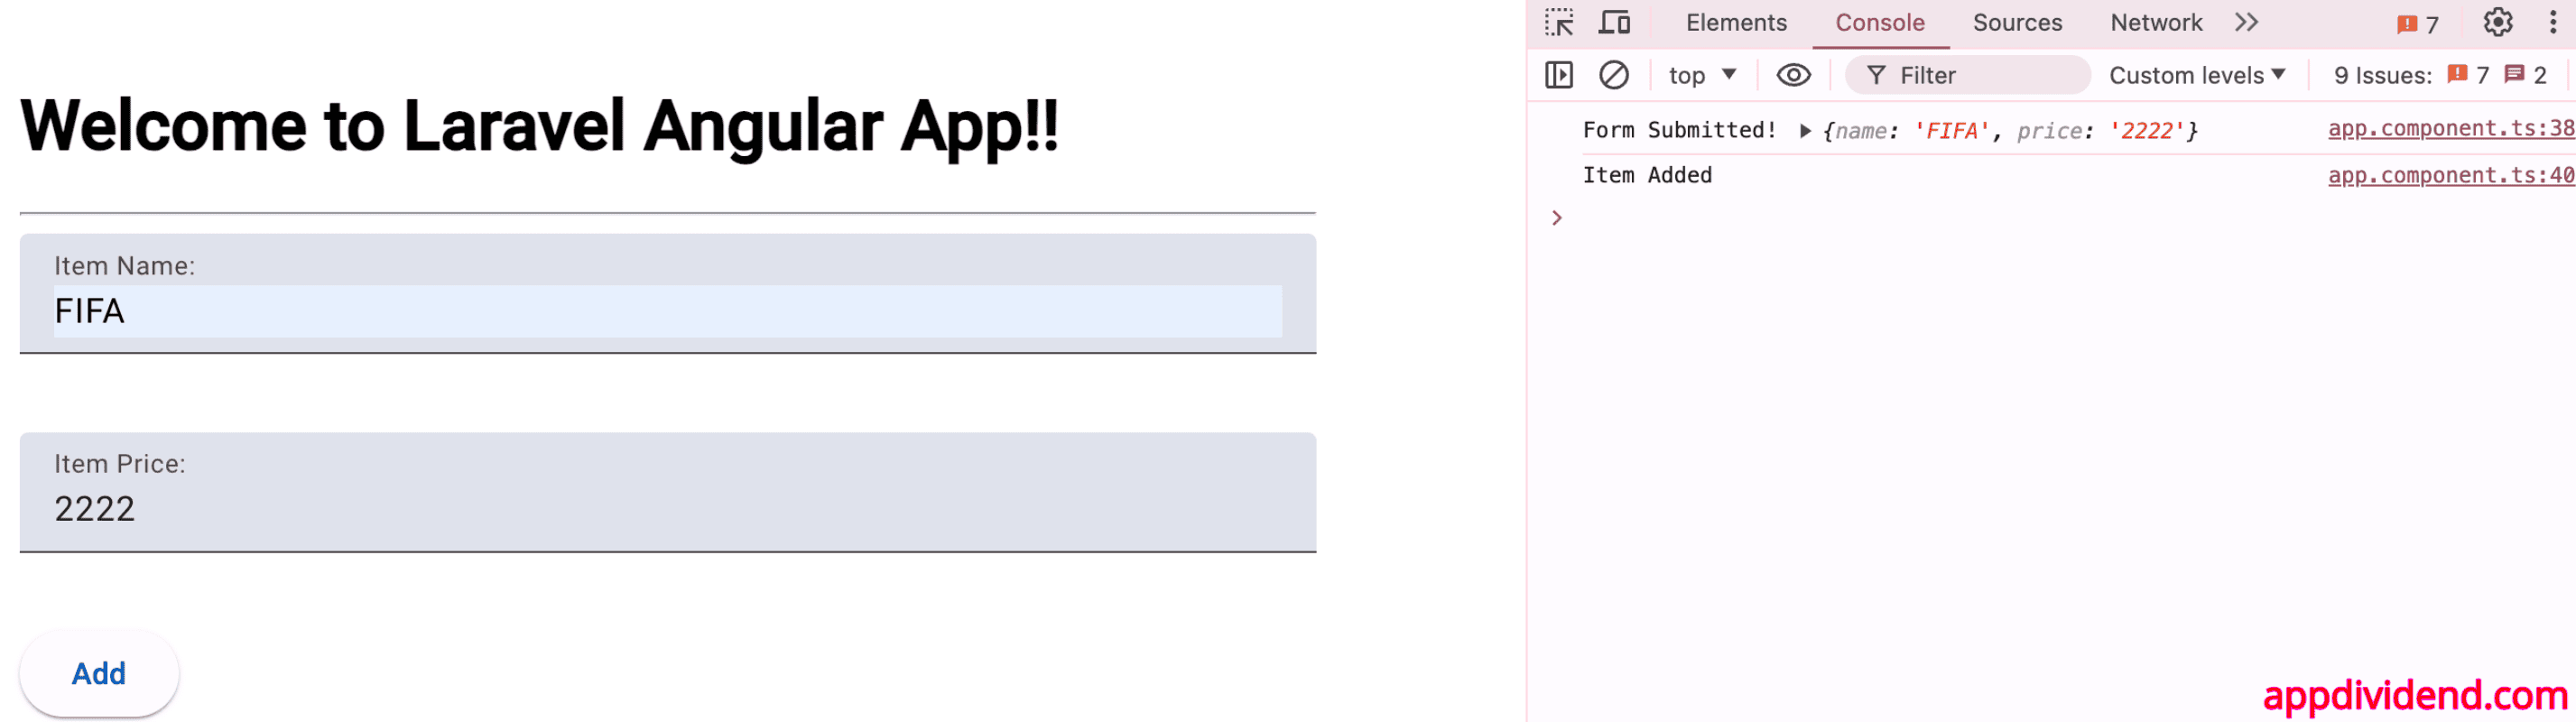
After pressing submit, the onSubmit() function is called, and we can get all the form’s values in that function.
Here, the onSubmit() function gets all the form values. We can now send the POST request to the Laravel Server.
Step 4: Setup HTTP request
The next step would be to call the HTTP Service to handle the POST request.
In Angular 18, importing the HttpClient module is somewhat different than it used to be.
We need to register the provideHttpClient class to the Angular application, and to do that exactly, import the provideHttpClient module inside the src/app/app.config.ts file like this:
// app.config.ts

import { ApplicationConfig, provideZoneChangeDetection } from '@angular/core';
import { provideRouter } from '@angular/router';
import { provideHttpClient } from '@angular/common/http';

import { routes } from './app.routes';
import { provideAnimationsAsync } from '@angular/platform-browser/animations/async';

export const appConfig: ApplicationConfig = {
  providers: [
    provideZoneChangeDetection({ eventCoalescing: true }),
    provideRouter(routes),
    provideAnimationsAsync(),
    provideHttpClient(),
  ],
};
First, we need to import two modules in the app.component.ts file.
// app.component.ts

import { Component } from '@angular/core';
import { RouterOutlet } from '@angular/router';
import { MatInputModule } from '@angular/material/input';
import { MatButtonModule } from '@angular/material/button';
import { MatFormFieldModule } from '@angular/material/form-field';
import { NgForm, FormsModule } from '@angular/forms';

import { HttpClient, HttpHeaders } from '@angular/common/http';
import { Observable, throwError } from 'rxjs';
import { catchError, map } from 'rxjs/operators';

interface Item {
  // Define the properties of Item based on your API response
  id: number;
  name: string;
  price: number;
}

@Component({
  selector: 'app-root',
  standalone: true,
  imports: [
    RouterOutlet,
    MatInputModule,
    MatButtonModule,
    MatFormFieldModule,
    FormsModule,
  ],
  templateUrl: './app.component.html',
  styleUrl: './app.component.css',
})
export class AppComponent {
  title = 'Laravel Angular App';

  constructor(private http: HttpClient) {}

  onSubmit(form: NgForm): void {
    console.log('Form Submitted!', form.value);
    this.addItem(form.value).subscribe({
      next: (data) => console.log('Item Added'),
      error: (err) => console.error('Error:', err),
    });
  }

  addItem(formValue: any): Observable<Item> {
    const headers = new HttpHeaders({ 'Content-Type': 'application/json' });
    return this.http
      .post<{ data: Item }>('http://localhost:8000/api/items', formValue, {
        headers,
      })
      .pipe(
        map((response) => response.data),
        catchError(this.handleError)
      );
  }

  private handleError(error: any): Observable<never> {
    console.error('An error occurred', error);
    return throwError(() => new Error(error.message || error));
  }
}
Step 5: Install Laravel 11
Now is the time to create a backend, and Laravel 11 is the latest version.
So, let’s create a Laravel project using the below command:
Create one Laravel project by typing the following command.
composer create-project laravel/laravel --prefer-dist ngLaravel
Edit the .env file to set the MySQL database credentials.
Switch to your command-line interface and type the following command.
php artisan make:model Item -m
Please navigate the migration file in the database >> migrations >> create_items_table and copy the following code.
<?php

// create_items_table.php

use Illuminate\Database\Migrations\Migration;
use Illuminate\Database\Schema\Blueprint;
use Illuminate\Support\Facades\Schema;

return new class extends Migration {
    /**
     * Run the migrations.
     */
    public function up(): void
    {
        Schema::create('items', function (Blueprint $table) {
            $table->id();
            $table->string('name');
            $table->integer('price');
            $table->timestamps();
        });
    }

    /**
     * Reverse the migrations.
     */
    public function down(): void
    {
        Schema::dropIfExists('items');
    }
};
Type the following command in your terminal.
php artisan migrate
Step 6: Publish api.php file
By default, Laravel 11 does not come with an api.php file.
To publish the api.php file, you need to publish the api.php route file using this command:
php artisan install:api
It will create an api.php file inside the routes folder.
Before defining routes, we can create a controller called ItemController.php.
php artisan make:controller ItemController --resource
Register the routes in the routes >> api.php file.
<?php

// ItemController.php

use Illuminate\Http\Request;
use Illuminate\Support\Facades\Route;
use App\Http\Controllers\ItemController;

Route::get('/user', function (Request $request) {
    return $request->user();
})->middleware('auth:sanctum');

Route::resource('items', ItemController::class);
In the Item.php model, we need to include the $fillable property to prevent mass assignment exceptions.
<?php

namespace App\Models;

use Illuminate\Database\Eloquent\Factories\HasFactory;
use Illuminate\Database\Eloquent\Model;

class Item extends Model
{
    use HasFactory;

    protected $fillable = ['name', 'price'];
}
Write the store() function in the ItemController.php file to save the data into the database.
<?php

namespace App\Http\Controllers;

use Illuminate\Http\Request;
use App\Models\Item;

class ItemController extends Controller
{
    /**
     * Display a listing of the resource.
     */
    public function index()
    {
        //
    }

    /**
     * Show the form for creating a new resource.
     */
    public function create()
    {
        //
    }

    /**
     * Store a newly created resource in storage.
     */
    public function store(Request $request)
    {
        $item = new Item([
            'name' => $request->get('name'),
            'price' => $request->get('price')
        ]);
        $item->save();
        return response()->json('Successfully added');
    }

    /**
     * Display the specified resource.
     */
    public function show(string $id)
    {
        //
    }

    /**
     * Show the form for editing the specified resource.
     */
    public function edit(string $id)
    {
        //
    }

    /**
     * Update the specified resource in storage.
     */
    public function update(Request $request, string $id)
    {
        //
    }

    /**
     * Remove the specified resource from storage.
     */
    public function destroy(string $id)
    {
        //
    }
}
You can always get a quick overview of your application’s routes by running the route:list Artisan command.
php artisan route:list
You can see that our POST request route should be like this: http://localhost:8000/api/items
Step 7: Resolve the CORS problem
Our Angular project is running on one server, and the Laravel Project is running on another server.
If you try to send a request from the React development server to the Laravel API server, you will get this error: No ‘Access-Control-Allow-Origin’ header is present on the requested resource. Origin ‘http://localhost:8000’ is therefore not allowed access. The response had HTTP status code 400.
To fix this error, we need to create a middleware CORS in the Laravel Project.
To create a middleware in Laravel, type the following command:
php artisan make:middleware Cors
It will create a new file called Cors.php inside the app/Http/Middleware folder.
Add the below code inside the Cors.php file:
<?php

namespace App\Http\Middleware;

use Closure;
use Illuminate\Http\Request;
use Symfony\Component\HttpFoundation\Response;

class Cors
{
    /**
     * Handle an incoming request.
     *
     * @param  \Closure(\Illuminate\Http\Request): (\Symfony\Component\HttpFoundation\Response)  $next
     */
    public function handle(Request $request, Closure $next): Response
    {
        $response = $next($request);
        $response->headers->set('Access-Control-Allow-Origin', '*');
        $response->headers->set('Access-Control-Allow-Methods', 'POST, GET, OPTIONS, PUT, DELETE');
        $response->headers->set('Access-Control-Allow-Headers', 'Content-Type, X-Auth-Token, Origin, Authorization');

        return $response;
    }
}
Here, we are allowing incoming requests to come from different servers.
Now, we need to register this Cors.php middleware into our Laravel application.
To do that, open the bootstrap/app.php file and add the below code:
<?php

// bootstrap/app.php

use Illuminate\Foundation\Application;
use Illuminate\Foundation\Configuration\Exceptions;
use Illuminate\Foundation\Configuration\Middleware;
use App\Http\Middleware\Cors;

return Application::configure(basePath: dirname(__DIR__))
    ->withRouting(
        web: __DIR__ . '/../routes/web.php',
        api: __DIR__ . '/../routes/api.php',
        commands: __DIR__ . '/../routes/console.php',
        health: '/up',
    )
    ->withMiddleware(function (Middleware $middleware) {
        $middleware->api(prepend: [Cors::class,]);
    })
    ->withExceptions(function (Exceptions $exceptions) {
        //
    })->create();
Step 8: Run both applications
You can start the Laravel development server using the below command:
php artisan serve
Make sure your laravel application is connected to the MySQL database so that it can store the data.
And now, start the Angular development server using the below command:
ng serve -o
Try to submit the data:
That’s it!

LordApo
Why don’t you use Lumen? It’s made for this purpose and way faster than Laravel.
Laravel 5.5 Angular 4 Tutorial Example From Scratch – Angular Questions
[…] submitted by /u/KrunalLathiya [link] […]
Leandrit Ferizi
Thanks for this, however could you make a tutorial on how to pass an image stored in Laravel Storage through api to the angular 4 and the image to show up?
I know through Vue but Laravel and Angular are two separate projects 😛
Sharat
Hope this will help you.
http://flint.sg/2017/01/04/file-upload-with-angular-2-and-laravel-5/
Sinan
hi,
i get these error upto Step: 4
ERROR in [APP_PATH]/src/app/app.component.ts (2,22): Cannot find module ‘./Item’.
ERROR in [APP_PATH]/src/app/app.component.ts (17,110): Property ‘headers’ does not exist on type ‘AppComponent’.
Dunno What is wrong i just got it exactly as it is on the tutorial
Krunal
import { Http, Headers } from ‘@angular/http’;
private headers = new Headers({‘Content-Type’: ‘application/json’});
It will resolve that issue.
Sinan
i have tried that, but doesn’t work. do u have this on github;
i have updated import { Http } from ‘@angular/http’; to import { Http, Headers } from ‘@angular/http’;
and added
private headers = new Headers({‘Content-Type’: ‘application/json’});
inside like;
export class AppComponent {
….
….
private headers = new Headers({‘Content-Type’: ‘application/json’});
}
Takis Koumoutsakos
Actually I created a file named item.ts with the following code:
export interface Item {
name: string;
price: number;
}
and then added the code:
import {Item} from ‘./item’;
to app.component.ts
This is the same as Krunal’s code except for the lower case “i” in the import.
ankit
Hi Krunal .
It’s nice way to explain.
i get same Cannot find module ‘./Item’ at app.component.ts.
Can you please help to short it out.
Farhan Ali
did you find the solution of that or still not? i am facing the same problem.
savi
1.import { Item } from ‘http://localhost/testlaravel/Item’; replace this line of code in app.component.ts
2.add use App\item in itemcontroller.php
data will get inserted
savi
also change the path of http to http://localhost/project_name/api/items
Pratik
Hello Krunal,
Its good tutorial to have but i’m facing one issue where i don’t get anything in request object in store method can you help me out on this
Soundar Rajan
I am not able to execute this command ng new ng4tutorial. i get the error ‘ng’ is not recognized as an internal and external command
Krunal
Please install angular cli globally in your pc in the administrator mode.
John Maina
Hi @Soundar please visit https://yarnpkg.com/lang/en/docs/install/ and download yarn the install, it will solve the problem
Soundar Rajan
Thanks Krunal for the immediate response. I did install so many times in C: and/or C://Projects but still the same issue. Please help me to
Robin
Do I need two different servers (Artisan for Laravel and npm for Angular) to run for this? Or can I package both the applications in on server?
Thanks
Robin
Rakib
Hello Krunal,
On angular response I am always getting “Header Not Allowed” !!
why this is happening??
sreenidhi
hii,
I am getting No ‘Access-Control-Allow-Origin’ header is present on the requested resource
Krunal
use laravel-cors module.
sreenidhi
hello Kurnal,
Iam getting error: Uncaught (in promise): Response with status: 0 for URL: null
at resolvePromise
Arsani Boshra
Still have problem with CORS .. Trying to test my local api with angular and I still get 404.
Thanks
Nithya
hi
Is article available for crud functionality
sri
hi kurnal Can you make tutorial on CRUD functionality
Vishwas Jadav
Wonderful Work
Vishwas Jadav
Please complete the article for CRUD I want to learn from it.
Amr Ahmed
How can i make route (‘/’) show index.html instead of welcome.blade.php?
thanks in advance.
Jose
Fantastic tutorial
Farhan Ali
I am facing problem that error TS2307: cannot find module ‘/Item’
vignesh
please give CRUD functionality with angular4 and laravel
Jr Klaus MOMBO-NZAHOU
Thank you very much!
Marthell
Hi, the CRUD functionality will post in this article? if exist, where is?
shakyl
when will you post the article for crud using laravel and angular??
Pratik
Hi,I am not able to store data in database.Can you help me out?My code is running without any error but it is unable to store data in database.
Thanks
Krunal
can you double check your post request please?
Evgeny
Hello, please tell me how to display values from the database?
Hassan Ali
hello evgeny plzz if u found your search to get values back from database and displayed back again in the angular view
any tutorials plz
thans
Sam
Nice tutorial, but you call Angular 4 as AngularJS. Angular and AngularJS are not the same…
vikas
Sir you are amazing.
i cant’t say anything because i’m learn everything from your tutorials.
God bless you sir .
Loganathan
Thanks Buddy, you made it easy.
Aashu Singh
This helped me a lot , but im getting an issue when im trying to retrive data from teh api by using $request->input() . When im using $request->input() im getting null value , if anyone help me with this
Ghizlane KHATTARI
i get this msg error when i run the command “$ composer require barryvdh/laravel-cors ”
Warning: Ambiguous class resolution, “Fruitcake\Cors\CorsServiceProvider” was found 2x: in “C:/xampp/htdocs/ng4Laravel55/vendor/barryvdh/laravel-cors/src/CorsServiceProvider.php” and “C:/xampp/htdocs/ng4Laravel55/vendor/fruitcake/laravel-cors/src\CorsServiceProvider.php”, the first will be used.
Warning: Ambiguous class resolution, “Fruitcake\Cors\HandleCors” was found 2x: in “C:/xampp/htdocs/ng4Laravel55/vendor/barryvdh/laravel-cors/src/HandleCors.php” and “C:/xampp/htdocs/ng4Laravel55/vendor/fruitcake/laravel-cors/src\HandleCors.php”, the first will be used.
please i need help
Bernardo Jugadora
Did you found solution please ?