
A one-to-many relationship in Laravel is defined as a Single model owning multiple models.
For example, A person has many mobile numbers, or a Blog Post has multiple comments.
We can set the one-to-many relationships by defining the function in the model like this:
<?php

namespace App;

use Illuminate\Database\Eloquent\Model;

class Post extends Model
{
  /**
  * Get the comments for the blog post.
  */
  public function comments()
  {
    return $this->hasMany('App\Models\Comment');
  }
}
In the above example, the Blog Post has multiple comments. So we can define the function as comments, and also, we can associate it with hasMany().
Eloquent will automatically determine the proper foreign key column on the Commentmodel.
By convention, Eloquent will take the “snake case” name of the owning model and suffix it with._id
Eloquent will assume the foreign key on the model Comment is post_id.
When the relationship has been defined, we can access the collection of comments by accessing the comments property.
<?php

$comments = App\Models\Post::find(1)->comments;

foreach ($comments as $comment) {
  //
}
We will learn this relationship with the following example.
- Employee Model
- Transaction Model
An employee has multiple transactions, so we can define the relationship as One-to-Many.
First, we will install the Laravel project and create the two tables.
We will also develop models and controllers and associate the models with one another.
Step 1: Configure the Laravel
Install Laravel by the following command.
composer create-project laravel/laravel --prefer-dist OtM
Configure the database in the .env file.
Also, we will create One model, schema, and controller file inside our project.
php artisan make:controller EmployeeController

php artisan make:model Employee -m
Here, we will see that three files are created inside the project.
The migration file looks like this after defining the schema.
<?php

use Illuminate\Database\Migrations\Migration;
use Illuminate\Database\Schema\Blueprint;
use Illuminate\Support\Facades\Schema;

return new class extends Migration
{
    /**
     * Run the migrations.
     */
    public function up(): void
    {
        Schema::create('employees', function (Blueprint $table) {
            $table->increments('id');
            $table->string('employee_name');
            $table->integer('amount');
            $table->timestamps();
        });
    }

    /**
     * Reverse the migrations.
     */
    public function down(): void
    {
        Schema::dropIfExists('employees');
    }
};
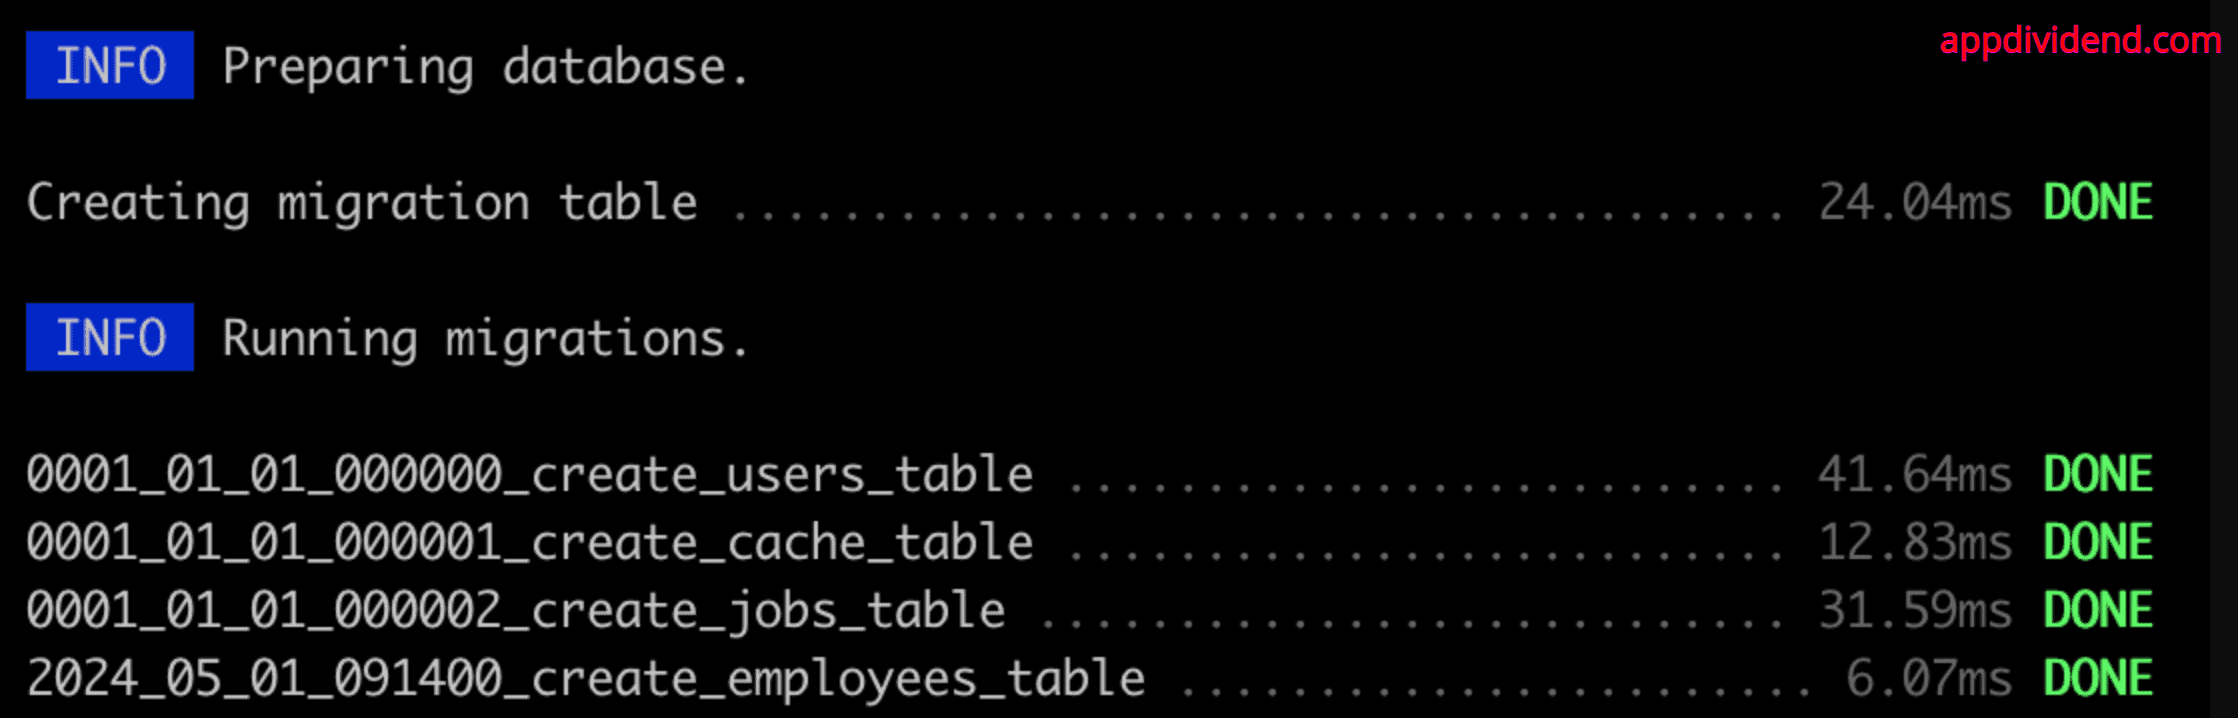
Run this migration by the following command.
php artisan migrate
Create a view file to enter the details of an employee.
So go to the resources >> views, and inside that folder, create one view file called createEmployee.blade.php.
<!doctype html>
<html>
   <head>
   <link href="https://cdn.jsdelivr.net/npm/bootstrap@5.0.2/dist/css/bootstrap.min.css"
            rel="stylesheet"
            integrity="sha384-EVSTQN3/azprG1Anm3QDgpJLIm9Nao0Yz1ztcQTwFspd3yD65VohhpuuCOmLASjC" crossorigin="anonymous">
   </head>
   <body>
      <div class="container">
         <br/>
           <div class="panel panel-primary">
            <div class="panel-heading">
                 Add Employee Details
            </div>
            <div class="panel-body">
               <form method="post" action="">
                  {{csrf_field()}}
                  <div class="form-group">
                     <label class="col-md-4">Employee Name</label>
                       <input type="text" class="form-control" name="employee_name"/>
                  </div>
                  <div class="form-group">
                     <label class="col-md-4">Employee Salary</label>
                     <input type="text" class="form-control" name="employee_salary"/>
                  </div>
                  <div class="form-group">
                     <button type="submit" class="btn btn-primary">Add</button>
                  </div>
               </form>
            </div>
         </div>
      </div>
   </body>
</html>
Add the routes in the web.php file.
<?php

use Illuminate\Support\Facades\Route;
use App\Http\Controllers\EmployeeController;

Route::get('/', function () {
    return view('welcome');
});

Route::get('employee', [EmployeeController::class, 'create'])->name('employee.create');
Route::post('employee', [EmployeeController::class, 'store'])->name('employee.store');
Update the route in the createEmployee.blade.php file’s action attribute.
<form method="post" action="{{ route('emplyee.store') }}">
Code the two EmployeeController.php functions.
<?php

namespace App\Http\Controllers;

use Illuminate\Http\Request;
use App\Models\Employee;

class EmployeeController extends Controller
{
    public function create()
    {
        return view('createEmployee');
    }
    public function store(Request $request)
    {
        $employee = new Employee;
        $employee->employee_name = $request->get('employee_name');
        $employee->amount = $request->get('employee_salary');

        $employee->save();

        return 'Success';
    }
}
It will store the employee details in the database.
Step 2: Make Transaction Model And Controller.
Go to your terminal and type the following command.
php artisan make:model Transaction -m
Now, we need to define the schema for the model.
<?php

use Illuminate\Database\Migrations\Migration;
use Illuminate\Database\Schema\Blueprint;
use Illuminate\Support\Facades\Schema;

return new class extends Migration
{
    /**
     * Run the migrations.
     */
    public function up(): void
    {
        Schema::create('transactions', function (Blueprint $table) {
            $table->id();
            $table->integer('employee_id');
            $table->integer('transaction_amount');
            $table->timestamps();
        });
    }

    /**
     * Reverse the migrations.
     */
    public function down(): void
    {
        Schema::dropIfExists('transactions');
    }
};
Hit the following command.
php artisan migrate
Now, we will seed the transactions table. So go to the terminal and hit the following command.
php artisan make:seeder TransactionTableSeeder
Next, we need to write some queries to seed the database. We can also use the model factory to generate the data, but for now, we only use the DB query builder to enter some data.
Please ensure you have at least three Employee rows in the employee table.
<?php

namespace Database\Seeders;

use Illuminate\Database\Console\Seeds\WithoutModelEvents;
use Illuminate\Database\Seeder;

class TransactionTableSeeder extends Seeder
{
    /**
     * Run the database seeds.
     */
    public function run(): void
    {
        \DB::table('transactions')->insert([
            'employee_id' => 1,
            'transaction_amount' => 34000,
            'created_at' => NOW(),
            'updated_at' => NOW()
        ]);
        \DB::table('transactions')->insert([
            'employee_id' => 1,
            'transaction_amount' => 7000,
            'created_at' => NOW(),
            'updated_at' => NOW()
        ]);
        \DB::table('transactions')->insert([
            'employee_id' => 2,
            'transaction_amount' => 92000,
            'created_at' => NOW(),
            'updated_at' => NOW()
        ]);
        \DB::table('transactions')->insert([
            'employee_id' => 2,
            'transaction_amount' => 54000,
            'created_at' => NOW(),
            'updated_at' => NOW()
        ]);
        \DB::table('transactions')->insert([
            'employee_id' => 3,
            'transaction_amount' => 52000,
            'created_at' => NOW(),
            'updated_at' => NOW()
        ]);
    }
}
We need to run this file. To do so, go to the DatabaseSeeder.php file inside the database >> seeds folder.
<?php

namespace Database\Seeders;

use Illuminate\Database\Seeder;

class DatabaseSeeder extends Seeder
{
    /**
     * Seed the application's database.
     */
    public function run(): void
    {
        $this->call(TransactionTableSeeder::class);
    }
}
Hit the following command.
php artisan db:seed
It populates the data.
Step 3: Define One-To-Many Relationship
In the Employee.php model, define the following function.
<?php

namespace App\Models;

use Illuminate\Database\Eloquent\Factories\HasFactory;
use Illuminate\Database\Eloquent\Model;

class Employee extends Model
{
    use HasFactory;

    public function transactions()
    {
        return $this->hasMany('App\Models\Transaction');
    }
}
Go to the terminal and hit the following command.
php artisan tinker
Tinker is the CLI tool that lets you interact with the database and act as an actual entity.
We can perform various database operations on it.
In the tinker, you can enter the following code.
Employee::find(1)->transactions;
All the associated records of Employee with ID 1 are displayed from the model Transaction.
So this is the primary use of One-To-Many relationships.
Step 4: Inverse of Relationship.
We can define the function in the Transaction.php model.
<?php

namespace App\Models;

use Illuminate\Database\Eloquent\Factories\HasFactory;
use Illuminate\Database\Eloquent\Model;

class Transaction extends Model
{
    use HasFactory;

    public function employee()
    {
        return $this->belongsTo('App\Models\Employee');
    }
}
Go to the tinker again.
Transaction::find(2)->employee->amount;
You can see the amount. So this is how we can relate to one another via Relationships in Laravel.
That’s it.

Gabriel
Awesome tutorial. Thanks!
Jaikangam Malangmei
how to insert data into transactions table without using thinker. ?
fredd
public function Transaction(){
return $this->hasMany(Customer::class, ‘user_id’); //a mucho
}
Gede Adi
How to Update it ?
pubudu
thank you very much..
Arslan
Finally after struggling of hours i find a excellent tutorial. Great work bro!
Allah bless you for helping me.