AJAX is a way to communicate between client and server without page refresh. It is a technique for passing data from one server to another without interruption.
The syntax of the jQuery Ajax is the following.
jQuery.ajax( url [, settings ] )
How to Use Ajax?
To use Ajax, you need jQuery to send a network request to the server without a page refresh. The Ajax request can be GET, POST, or other valid types.
Import a jQuery library in your view file to use the Ajax functions of jQuery, which will be used to send and receive data using Ajax.
On the server side, you can use the response() function to send the response to the client, and to send a response in JSON format; you can chain the response function with the json() function.
If the request is POST, then using the jQuery ajax() or post() method, we will send a request to the server to store the form values in the database.
Here is the step-by-step guide using AJAX in Laravel 11.
Step 1: Install and configure Laravel.
Let’s install Laravel 11 using this command:
composer create-project laravel/laravel lara11 --prefer-dist
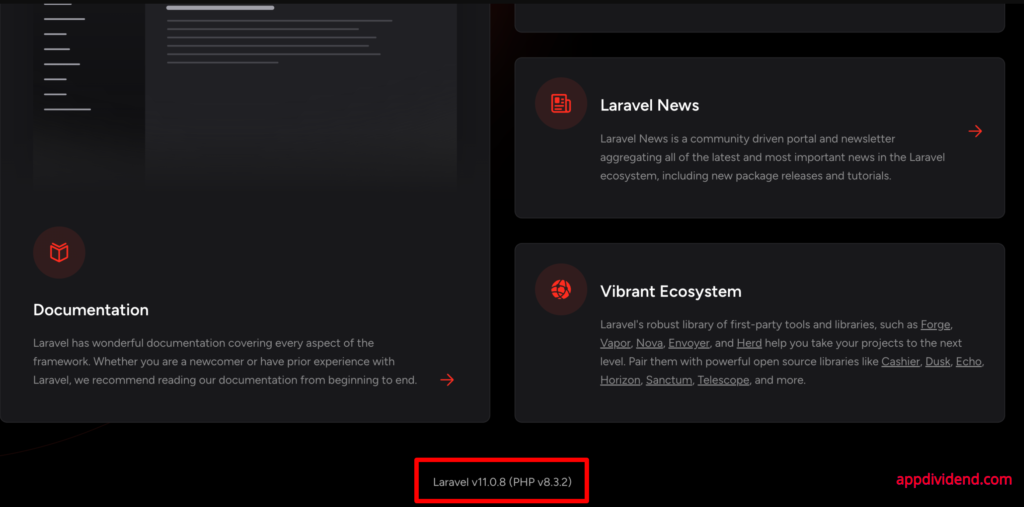
Here is our newly installed project:
After installing Laravel, we need to configure the database.
You need to set your database credentials in the .env file.
DB_CONNECTION=mysql
DB_HOST=127.0.0.1
DB_PORT=8889
DB_DATABASE=lara11
DB_USERNAME=root
DB_PASSWORD=root
My database name is: lara11, you can give any name and create it inside phpmyadmin or any type of mysql database.
We are going to build a simple Grocery application where the user can add the item.
So, first, we need to develop the schema for that.
To generate a model and migration file, use this command:
php artisan make:model Grocery -m
The above command generates two files:
- Grocery.php: It is a model file.
- create_groceries_table.php: It is a migration file.
Add the columns to the migration file like this:
public function up(): void
{
        Schema::create('groceries', function (Blueprint $table) {
            $table->id();
            $table->string('name');
            $table->string('type');
            $table->integer('price');
            $table->timestamps();
        });
}
Migrate the table into our database.
php artisan migrate
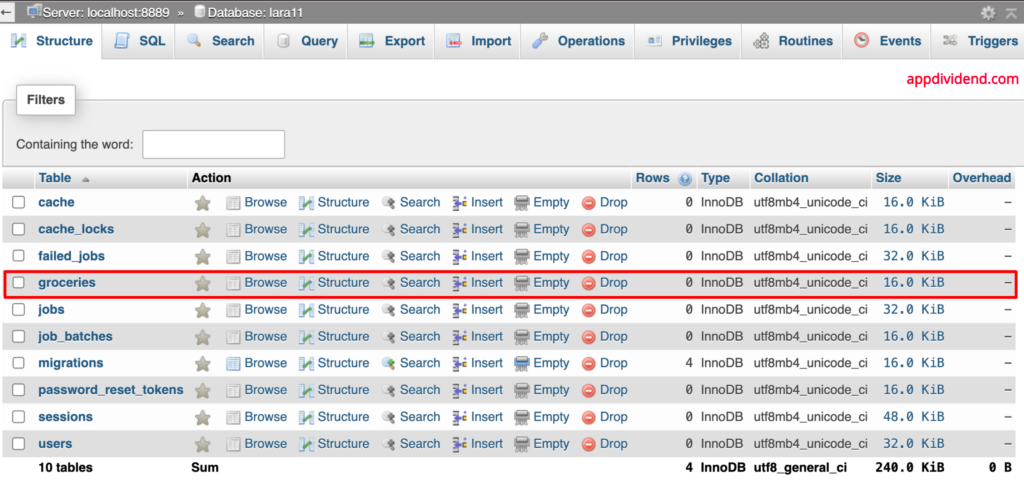
Switch to your phpmyadmin, and you will find groceries and other tables.
Step 2: Install laravel/ui
We will use Bootstrap CSS for this tutorial, so we need to install some packages.
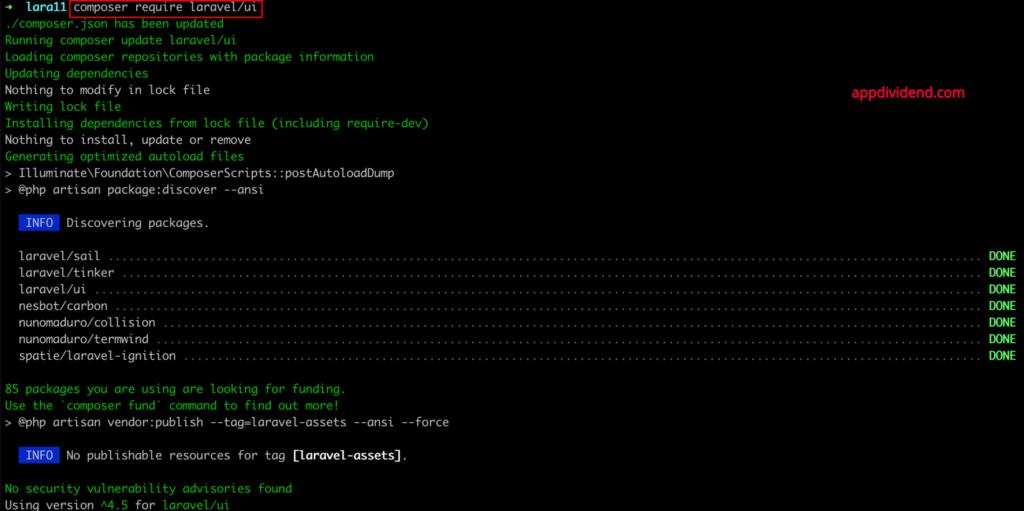
Go to the root of our “lara11” project and type the following command to install laravel/ui:
composer require laravel/ui
Once the laravel/ui package has been installed, you may install the frontend scaffolding using the ui Artisan command:
php artisan ui bootstrap
Install the required dependencies using this command:
npm install
Now, compile our fresh scaffolding using these commands:
npm run dev
It will start a vite development server that will track the changes in our CSS or JS files and recompile automatically!
Step 3: Define routes and controllers.
Here is a command to generate a Controller file.
php artisan make:controller GroceryController
The next step is to define the routes.
Add the routes in the routes >> web.php file.
<?php

use Illuminate\Support\Facades\Route;
use App\Http\Controllers\GroceryController;

Route::get('/', function () {
    return view('welcome');
});

Route::get('grocery/create', [GroceryController::class, 'create'])->name('grocery.create');
Route::post('/grocery/post', [GroceryController::class, 'store'])->name('grocery.store');
Create two empty functions called “create()” and “store()” inside GroceryController.php file.
<?php

namespace App\Http\Controllers;

use Illuminate\Http\Request;
use App\Models\Grocery;

class GroceryController extends Controller
{
    public function create()
    {
    }
    public function store(Request $request)
    {

    }
}
You can see that we imported the Grocery.php model inside the GroceryController.php file.
We will add the codes inside these functions later!
Step 4: Create a view file
We have not created any view files. So let us do that.
First, create a grocery.blade.php file inside the resources >> views folder and create a bootstrap form.
<!doctype html>
<html lang="{{ app()->getLocale() }}">
<head>
    <meta charset="utf-8"/>
    <meta http-equiv="X-UA-Compatible" content="IE=edge"/>
    <meta name="viewport" content="width=device-width, initial-scale=1"/>
    <meta name="csrf-token" content="{{ csrf_token() }}">
    <title>Grocery Store</title>
 </head>
 <body>
    <div class="container">
        <form id="myForm">
            <div class="form-group">
                <label for="name">Name:</label>
                <input type="text" class="form-control" id="name">
            </div>
            <div class="form-group">
                <label for="type">Type:</label>
                <input type="text" class="form-control" id="type">
            </div>
            <div class="form-group">
                <label for="price">Price:</label>
                <input type="text" class="form-control" id="price">
            </div>
            <br />
            <button class="btn btn-primary" id = "ajaxSubmit">Submit</button>
        </form>
    </div>
    <!-- Scripts -->
    @vite(['resources/sass/app.scss', 'resources/js/app.js'])
    <script
        src="https://code.jquery.com/jquery-3.7.1.min.js"
        integrity="sha256-/JqT3SQfawRcv/BIHPThkBvs0OEvtFFmqPF/lYI/Cxo="
        crossorigin="anonymous"></script>
</body>
</html>
To display this view file, return this view using the GroceryController’s create() method.
public function create()
{
   return view('grocery');
}
Go to the command line or terminal and start the development server.
php artisan serve
Navigate to http://localhost:8000/grocery/create:
We need to define the CSRF token in our meta tag. In previous cases, we described the field called “{{ csrf_field() }},” but in our Ajax case, we have defined it in the meta tag.
When we set up an Ajax request, we also need to set up a header for our csrf token.
Step 5: Creating an AJAX request
Add jQuery.ajax() function in that click event to submit the request to the server with all three inputs data.
Here is the complete code for the grocery.blade.php file, including the jQuery.ajax() function.
<!doctype html>
<html lang="{{ app()->getLocale() }}">
    <head>
        <meta charset="utf-8"/>
        <meta http-equiv="X-UA-Compatible" content="IE=edge"/>
        <meta name="viewport" content="width=device-width, initial-scale=1"/>
        <meta name="csrf-token" content="{{ csrf_token() }}">
        <title>Grocery Store</title>
    </head>
    <body>
        <div class="container">
            <div class="alert alert-success" style="display:none"></div>
            <form id="myForm">
                <div class="form-group">
                    <label for="name">Name:</label>
                    <input type="text" class="form-control" id="name">
                </div>
                <div class="form-group">
                    <label for="type">Type:</label>
                    <input type="text" class="form-control" id="type">
                </div>
                <div class="form-group">
                    <label for="price">Price:</label>
                    <input type="text" class="form-control" id="price">
                </div>
                <br />
                <button class="btn btn-primary" id = "ajaxSubmit">Submit</button>
            </form>
        </div>
        <!-- Scripts -->
        @vite(['resources/sass/app.scss', 'resources/js/app.js'])
        <script
            src="https://code.jquery.com/jquery-3.7.1.min.js"
            integrity="sha256-/JqT3SQfawRcv/BIHPThkBvs0OEvtFFmqPF/lYI/Cxo="
            crossorigin="anonymous"></script>
        <script>
        document.addEventListener('DOMContentLoaded', function () {
            $(document).ready(function(){
                $('#ajaxSubmit').click(function(e){
                    e.preventDefault();
                    $.ajaxSetup({
                        headers: {
                            'X-CSRF-TOKEN': $('meta[name="csrf-token"]').attr('content')
                        }
                    });

                    $.ajax({
                        url: "{{ url('/grocery/post') }}",
                        type: 'POST',
                        data: {
                            name: $('#name').val(),
                            type: $('#type').val(),
                            price: $('#price').val()
                        },
                        success: function(result){
                            $('.alert').show();
                            $('.alert').html(result.success);
                        },
                        error: function(xhr, status, error){
                            // Handle the error here
                            console.error("Error occurred: " + status + "\nError: " + error);
                            // Optionally, you can handle different HTTP response codes differently
                            if(xhr.status === 404){
                                console.error("Not Found");
                            }
                            // Further handling or user notification
                        }
                    });
                });
            });
        }, false);
    </script>
    </body>
</html>
The $.ajax() function contains an object of parameters. It contains a URL to send the request, a method property to check which HTTP request method is used, and a data object that contains all the form data.
The success and error function is there. If our request is sent successfully, we can catch the returned data in the success function, and if it throws an error, we can see it in the error function.
Step 6: Saving the data from the AJAX POST request into the database
Switch to the GroceryController.php file and complete the store() function.
<?php

namespace App\Http\Controllers;

use Illuminate\Http\Request;
use App\Models\Grocery;

class GroceryController extends Controller
{
    public function create()
    {
        return view('grocery');
    }
    public function store(Request $request)
    {
        $grocery = new Grocery();
        $grocery->name = $request->name;
        $grocery->type = $request->type;
        $grocery->price = $request->price;

        $grocery->save();
        return response()->json(['success' => 'Data is successfully added']);
    }
}
Head to this URL: http://localhost:8000/grocery/create, and try adding groceries to the database.
If everything is correct, then you will see the success message like this:
You can verify the inserted data into the groceries table in the database like this:
That’s it. We successfully sent an AJAX POST request to the server and saved the data into the database without refreshing the page.


ryan
really appreciate your work. keep going. it will be fine if you make next tutorial for role base authentication in laravel
Chris
Thank you. Yours is the 5th ajax-laravel intro tute I’ve tried and the first one that actually worked. Much appreciated.
tyuyutu
utuy
sandip poudel
data is not being stored in database?
fazz
right
abolfazl
thanks a lot (:
Tuan
Hi, everyone. Any help is appreciated. I run laravel on Xampp and cannot save to the database.
i have this error.
Failed to load resource: the server responded with a status of 500 (Internal Server Error)
JESSE
hello can you check the contents stored at storage/logs/laravel.log
crismith
muchas gracias
GreateFul
Thanks sir 🙂
Mehdi
Thank you so much sir
Krunal
I have included in the code at step 5.
Chimdesa
bro you are really a gentleman. I am very happy to read and understand your post regard on AJAX in laravel. Thank you very much. In addition what I need your help is, please teach me how to Multi-step form in laravel and use AJAX for saving the form data in Database.Please give me the resource regarding to my request if there!
Darshan
Hiii,
Awesome Content
Very Use Full…
komallah
after the data has been submitted set values to null
Mohan
I am developing application using plain PHP , Javascript and Ajax . I don’t use jquery
I do not understand hoe Laravel can help me ?? Seems to be too many layers for nothing
Samuel
Ty, you help me alot.
abdo
appreciated sir,thank u a lot
Gregory
Thanks for your project.
You are best developer.
Thank you.
Mr. Zaryalai Ahmadi IT
thanks to do your part!
Abdul Rehman
please share web.config file as well
Gerry
thanks sir, it was worked to me as well
Fahimeh
Thank you Krunal.