
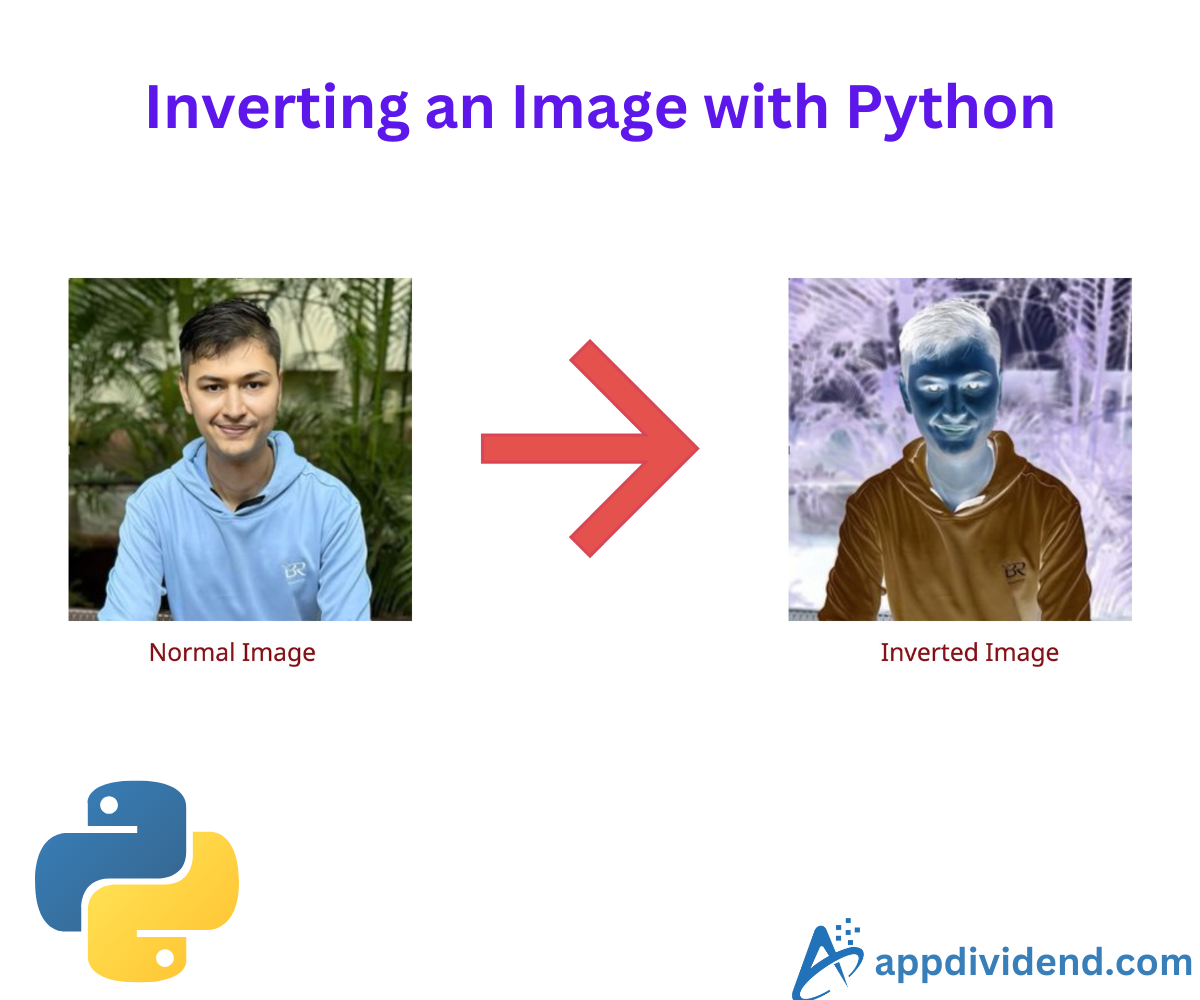
Image inversion is a process in which each pixel’s intensity value is subtracted from the maximum possible value, creating a photographic negative of an original image.
If you work with medical reports and imaging, you may have encountered negative images, such as X-ray reports, where image inversion is beneficial.
Below is an example of a simple image and an inverted image:
 You can see from the above image that “Inverted Image” appears to be a negative image.
Here are three ways to invert an image with Python:
- Using Pillow’s ImageOps (If you are looking for a simple approach)
- Using cv2.bitwise_not() (If you are looking for an optimized approach)
- Using 255-image subtraction (Universal approach)
Method 1: Using Pillow’s ImageOps
Inverting an image means inverting its colors. The Pillow library provides an ImageOps module with the .invert() method for inverting the colors. Then, save the inverted image in your system.
 The image above highlights the process flow of inverting an image using the ImageOps.invert() method.
First, we load an image using PIL. Then, inverting its color, and finally saving that image.
Install the pillow library if not already installed:
pip install pillow
Code example
from PIL import Image, ImageOps

# Loading an image
image = Image.open('krunal.png').convert('RGB')

# Inverting the color of the image
im_invert = ImageOps.invert(image)

# Saving the image
im_invert.save('invert.jpg', quality=95)
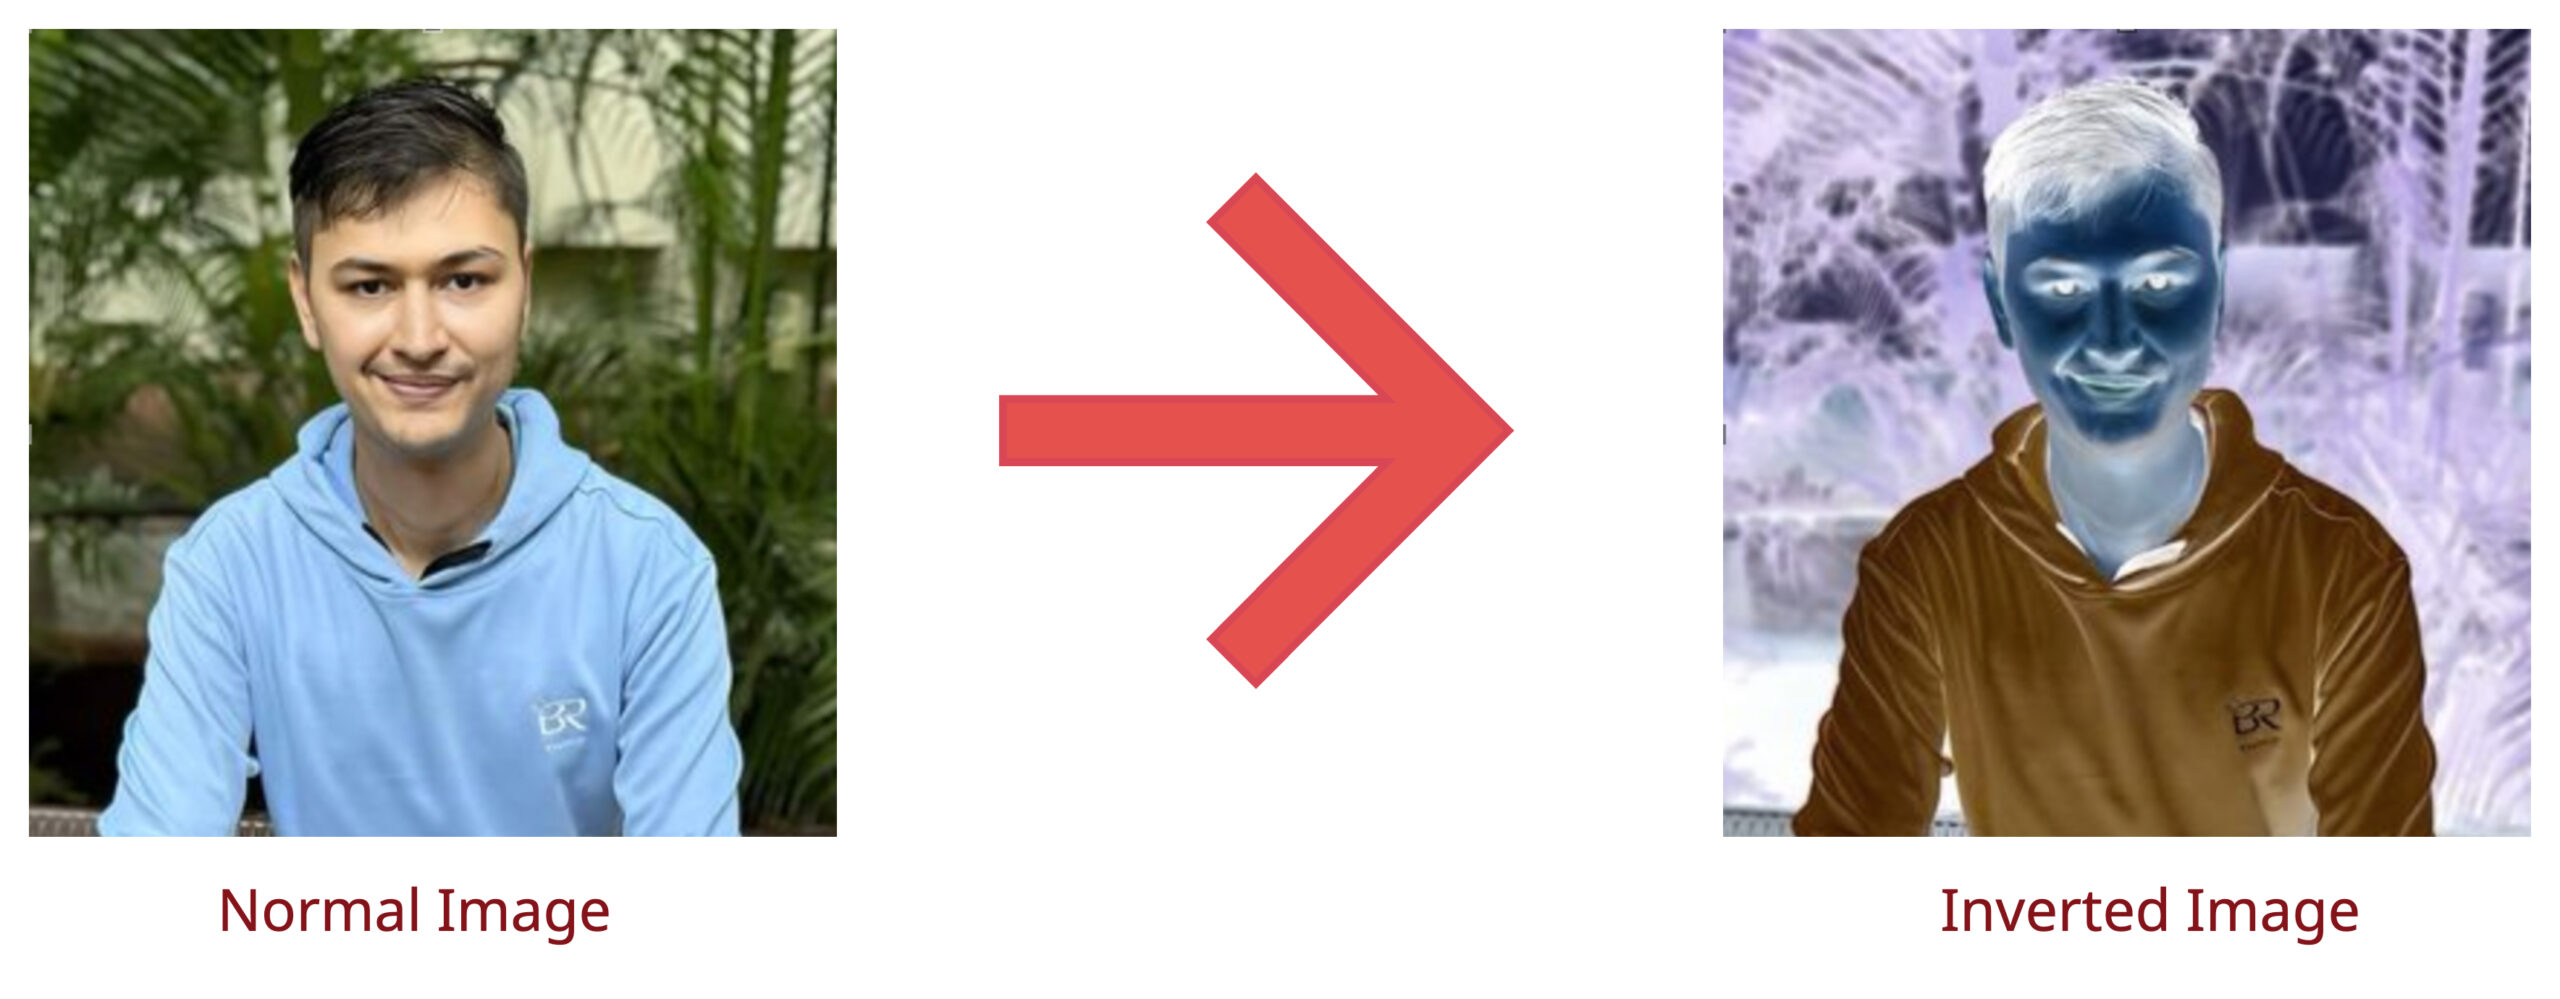
Before conversion

After conversion
The pillow approach is intuitive and straightforward, and handles different image modes (RGB, RGBA) differently. If you are working with large images, it won’t be as fast as OpenCV.
Method 2: Using cv2.bitwise_not()
The opencv-python is a computer vision library in Python that provides the cv2.bitwise_not() function that performs a bitwise NOT operation on each pixel, effectively inverting the image.
 The above image is self-explanatory.
First, we loaded an image using the cv2.imread() function and then inverted the color using the cv2.bitwise_not() function. At last, I saved the inverted image using the cv2.imwrite() method.
Install the opencv-python library if you have not installed it already:
pip install opencv-python
Code example
import cv2

# Loading the image
image = cv2.imread('krunal.png')

# Checking if the image was loaded successfully
if image is None:
    print("Error: Image not found.")
else:
    # Inverting the image
    inverted_image_bitwise = cv2.bitwise_not(image)

    # Saving the inverted image
    cv2.imwrite('krunal_inverted', inverted_image_bitwise)
Before conversion
After conversion
If you are already working with computer vision projects, you should always use the cv2.bitwise_not() approach. It is fast and concise.
This approach is suitable when your images have 8 bits and the value changes from 0 to 255. The only con is that it may support a limited number of data types compared to OpenCV.
Method 3: Using 255-image subtraction
You can subtract each pixel value of the image from 255, which is also the maximum pixel value for 8-bit images. The basic syntax is this:
inverted_image_subtract = 255 - your_image
Decision Tree Diagram
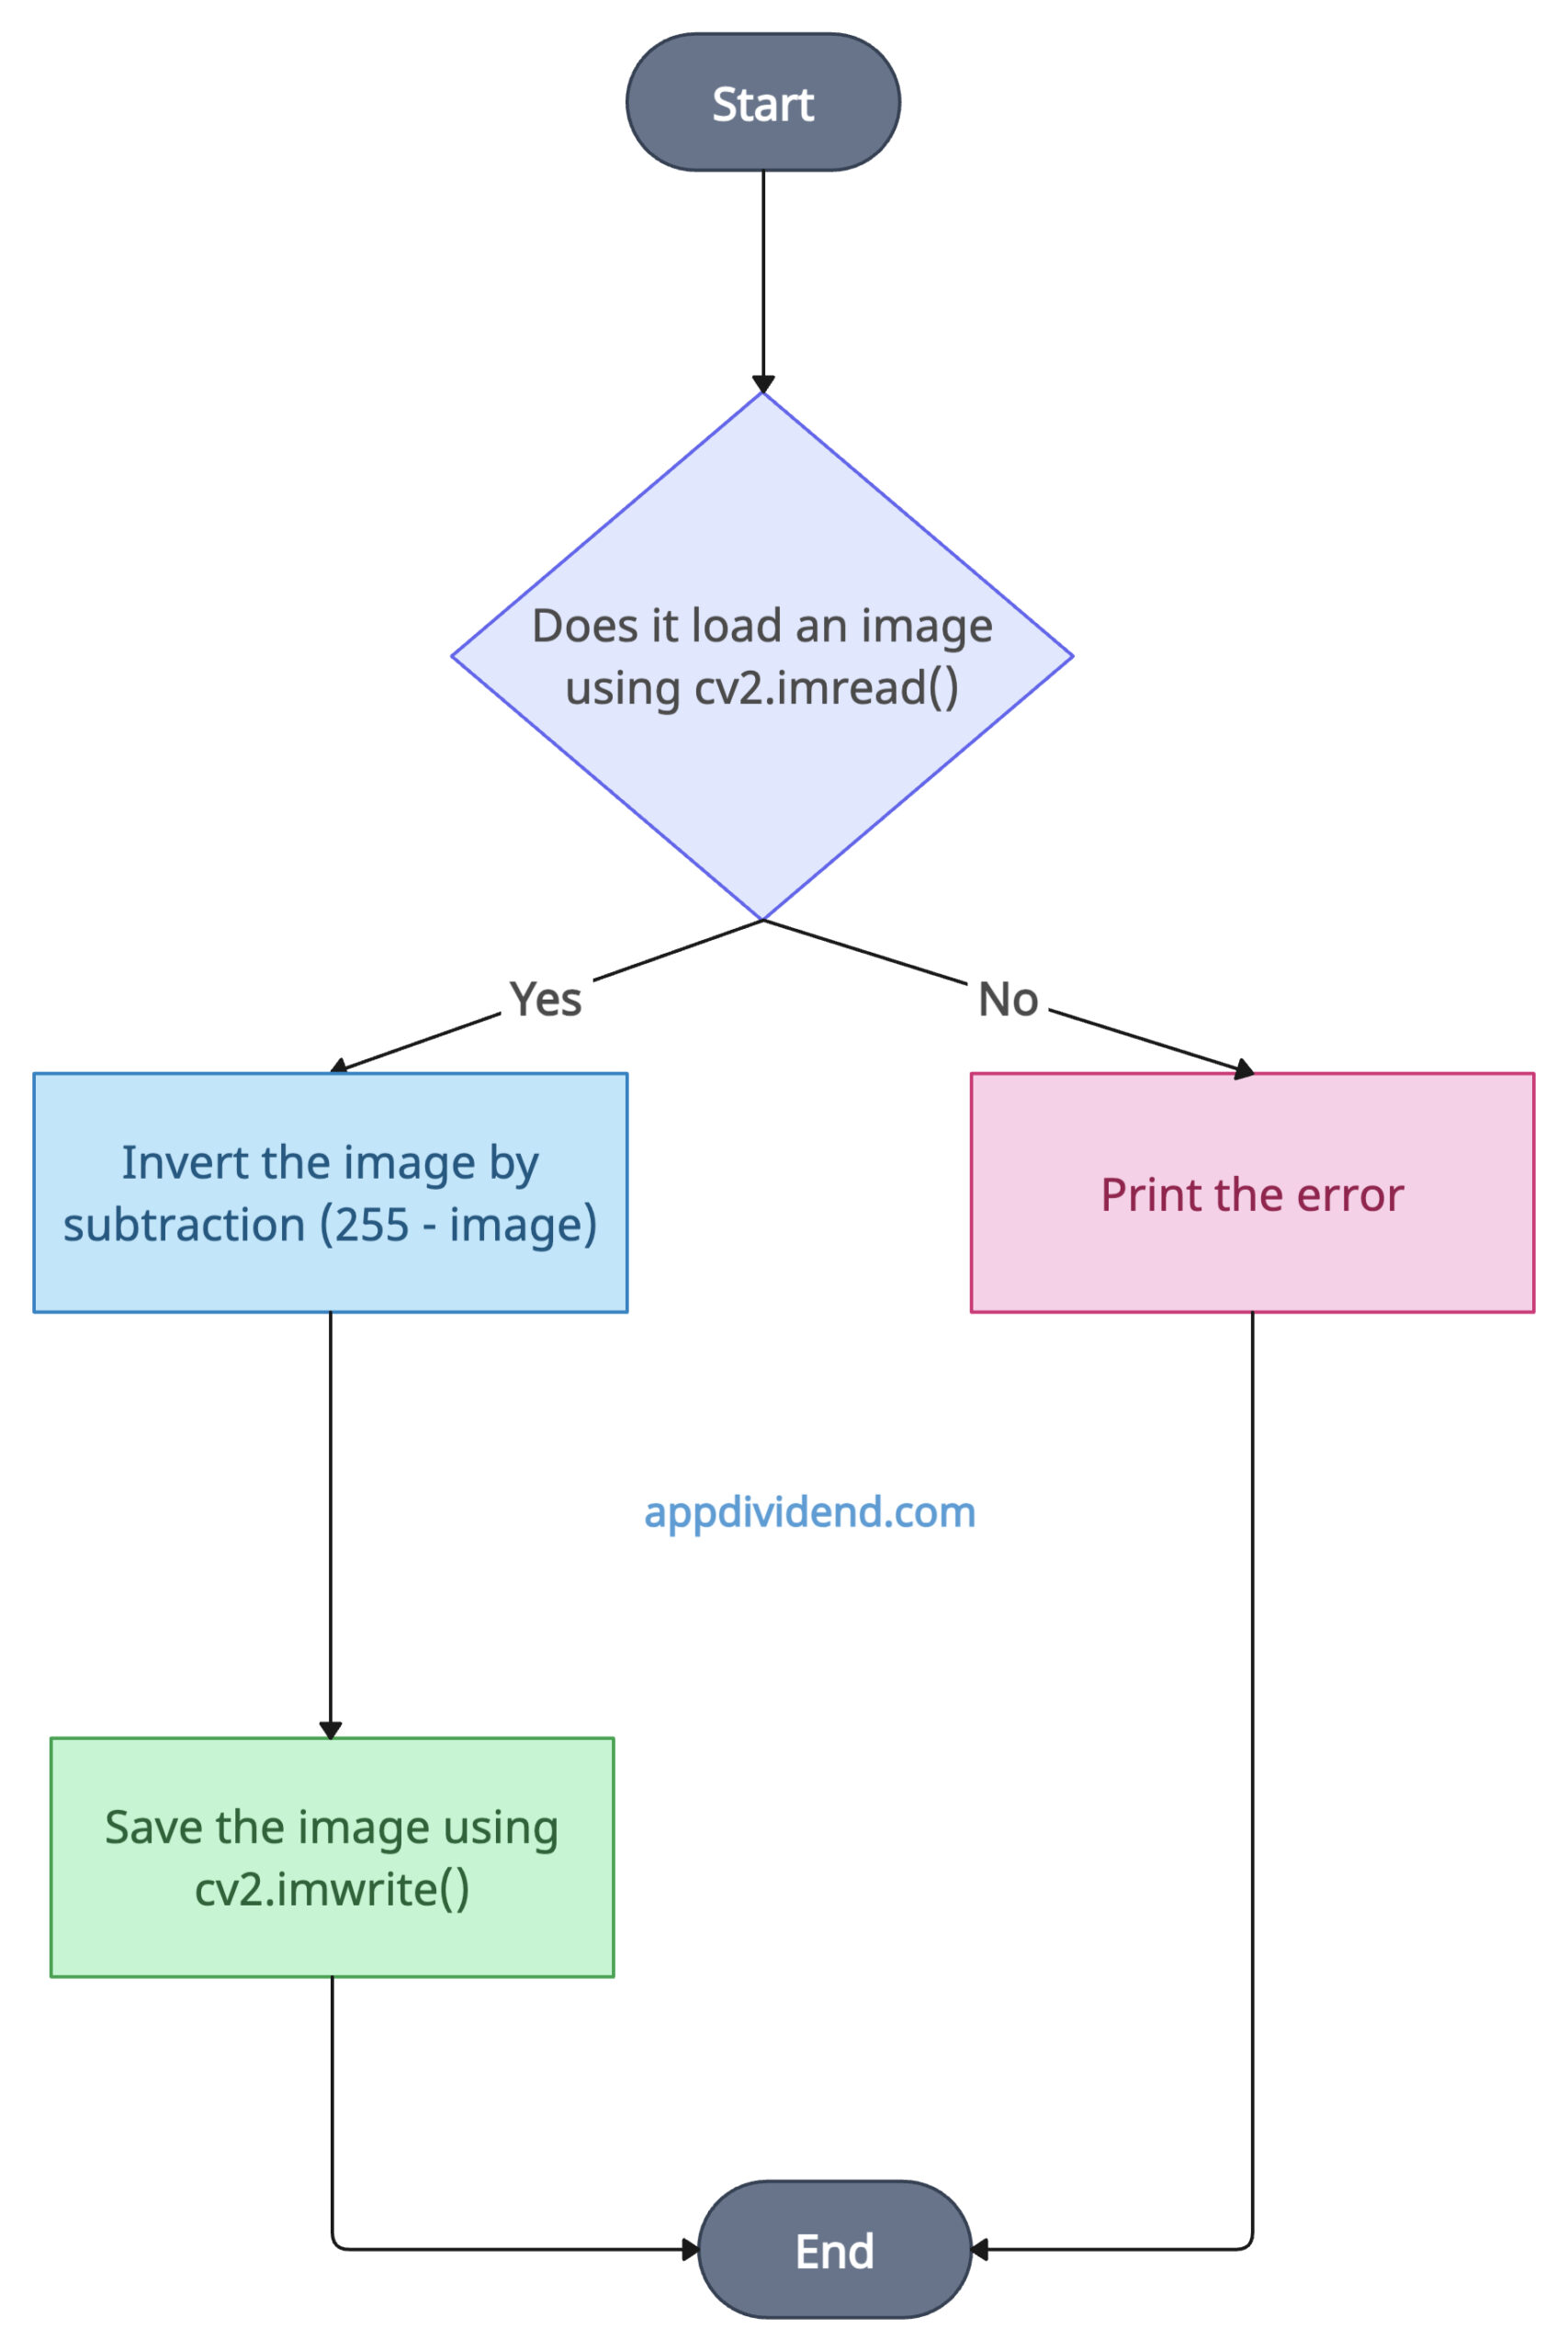 As shown in the diagram above, the process is straightforward. We are simply subtracting 255 from each pixel of an image.
Code example
import cv2

# Loading the image
image = cv2.imread('Krunal.png')

# Checking if the image was loaded successfully
if image is None:
    print("Error: Image not found.")
else:
    # Inverting the image by subtraction
    inverted_image_subtract = 255 - image

    # Saving the inverted image
    cv2.imwrite('kunal.png', inverted_image_subtract)
Before conversion
After conversion
The significant advantage of the subtracting approach is that it works universally across different image data types. You can use this approach with OpenCV as well as Numpy arrays.
However, it requires knowledge of the maximum pixel value, which varies depending on the data type (e.g., 255 for 8-bit, 65535 for 16-bit).