
The easiest way to add text to an image with Python is by using the Pillow Library’s ImageDraw and ImageFont classes.
As a beginner, you will learn how to import a pillow and utilize various functions to adjust the position of text on the image, its font family, size, and even multi-line text.
Prerequisites
- Python 3.x.
- Pillow library
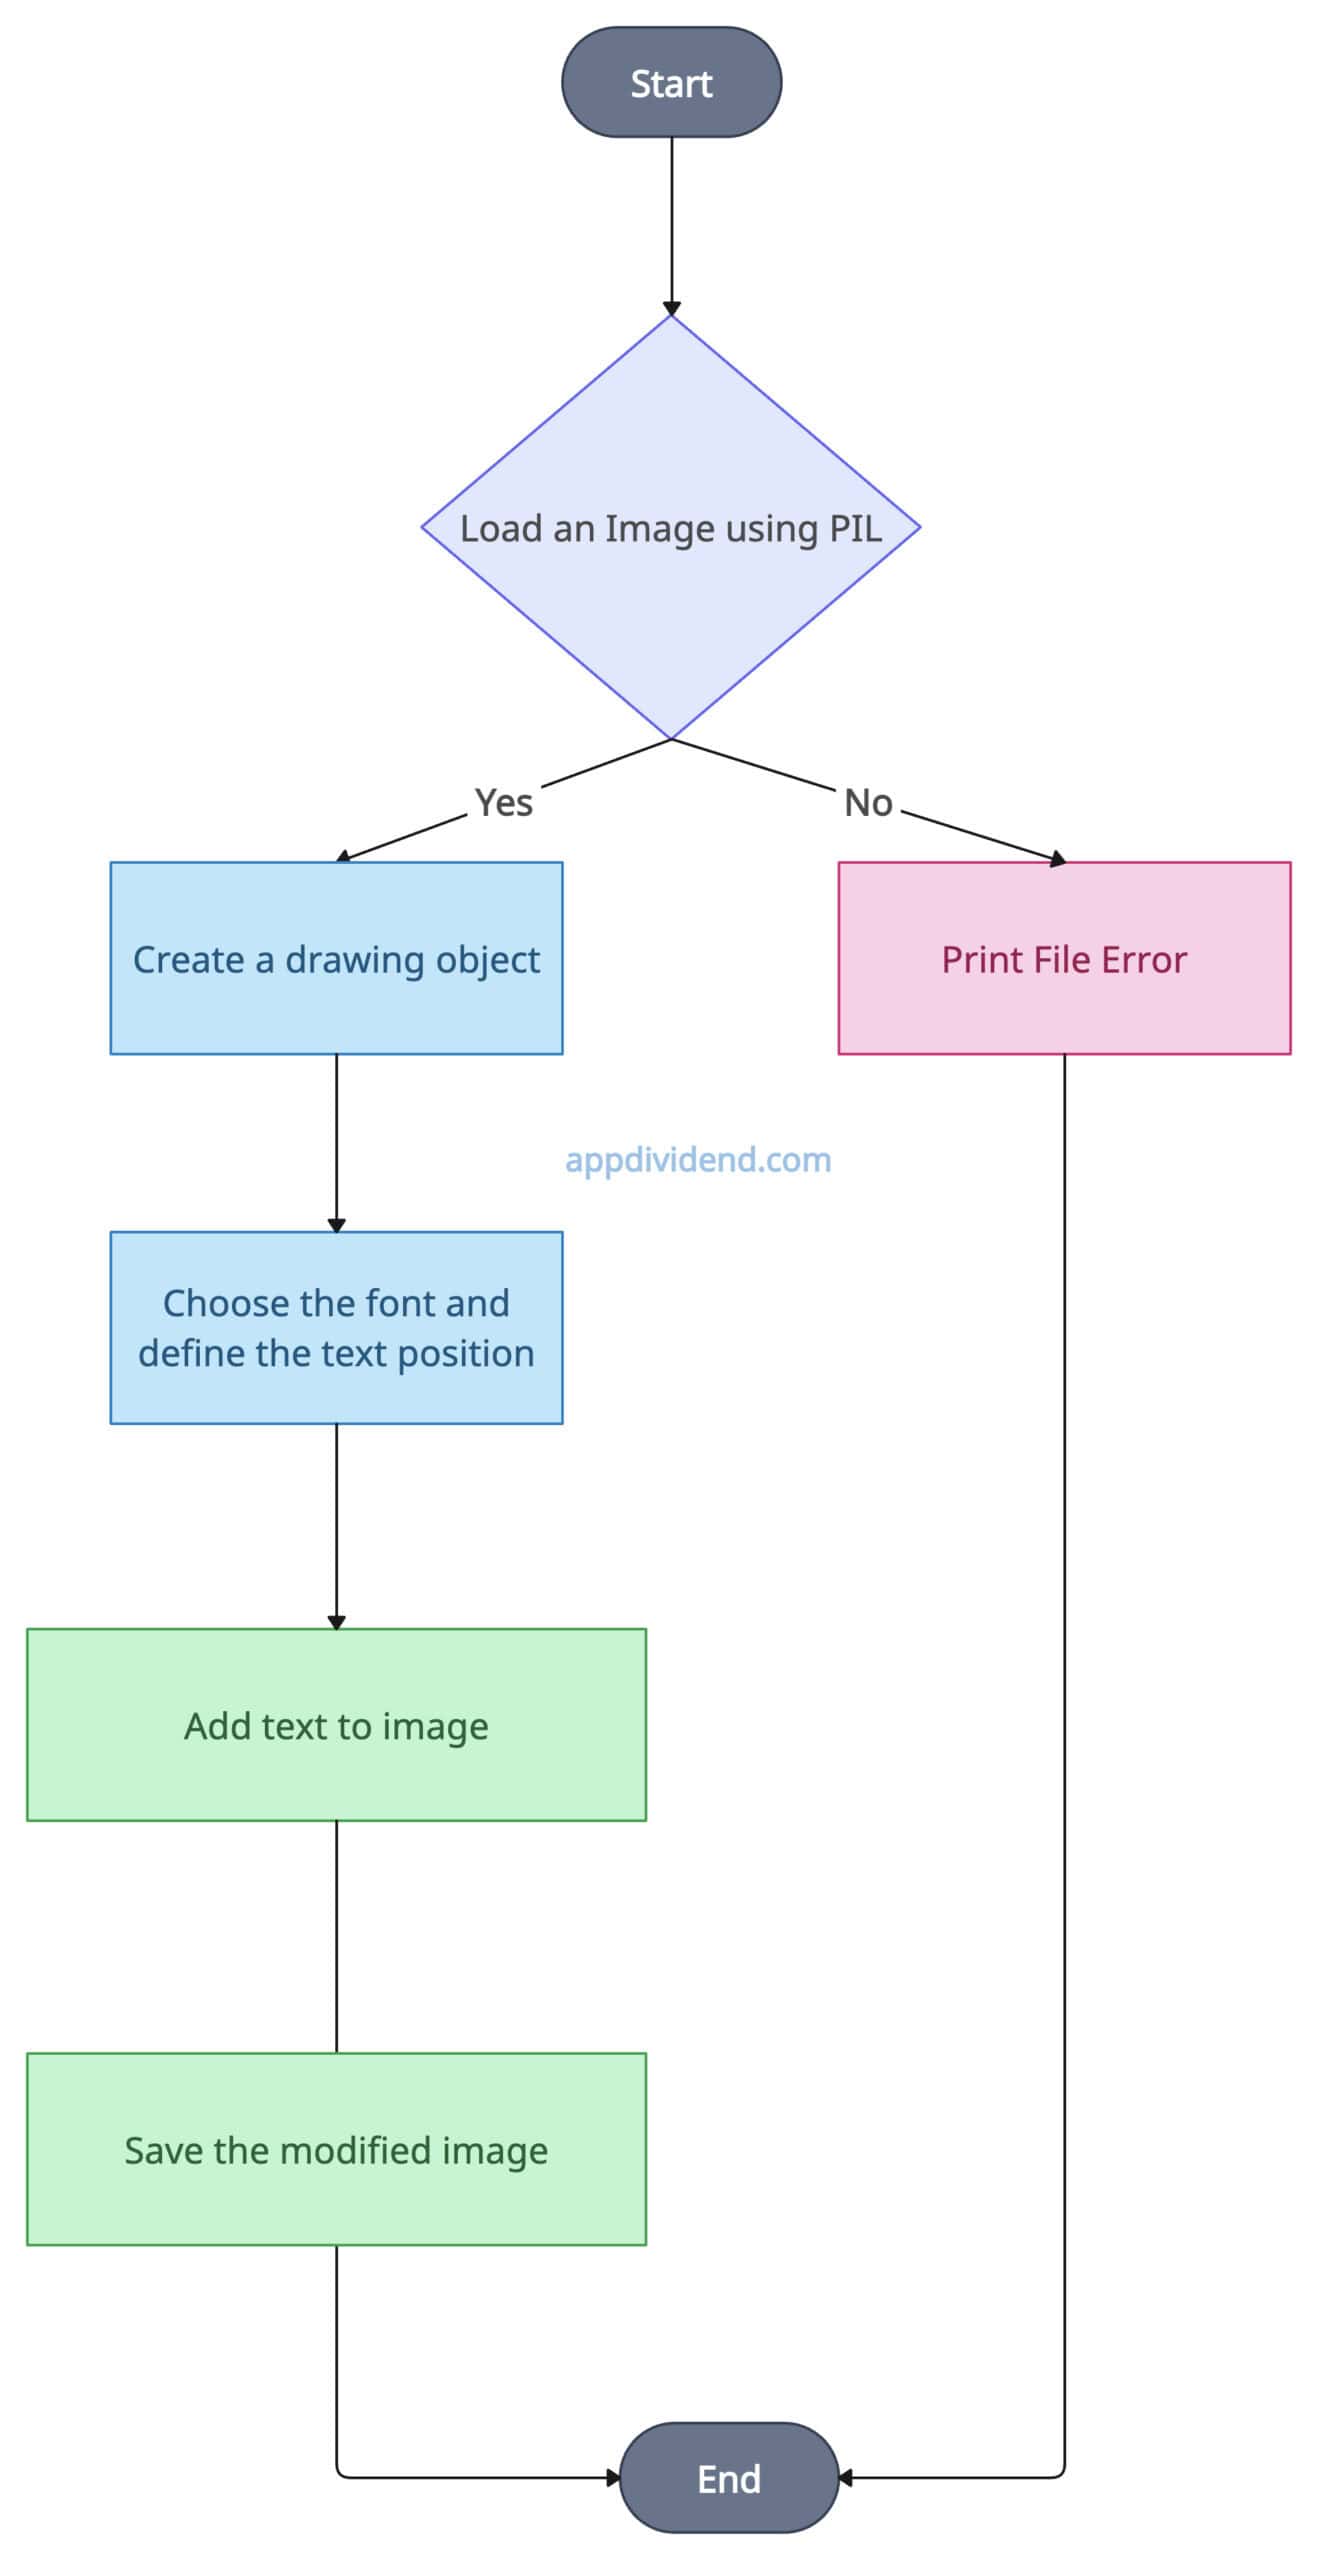
Decision Tree Diagram
Step-by-step guide
Step 1: Install the Pillow library
If the pillow library is not installed, then you can install it using the command below:
pip install pillow
Step 2: Import the modules
We can import the pillow library in our Python program like this:
from PIL import Image, ImageDraw, ImageFont
Step 3: Load the image
For this practical, we will use the “k1.jpg” image that looks like this:

The image above is located in the working directory of my current project. Make sure that you have it in the same directory.
To load an image, we need to use Image.open() function.
# Loading an image from file

image = Image.open('k1.jpg')
Step 4: Preparing to draw
To write text, we need to first create a drawing object. Luckily, ImageDraw exactly provides that.
# Creating a drawing object

draw = ImageDraw.Draw(image)
Step 5: Choose a font and size
We have to choose a font type and size for the text before writing it. The ImageFont.load_default() function provides a default font type, and if you pass the “size” argument, it will define the size for you.
# Choosing a font and size

font = ImageFont.load_default(size=72)
Step 6: Adding text
Define the text you want to add and position the x and y coordinates. These coordinates define the position in the image where the text will be placed. You need to adjust that accordingly.
# Defining the text and position
text = "Krunal Lathiya!"

# (x, y) coordinates
position = (50, 50)

# Adding text to the image with dark red color
draw.text(position, text, font=font, fill=(139, 0, 0))
Here, we added a defined text to the image at a specified position with a specified color.
Step 7: Save the modified image
You can use the .save() method to store the modified image in your local file system.
# Saving the image

image.save('k1_text.jpg')
Here is the complete code:
from PIL import Image, ImageDraw, ImageFont

# Loading an image from file
image = Image.open('k1.jpg')

# Creating a drawing object
draw = ImageDraw.Draw(image)

# Choosing a font and size
font = ImageFont.load_default(size=72)

# Defining the text and position
text = "Krunal Lathiya!"

# (x, y) coordinates
position = (50, 50)

# Adding text to the image with dark red color
draw.text(position, text, font=font, fill=(139, 0, 0))

# Saving the image
image.save('k1_text.jpg')
Output
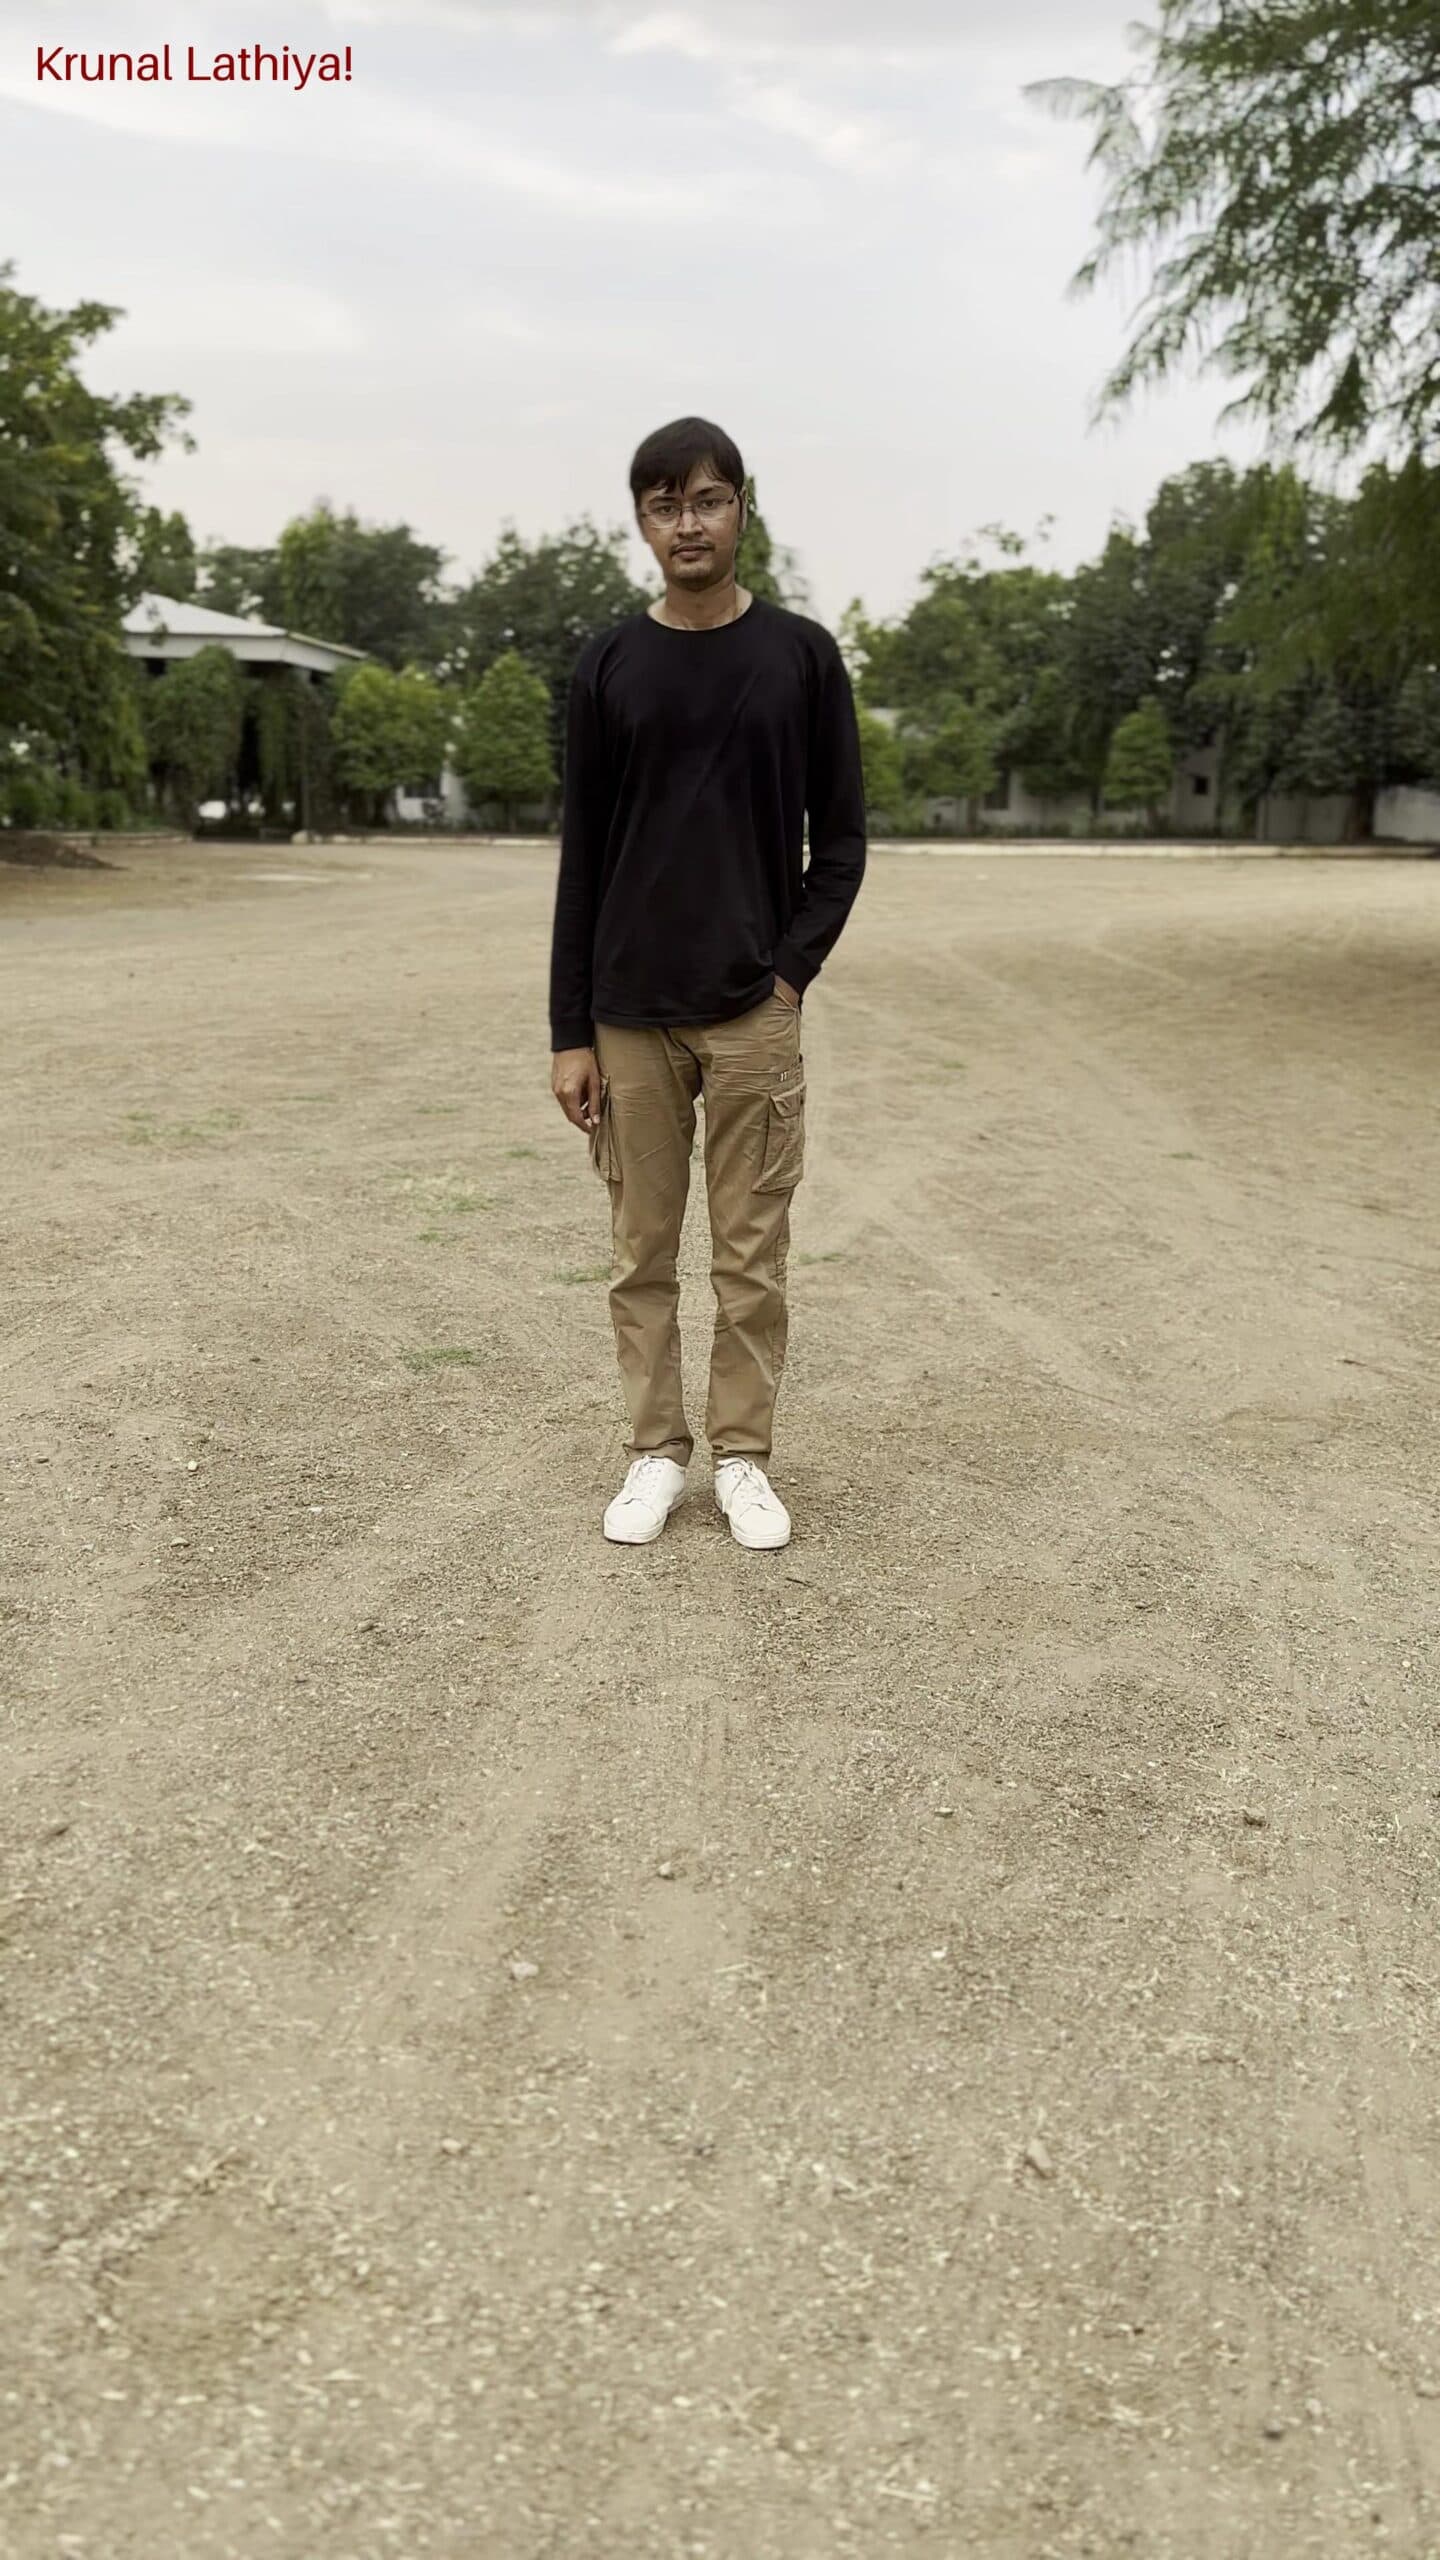
You can see from the above image that in the top left corner, I added a red-colored text called “Krunal Lathiya”.
Pillow provides a simple and intuitive API that supports default and custom fonts.
If you are looking for basic text insertion, then I recommend using the Pillow library. It has specific uses, such as watermarking, labeling, annotations, or creating meme images.
If you are looking for advanced text rendering solutions, I recommend using the OpenCV library. Furthermore, the pillow is not optimized for performance-intensive applications.
Changing text color and font size
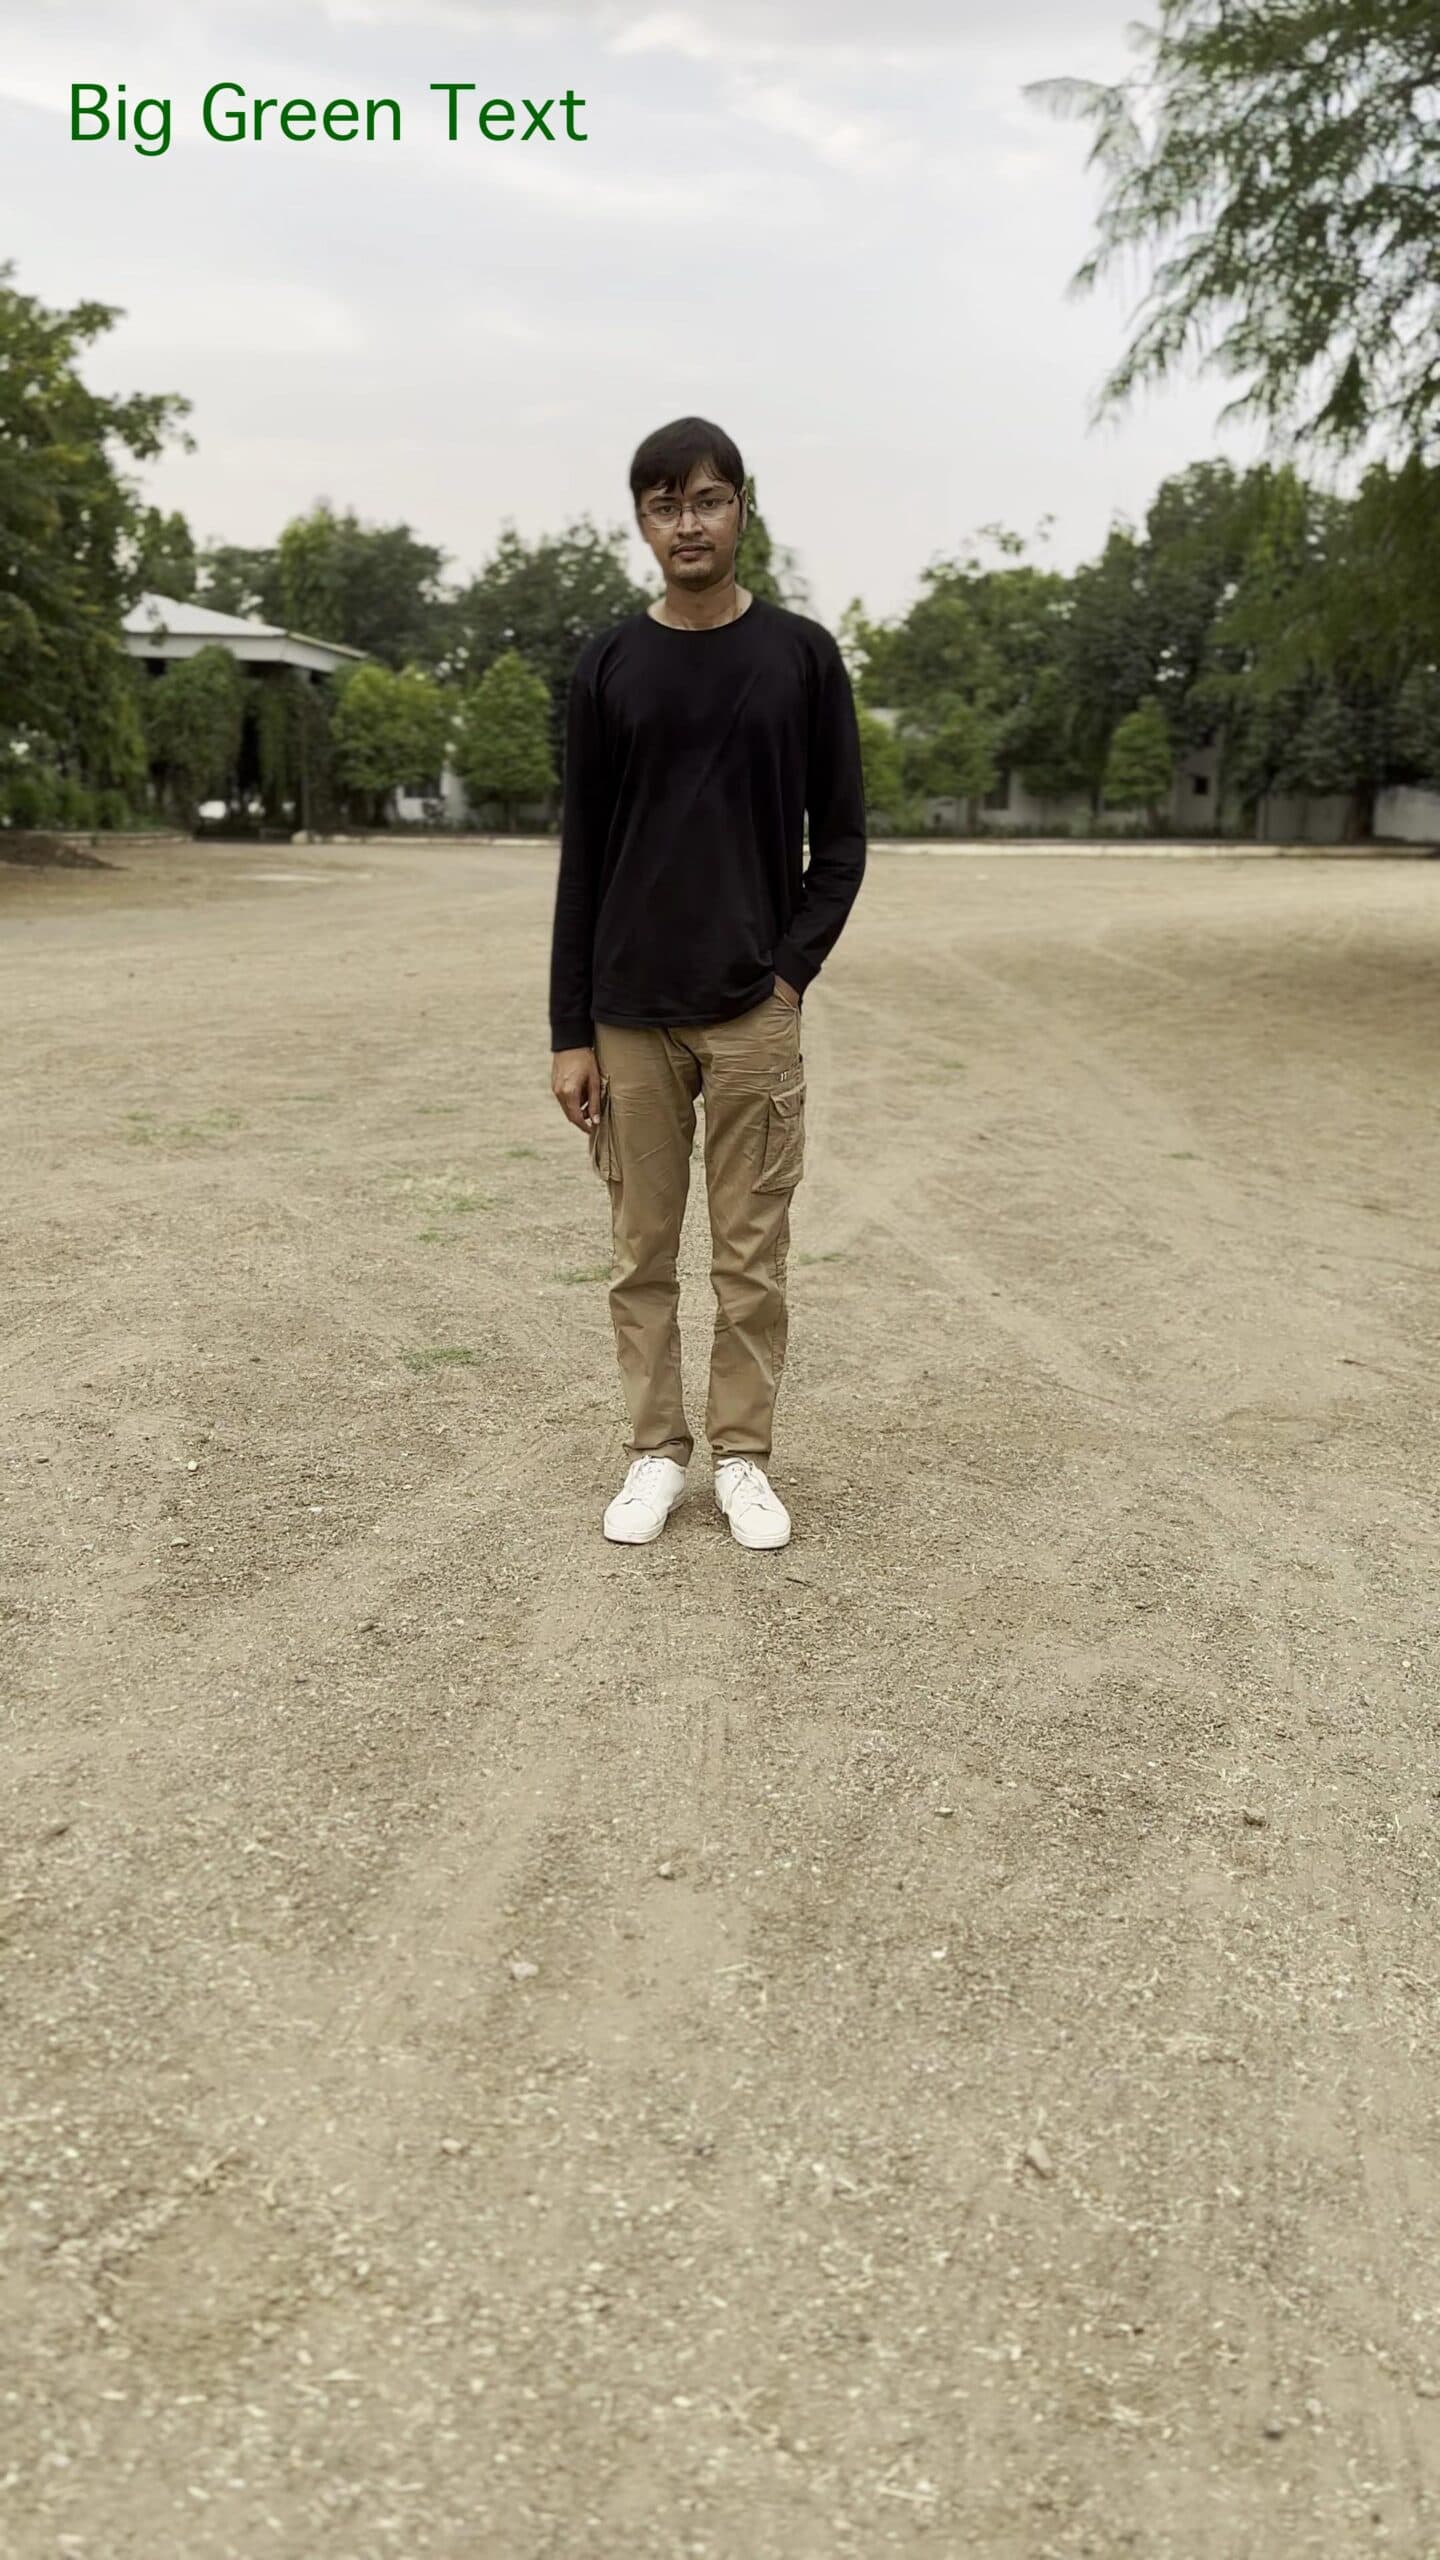
We can use the .truetype() function to change the font family and font size. Let’s set the font color to dark green and size 110.
Ensure that the font you are using is already installed on your machine. Otherwise, you will get this type of error: OSError: cannot open resource.
# Specify font and size
font = ImageFont.truetype('/System/Library/Fonts/Geneva.ttf', size=110)

# Text to add
text = "Big Green Text"
position = (100, 100)

# Adding text to the image with dark green color
draw.text(position, text, font=font, fill=(0, 100, 0))

# Saving the image
image.save('k1_text_green.jpg')
Output
Centering text on the Image
Let’s make the text center both horizontally and vertically on an image:
from PIL import Image, ImageDraw, ImageFont

# Loading an image from file
image = Image.open('k1.jpg')

# Getting width and height
width, height = image.size

# Creating a drawing object
draw = ImageDraw.Draw(image)

# Specifying font and size
font = ImageFont.truetype('/System/Library/Fonts/Geneva.ttf', size=110)

# Text to add
text = "Centered Text"

# Calculating the bounding box of the text
bbox = draw.textbbox((0, 0), text, font=font)

# Calculating text width and height
text_width = bbox[2] - bbox[0]
text_height = bbox[3] - bbox[1]

# Calculating X, Y position for centered text
position = ((width - text_width) / 2, (height - text_height) / 2)

# Adding text to image
draw.text(position, text, font=font, fill=(255, 255, 255))

# Saving the image
image.save('k1_centered.jpg')
Output
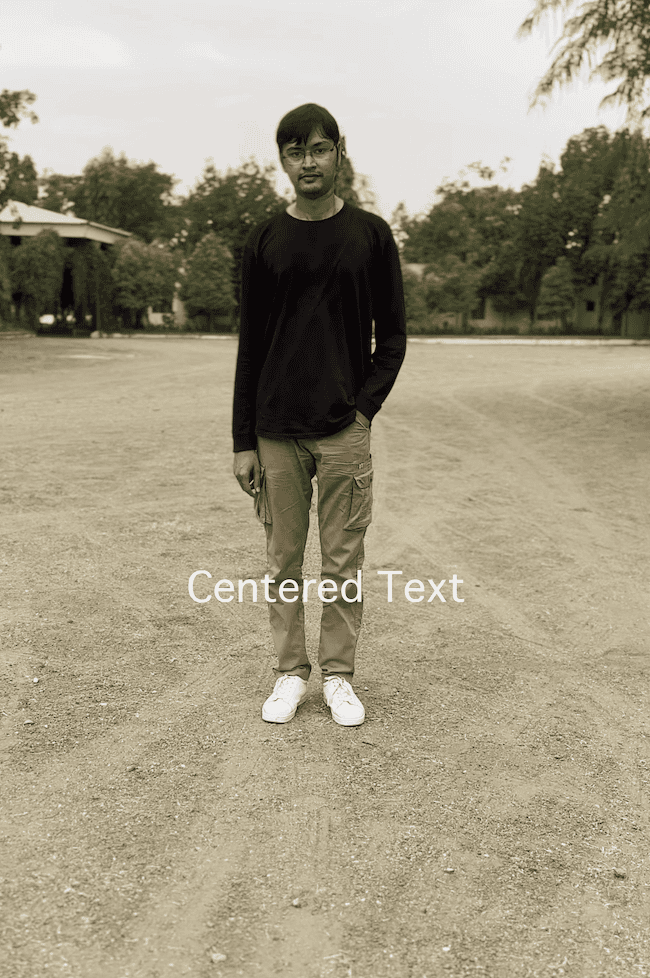
You can see from the above output image that we have centered the text in the image, and its color is white.
Adding multiple lines of text with line spacing
We can also add multiple lines of text by iterating a loop for each line and putting it in the image.
from PIL import Image, ImageDraw, ImageFont

# Loading an image from file
image = Image.open('k1.jpg')

# Getting width and height
width, height = image.size

# Creating a drawing object
draw = ImageDraw.Draw(image)

# Specifying font and size
font = ImageFont.truetype('/System/Library/Fonts/Geneva.ttf', size=110)

# Multi-line text
text = "This is line one.\nThis is line two.\nThis is line three."

# Adjusting Position
position = (50, 50)

# Adding Line spacing
line_spacing = 10

# Splitting text into lines
lines = text.split('\n')

# Drawing each line separately
y_offset = position[1]
for line in lines:
    # Using textbbox to get the height of each line
    bbox = draw.textbbox((0, 0), line, font=font)
    text_height = bbox[3] - bbox[1]

    # Drawing the text line by line
    draw.text((position[0], y_offset), line, font=font, fill=(0, 0, 255))

    # Updating y_offset with the line height and spacing
    y_offset += text_height + line_spacing

# Saving the image
image.save('multiline_image.jpg')
Output
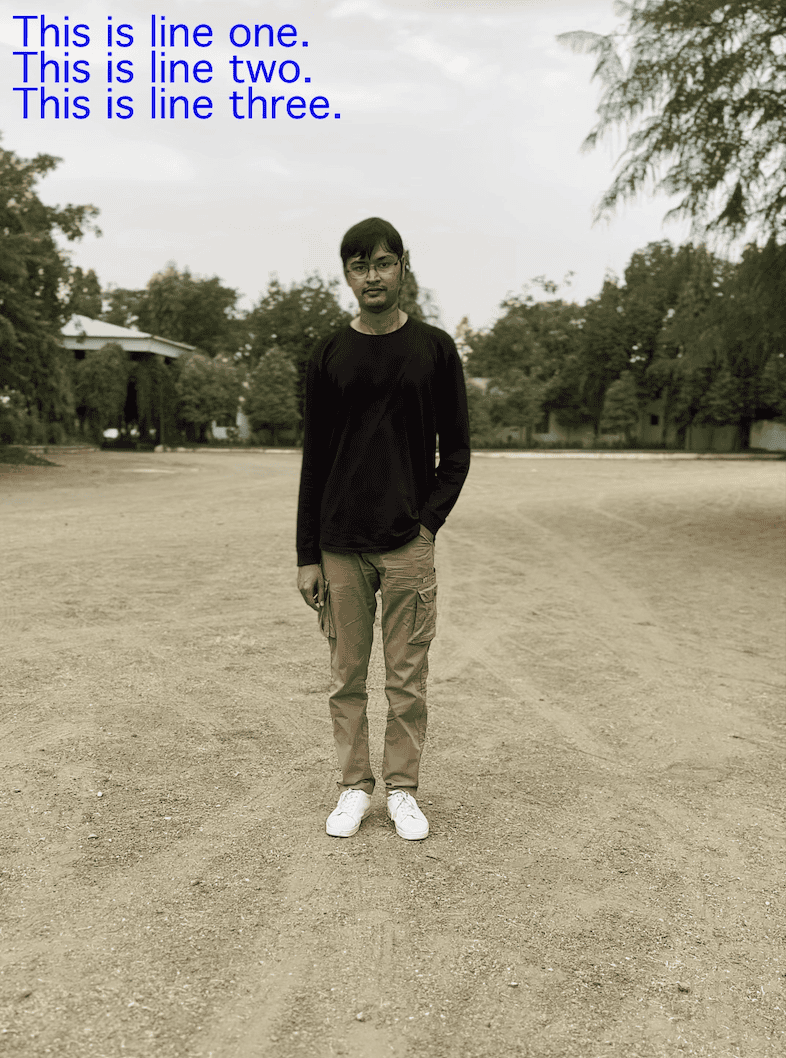
That’s all!