

Picture this: You are building a single-page application with three components: Home, About, and Contact. You want seamless navigation between these components without refreshing the page. How do you do it? Well, the answer is the RouterLink directive.
What is RouterLink?
RouterLink is a built-in Angular Directive that lets you link to specific routes in your app. In the SPA(single-page application), you change what the user sees by showing or hiding portions of the display corresponding to particular components rather than going to the server to get a new page.
RouterLink binds clickable elements to a route path defined in the routing configuration. When a user clicks on a link with a RouterLink directive, Angular navigates to the specified route and updates the view accordingly.
As users need to perform application tasks, they must move between the views you have defined. To implement navigation between different routes within your single-page app, use the Angular Router.
Consider the following route configuration: [{ path: ‘customer/:id’, component: CustComponent }]. When linking to this customer/:id route, you use the RouterLink directive.
If there is a static link, you can use the directive as follows: <a routerLink=”/customer/21″>link to cust component</a>.
If you use dynamic values to generate a link, you can pass the array of path segments, followed by the parameters for each segment.
For instance, [‘/group’, groupId, ‘user’, userName, {full: true}] means we want to generate a link to /group/21/user/billy;full=true.
Routing segments
The first segment name can be prepended with /, . /, or . . /:
- If the first segment begins with /, the router will look up the route from the app’s root.
- Suppose the first segment begins with. Then /, or doesn’t start with a slash, the router will look in the children of the current activated route.
- And if the first segment begins with . . /, the router will go up one level.
In this guide, you will learn how to set up and use RouterLink in Angular 18, ensuring smooth navigation and a better user experience.
Let’s dive into the steps to use RouterLink effectively by creating a tiny Angular project:
Step 1: Setup an Angular Project
You can create a new Angular project if you have installed Angular CLI using the below command:
ng new routing-app
Go inside the project:
cd routing-app
Step 2: Create the necessary components
To navigate different routes or pages, we need components.
To create a component, you can use the Angular CLI’s “ng g c” command:
ng g c about
ng g c contact
ng g c home
It will create three folders inside the src/app folder:
- about
- contact
- home
Step 3: Setup routing
Angular 18 comes with default routing settings. There is a built-in file called src/app/app.routes.js file.
We will define all the routes for our application in this file.
Let’s import three components and define the routes for these components like this:
// app.routes.ts

import { Routes } from '@angular/router';
import { HomeComponent } from './home/home.component';
import { AboutComponent } from './about/about.component';
import { ContactComponent } from './contact/contact.component';

export const routes: Routes = [
  { path: '', component: HomeComponent },
  { path: 'about', component: AboutComponent },
  { path: 'contact', component: ContactComponent }
];
Here, we are saying that when users navigate to the “/about” path, we will display the about component or page. If they navigate the home route, we will display the home page, which will be true for the contact page.
Step 4: Import RouterLink and RouterLinkActive
To use RouterLink and RouterLinkActive directives, we need to import them from the @angular/router module.
Add the following code inside the src/app/app.component.ts file:
// app.component.ts

import { Component } from '@angular/core';
import { RouterLink, RouterLinkActive, RouterOutlet } from '@angular/router';

@Component({
  selector: 'app-root',
  standalone: true,
  imports: [RouterOutlet, RouterLink, RouterLinkActive],
  templateUrl: './app.component.html',
  styleUrl: './app.component.css',
})

export class AppComponent {
}
Now, we can use the RouterLink and RouterLinkActive directives inside the HTML template file.
Add the following code inside the src/app/app.component.html file:
<nav>
  <a routerLink="/" routerLinkActive="active">Home</a>
  <a routerLink="/about" routerLinkActive="active">About</a>
  <a routerLink="/contact" routerLinkActive="active">Contact</a>
</nav>
<router-outlet></router-outlet>
In this code, we defined three navigation links.
- When the user clicks on the Home page, it will display the Home view.
- When the user clicks the “/about” route, the routerLinkActive directive highlights that link and displays the About page.
- When the user clicks the “/contact” route, the routerLinkActive directive highlights that link and displays the Contact page.
The <router-outlet> directive displays the views based on the current routes we mapped inside the src/app/app.routes.ts file. The <router-outlet> </router-outlet> acts as a placeholder for components.
Also, add the CSS inside the src/app/app.component.css file:
/* app.component.css */

nav a {
  margin: 0 10px;
  text-decoration: none;
  color: #3f51b5;
}

nav a.active {
  font-weight: bold;
}
Step 5: Run the project
Start the development server using the below command:
ng serve -o
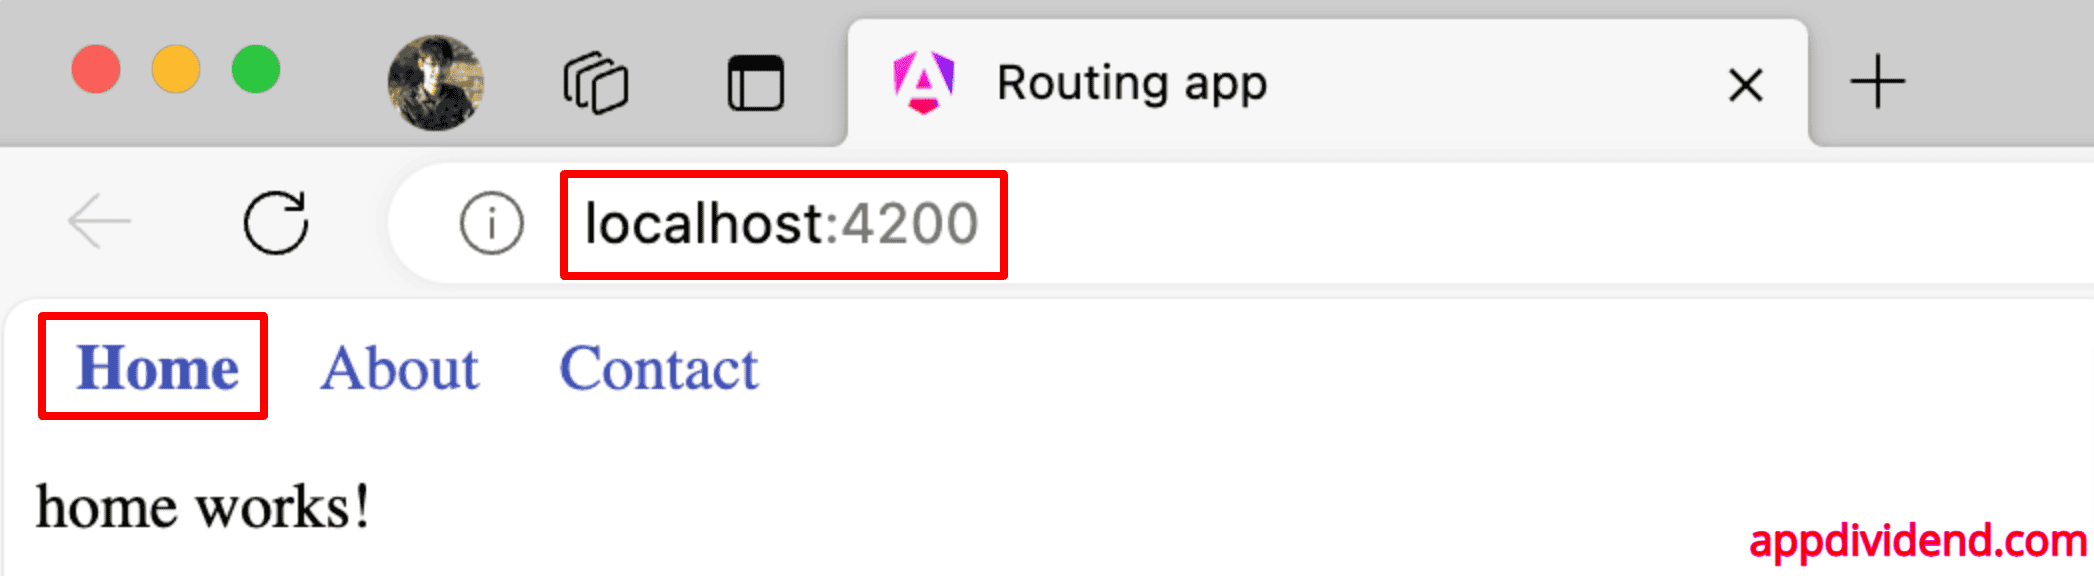
If you click on the contact link, it will display the contact page like the below screenshot:

You can also change the route programmatically in Angular:
this.router.naigate(['/about']);
Accessing Route Parameters
You can access route parameters in Angular using the ActivatedRoute service provided by @angular/router.
The ActivatedRoute service provides a snapshot of the current route.
Let’s create a four component called user-detail using the following command:
ng g c user-detail
It will create a user-detail folder inside the src/app folder:
Import this component inside src/app/app.routes.ts file like this:
// app.routes.ts

import { Routes } from '@angular/router';
import { HomeComponent } from './home/home.component';
import { AboutComponent } from './about/about.component';
import { ContactComponent } from './contact/contact.component';
import { UserDetailComponent } from './user-detail/user-detail.component';

export const routes: Routes = [
  { path: '', component: HomeComponent },
  { path: 'about', component: AboutComponent },
  { path: 'contact', component: ContactComponent },
  { path: 'user/:id', component: UserDetailComponent }
];
You can see that the UserDetailComponent component has the path “user/:id”.
To access the value of the “id” parameter, we need the ActivatedRoute service.
Add the following code inside src/app/user-detail/user-detail.component.ts file:
// user-detail.component.ts

import { Component, OnInit } from '@angular/core';
import { ActivatedRoute } from '@angular/router';

@Component({
  selector: 'app-user-detail',
  standalone: true,
  imports: [],
  templateUrl: './user-detail.component.html',
  styleUrl: './user-detail.component.css',
})
export class UserDetailComponent implements OnInit {
  userId!: string;

  constructor(private route: ActivatedRoute) {}

  ngOnInit() {
    // Access route parameter
    this.route.paramMap.subscribe((params) => {
      this.userId = params.get('id')!;
    });
  }
}
Here, we used the paramMap.subscribe() method that returns params.get() method to get the value of the “id” parameter.
We will display the value of the “id” parameter in the HTML view by updating the src/app/user-detail/user-detail.component.html file:
<h1>User Detail</h1>

<p>User ID: {{ userId }}</p>
The final step is to link this new user-detail route in HTML by updating the src/app/app.component.html file:
<nav>
  <a routerLink="/" routerLinkActive="active">Home</a>
  <a routerLink="/about" routerLinkActive="active">About</a>
  <a routerLink="/contact" routerLinkActive="active">Contact</a>
  <a routerLink="/user/123" routerLinkActive="active">User</a>
</nav>

<router-outlet></router-outlet>
Save the file and navigate to this URL: http://localhost:4200/user/123

Query Parameters
You can also access query parameters in Angular by using the “ActivatedRoute” service.
Let’s add two query parameters to the user-detail.component.ts file and access them in the HTML template.
Add the below code inside the src/app/user-detail/user-detail.component.ts file:
import { Component, OnInit } from '@angular/core';
import { ActivatedRoute } from '@angular/router';

@Component({
  selector: 'app-user-detail',
  standalone: true,
  imports: [],
  templateUrl: './user-detail.component.html',
  styleUrl: './user-detail.component.css',
})
export class UserDetailComponent implements OnInit {
  userId!: string;
  name!: string;
  age!: string;

  constructor(private route: ActivatedRoute) {}

  ngOnInit() {
    // Access route parameter
    this.route.paramMap.subscribe((params) => {
      this.userId = params.get('id')!;
    });

     // Access query parameters
     this.route.queryParamMap.subscribe(params => {
      this.name = params.get('name')!;
      this.age = params.get('age')!;
    });
  }
}
We used the ActivatedRoute service’s queryParamMap() method to access the value of query parameters.
Update the src/app/user-detail/user-detail.component.html file:
<h1>User Detail</h1>
<p>User ID: {{ userId }}</p>

<p>Query Parameter - Name: {{ name }}</p>
<p>Query Parameter - Age: {{ age }}</p>
And finally, update the src/app/app.component.html file like this:
<nav>
  <a routerLink="/" routerLinkActive="active">Home</a>
  <a routerLink="/about" routerLinkActive="active">About</a>
  <a routerLink="/contact" routerLinkActive="active">Contact</a>
  <a routerLink="/user/123" routerLinkActive="active" [queryParams]="{ name: 'John', age: 30 }">User</a>
</nav>

<router-outlet></router-outlet>
Save the file, go to the browser, and hit this URL: http://localhost:4200/user/123?name=John&age=30

That’s all!
