Angular route guard allows us to grant or remove access to certain parts of the navigation.
To prevent unauthorized access to certain sections of our application, use Route guards.
Client-side route guards like this are not meant to be a security feature. However, they won’t prevent a smart user from figuring out how to get to the protected routes.
In this article, we will explore the different types of Route Guards available in Angular 18, understand how to implement them and explore real-world use cases.
Types of routing guards
Route guards can prevent users from navigating to parts of an app without authorization.
There are five route guards available in Angular.
- CanActivate: It controls if a route can be activated.
- CanActivateChild: It controls if children of a route can be activated.
- CanLoad: It controls whether a route can be loaded. This becomes useful for lazy-loaded feature modules, which won’t load if the guard returns false.
- CanDeactivate: It controls if the user can leave a route. Note that this guard doesn’t prevent the user from closing the browser tab or navigating to a different address; it only prevents actions within the application.
- Resolve: It pre-fetches data before a route is activated.
To use route guards, consider using component-less routes as this facilitates guarding child routes.
Creating a Route Guard
To create a guard in your web app, type the following command.
ng generate guard your-guard-name
In your guard class, implement the guard you want to use.
The CanActivate guard decides whether a route can be accessed. For instance, it can check if a user is authenticated before granting access to a protected route.
Here is the step-by-step guide to implementing route guards in a basic Task Management App using Angular 18 with Route Guards to control access to various routes.
This small web application will have the following features:
- User authentication.
- Protected routes for managing tasks.
- Route guards to ensure only authenticated users can access specific routes. If the user is not authenticated, he will be redirected to the “/login” route.
Step 1: Set up the Angular 18 project
To create a new project, type the following command.
ng new guard-app
Go inside the project and install the Angular Material using the below command:
ng add @angular/material
Step 2: Generate different components
Type the below commands one by one:
ng generate component login
ng generate component dashboard
ng generate component task-list
ng generate component task-detail
Step 3: Generate Auth Service
You can generate a new Auth service using the below command:
ng g service auth
Let’s create a simple authentication service in this src/app/auth.service.ts file. Add the below code to it:
// auth.service.ts

import { Injectable } from '@angular/core';

@Injectable({
  providedIn: 'root',
})
export class AuthService {
  private isAuthenticated = false;

  login(username: string, password: string): boolean {
    // Simulate an API call
    if (username === 'user' && password === 'pass') {
      this.isAuthenticated = true;
      return true;
    }
    return false;
  }

  logout(): void {
    this.isAuthenticated = false;
  }

  isLoggedIn(): boolean {
    return this.isAuthenticated;
  }
}
In this typescript code, we defined three functions:
- login(): We are creating a simple login function that has a static username and password and sets it as authenticated to true if it matches the static username and password.
- logout(): We are implementing logout functionality by setting isAuthenticated to false.
- isLoggedIn(): It returns the user’s current status, whether he is authenticated or not.
In real life, you must check the user login details against the database credentials, and if it is authenticated, then it will return a jwt token, and we store that token.
Step 4: Generate Auth guard
You can generate an authentication guard to protect routes using the below code:
ng generate guard auth
It will create an auth.guard.ts file inside the src/app folder.
The default code for this file looks like this:
// auth.guard.ts

import { CanActivateFn } from '@angular/router';

export const authGuard: CanActivateFn = (route, state) => {
  return true;
};
Let’s update this file’s code with the below code:
// src/app/auth.guard.ts

import { CanActivateFn } from '@angular/router';
import { inject } from '@angular/core';
import { AuthService } from './auth.service';
import { Router } from '@angular/router';

export const authGuard: CanActivateFn = (route, state) => {
  const authService = inject(AuthService);
  const router = inject(Router);

  if (authService.isLoggedIn()) {
    return true;
  } else {
    router.navigate(['/login']);
    return false;
  }
};
In this authGuard() function, we wrote a logic to control access to routes based on the user’s authentication status. It ensures that only logged-in users can access specific routes, redirecting unauthenticated users to the login page.
The CanActivateFn() is a type of function that defines route guards.
The inject() function retrieves instances of services or other dependencies.
Step 5: Define routes
Angular comes with bydefault src/app/app.routes.ts file. Update that code with the below code.
// app.routes.ts

import { Routes } from '@angular/router';
import { LoginComponent } from './login/login.component';
import { DashboardComponent } from './dashboard/dashboard.component';
import { TaskListComponent } from './task-list/task-list.component';
import { TaskDetailComponent } from './task-detail/task-detail.component';
import { authGuard } from './auth.guard';

export const routes: Routes = [
    { path: 'login', component: LoginComponent },
    { path: 'dashboard', component: DashboardComponent, canActivate: [authGuard] },
    { path: 'tasks', component: TaskListComponent, canActivate: [authGuard] },
    { path: 'task/:id', component: TaskDetailComponent, canActivate: [authGuard] },
    { path: '**', redirectTo: '/login' }
];
Here, you can see that we imported an authGuard that will be invoked before the route is activated. The canActivate property accepts an array of guard functions or services.
If the user is authenticated, then he can access the dashboard, tasks, or task/1 route. If he does not, then it will be redirected to the “login” page.
Step 6: Implement Login Component
Add the below code inside the src/app/login/login.component.ts file:
import { Component } from '@angular/core';
import { Router } from '@angular/router';
import { CommonModule } from '@angular/common';
import { FormsModule } from '@angular/forms';
import { MatInputModule } from '@angular/material/input';
import { MatButtonModule } from '@angular/material/button';
import { AuthService } from '../auth.service';

@Component({
  selector: 'app-login',
  standalone: true,
  imports: [CommonModule, FormsModule, MatInputModule, MatButtonModule],
  templateUrl: './login.component.html',
  styleUrls: ['./login.component.css'],
})
export class LoginComponent {
  username: string = '';
  password: string = '';

  constructor(private authService: AuthService, private router: Router) {}

  login() {
    if (this.authService.login(this.username, this.password)) {
      this.router.navigate(['/dashboard']);
    } else {
      alert('Invalid credentials');
    }
  }
}
Write an HTML template code in the src/app/login/login.component.html file:
<div class="login-container">
  <h2>Login</h2>
  <form (ngSubmit)="login()">
    <mat-form-field appearance="fill">
      <mat-label>Username</mat-label>
      <input matInput [(ngModel)]="username" name="username" required />
    </mat-form-field>

    <mat-form-field appearance="fill">
      <mat-label>Password</mat-label>
      <input
        matInput
        type="password"
        [(ngModel)]="password"
        name="password"
        required
      />
    </mat-form-field>

    <button mat-raised-button color="primary" type="submit">Login</button>
  </form>
</div>
Add the following CSS code inside the src/app/login/login.component.css file:
.login-container {
  max-width: 400px;
  margin: 50px auto;
  padding: 20px;
  border: 1px solid #ccc;
  border-radius: 8px;
  box-shadow: 0 2px 4px rgba(0, 0, 0, 0.1);
}

h2 {
  text-align: center;
  margin-bottom: 20px;
}

mat-form-field {
  width: 100%;
  margin-bottom: 20px;
}

button {
  width: 100%;
}
Step 7: Implement Dashboard Component
Add the below code inside the src/app/dashboard/dashboard.component.ts file:
// src/app/dashboard/dashboard.component.ts

import { Component } from '@angular/core';
import { Router, RouterOutlet, RouterLink } from '@angular/router';
import { CommonModule } from '@angular/common';
import { MatToolbarModule } from '@angular/material/toolbar';
import { MatButtonModule } from '@angular/material/button';
import { AuthService } from '../auth.service';

@Component({
  selector: 'app-dashboard',
  standalone: true,
  imports: [
    CommonModule,
    MatToolbarModule,
    MatButtonModule,
    RouterOutlet,
    RouterLink,
  ],
  templateUrl: './dashboard.component.html',
  styleUrls: ['./dashboard.component.css'],
})
export class DashboardComponent {
  constructor(private authService: AuthService, private router: Router) {}

  logout() {
    this.authService.logout();
    this.router.navigate(['/login']);
  }
}
Write an HTML template code in the src/app/dashboard/dashboard.component.html file:
<!-- src/app/dashboard/dashboard.component.html -->

<mat-toolbar color="primary">
  <span class="spacer"></span>
  <button mat-button routerLink="/tasks">Task List</button>
  <button mat-button (click)="logout()">Logout</button>
</mat-toolbar>
<div class="content">
  <router-outlet></router-outlet>
</div>
Add the following CSS code inside the src/app/dashboard/dashboard.component.css file:
/* src/app/dashboard/dashboard.component.css */

.spacer {
  flex: 1 1 auto;
}

.content {
  padding: 20px;
}
Step 8: Implement task-list Component
Add the below code inside the src/app/task-list/task-list.component.ts file:
// src/app/task-list/task-list.component.ts

import { Component } from '@angular/core';
import { CommonModule } from '@angular/common';
import { MatCardModule } from '@angular/material/card';
import { MatListModule } from '@angular/material/list';
import { RouterLink } from '@angular/router';

@Component({
  selector: 'app-task-list',
  standalone: true,
  imports: [CommonModule, MatCardModule, MatListModule, RouterLink],
  templateUrl: './task-list.component.html',
  styleUrls: ['./task-list.component.css'],
})
export class TaskListComponent {
  tasks = [
    { id: 1, name: 'Task 1' },
    { id: 2, name: 'Task 2' },
    { id: 3, name: 'Task 3' },
  ];
}
Write the below HTML template code in the src/app/task-list/task-list.component.html file:
<!-- src/app/task-list/task-list.component.html -->

<mat-card>
  <mat-card-header>
    <mat-card-title>Task List</mat-card-title>
  </mat-card-header>
  <mat-card-content>
    <mat-list>
      <mat-list-item *ngFor="let task of tasks">
        <a matLine [routerLink]="['/task', task.id]">{{ task.name }}</a>
      </mat-list-item>
    </mat-list>
  </mat-card-content>
</mat-card>
Add the following CSS code inside the src/app/task-list/task-list.component.css file:
/* src/app/task-list/task-list.component.css */

mat-card {
  margin: 20px;
}

mat-list-item {
  cursor: pointer;
}

mat-list-item a {
  text-decoration: none;
  color: inherit;
}
Step 9: Implement task-detail Component
Add the below code inside the src/app/task-detail/task-detail.component.ts file:
// src/app/task-detail/task-detail.component.ts

import { CommonModule } from '@angular/common';
import { Component, OnInit } from '@angular/core';
import { ActivatedRoute } from '@angular/router';

@Component({
  selector: 'app-task-detail',
  standalone: true,
  templateUrl: './task-detail.component.html',
  styleUrls: ['./task-detail.component.css'],
  imports: [CommonModule],
})
export class TaskDetailComponent implements OnInit {
  task: any;
  taskId!: string;

  constructor(private route: ActivatedRoute) {}

  ngOnInit() {
    this.route.paramMap.subscribe((params) => {
      this.taskId = params.get('id')!;
      console.log(this.taskId);
    });
    // Simulate fetching task detail from an API
    this.task = { id: this.taskId, name: `Task ${this.taskId}` };
  }
}
Write the below HTML template code in the src/app/task-detail/task-detail.component.html file:
<!-- src/app/task-detail/task-detail.component.html -->

<h3>Task Detail</h3>
<p *ngIf="task">Task ID: {{ task.id }} - Task Name: {{ task.name }}</p>
Here is the code for the src/app/app.component.ts file:
// app.component.ts

import { Component } from '@angular/core';
import { RouterModule } from '@angular/router';
import { MatToolbarModule } from '@angular/material/toolbar';

@Component({
  selector: 'app-root',
  standalone: true,
  imports: [RouterModule, MatToolbarModule],
  templateUrl: './app.component.html',
  styleUrls: ['./app.component.css'],
})

export class AppComponent {
  title = 'Task Management App';
}
Here is the code for the src/app/app.component.html file:
<mat-toolbar color="primary">
  <span>{{ title }}</span>
</mat-toolbar>

<router-outlet></router-outlet>
Here is the code for the src/app/app.component.css file:
/* app.component.css */

nav a {
  margin: 0 10px;
  text-decoration: none;
  color: #3f51b5;
}

nav a.active {
  font-weight: bold;
}
Step 10: Run the project
Start the Angular development server using the below command:
ng serve --open
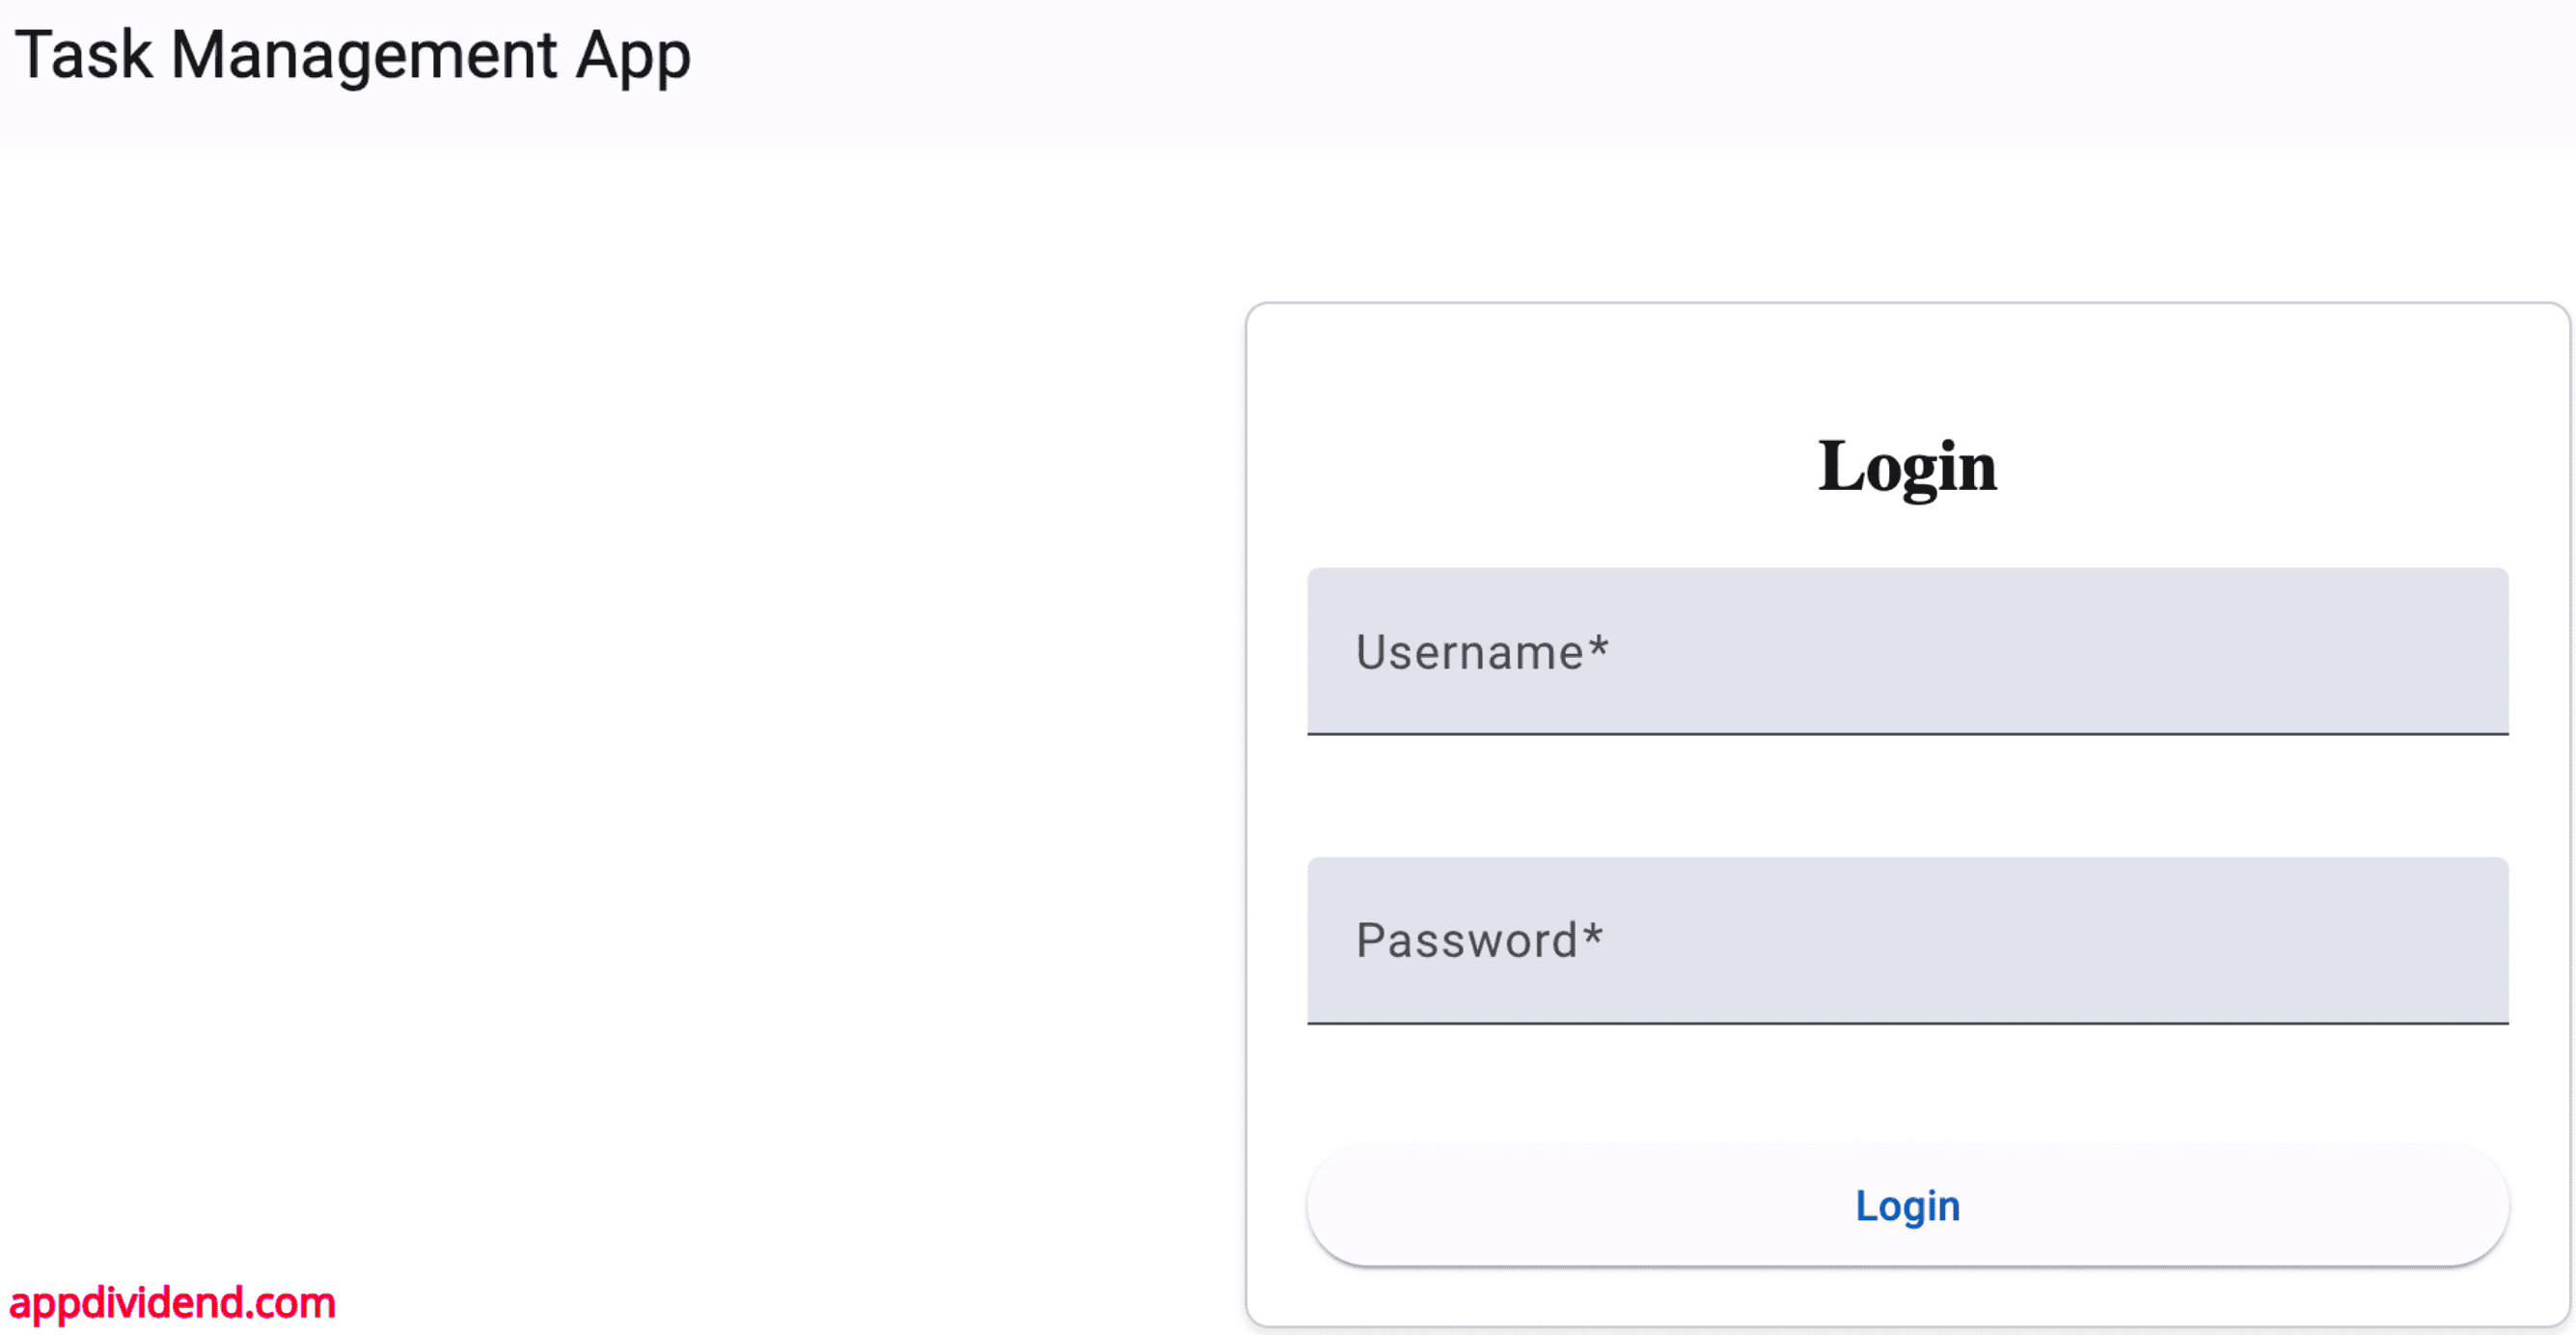
You will see a login page like this screenshot:
Now, type username = user and password = pass, and you will have access to the dashboard like this:
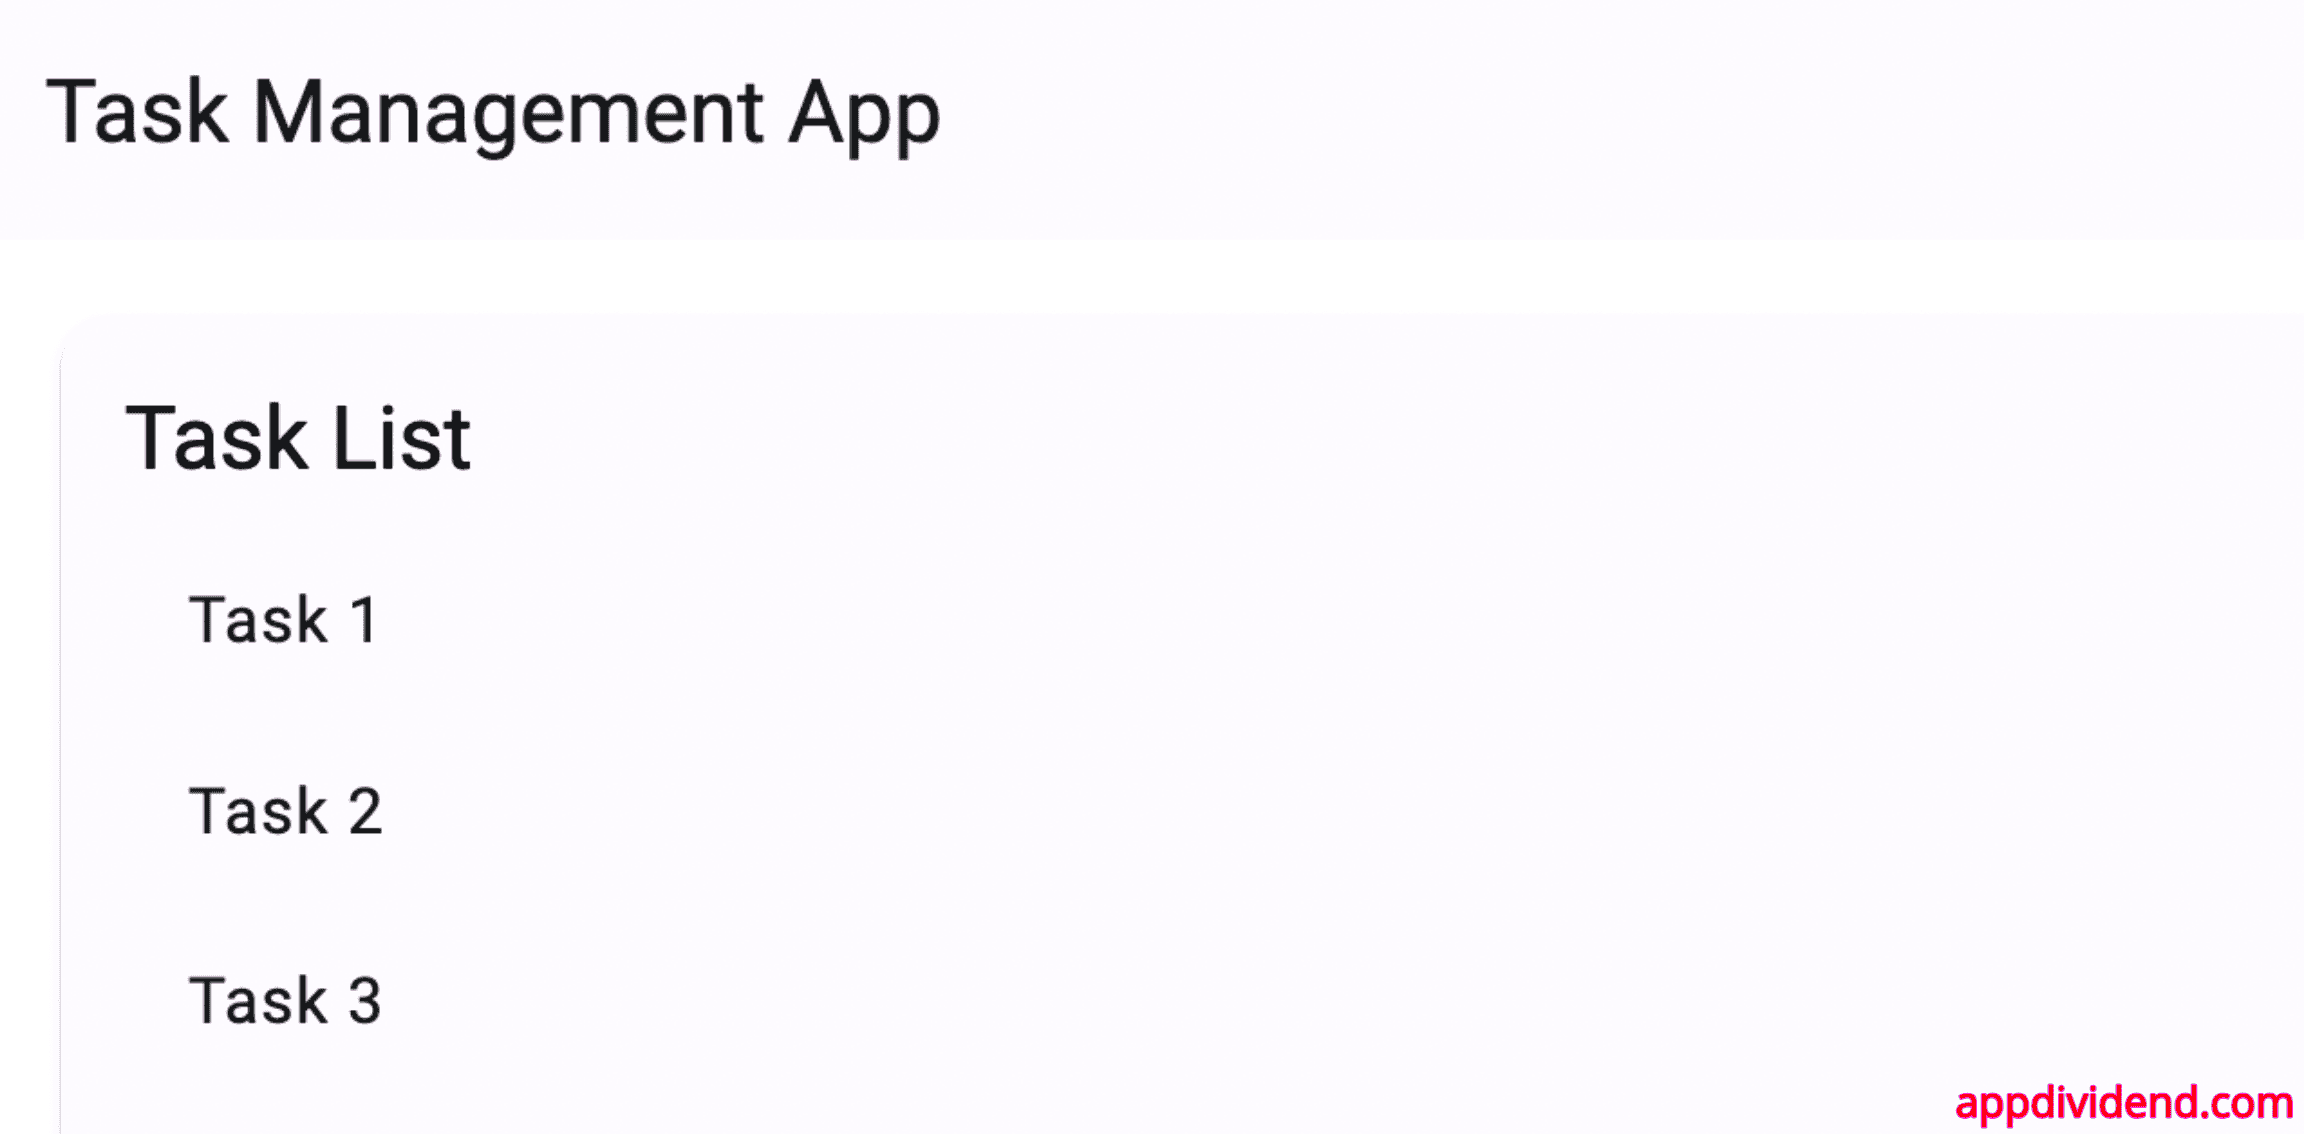
If you click on the Task list item, you will see the below page:
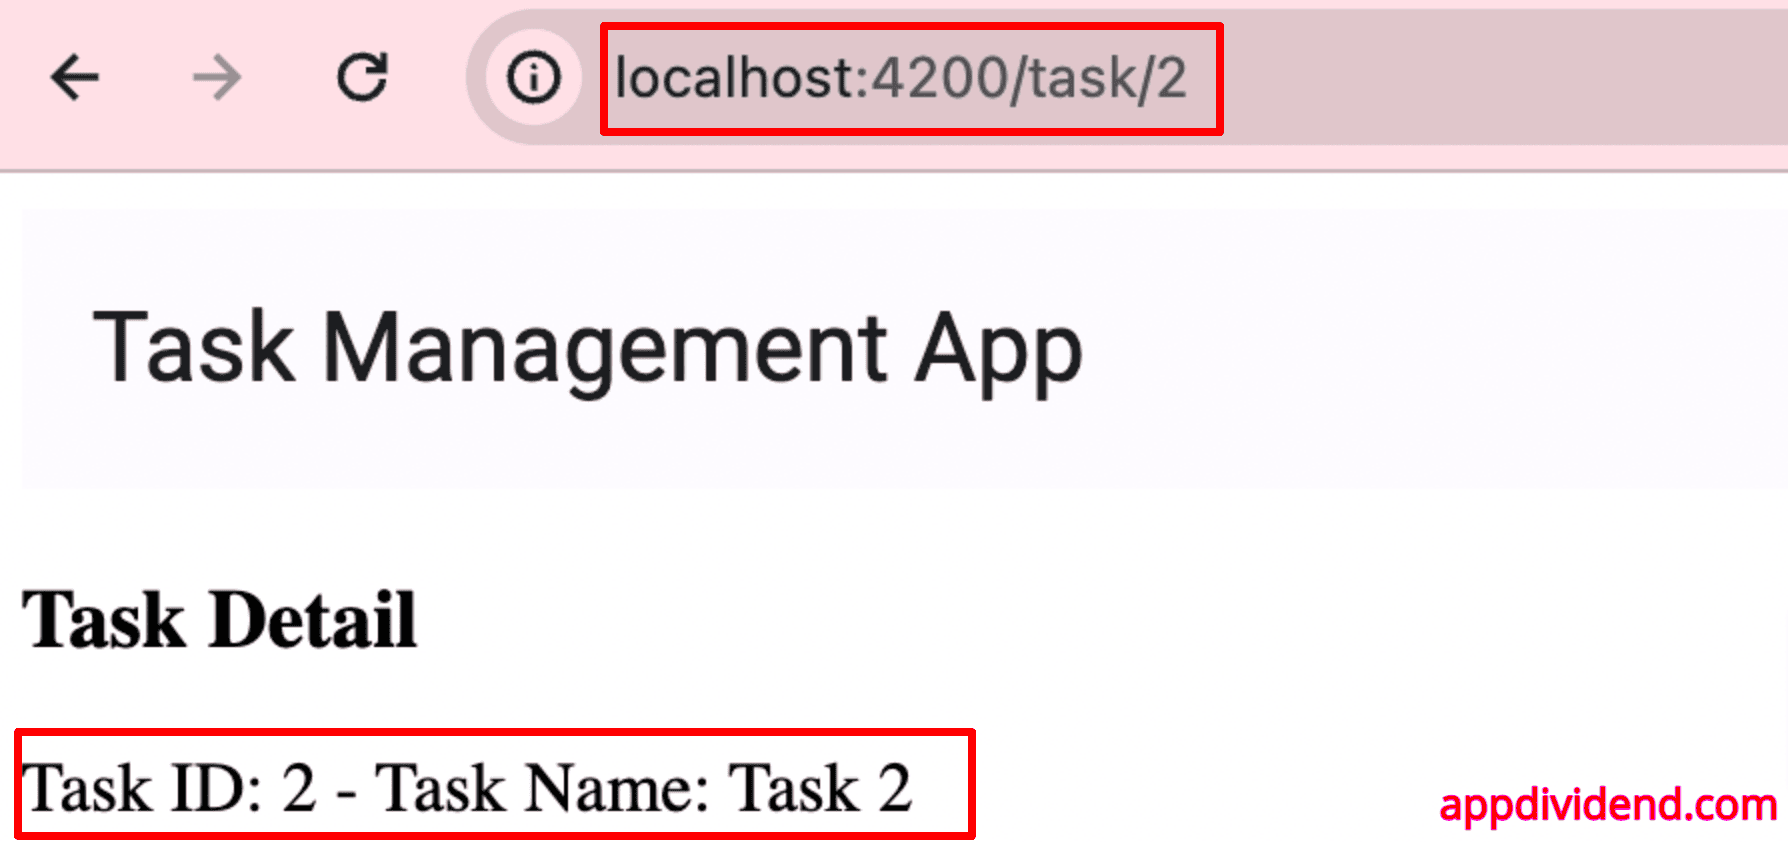
You can also click on the individual task, and it will open the task-detail page like this:
If you click on the logout page, it will redirect back to the login page.
We have implemented authGuard on the protected routes, such as the “Dashboard page,” “Task list page”, and “Task detail page.”
If you directly access one of these pages with authentication, you will be redirected to the “/login” route because of authGuard.
That’s how you can implement Auth Route Guard to protect the important routes.


Akbar KHAN
Thank you very much!
It was clear and easy to understand.
Coder
Awesome handson implementation.