

To create a hover animation in Vue.js, use the mouseover, mouseout event, and the selected property. This will change the CSS3 properties and create an animation.
Here are steps to implement hover animation in Vue.js.
Step 1: Install Vue.js.
You can create a new Vue.js project using the below command:
npm create vite@latest vue-app -- --template vue
Go inside the folder using this command:
cd animation-app

npm install
Step 2: Adding a mouseover and mouseout events
You can add the code below to the src/App.vue file:
<template>
  <div id="app" class="container">
    <div class="animate-box"
      @mouseover="hover = true"
      @mouseout="hover = false"
      :class="{ 'hovered': hover }">
      Hover over me!
    </div>
  </div>
</template>

<script>
export default {
  data() {
    return {
      hover: false
    };
  }
}
</script>

<style>
.animate-box {
  transition: all 0.3s ease;
  width: 200px;
  height: 100px;
  background-color: lightblue;
  display: flex;
  align-items: center;
  justify-content: center;
  cursor: pointer;
}

.hovered {
  transform: scale(1.1);
  background-color: lightsalmon;
}
</style>
In this template, we added “mouseover” and “mouseout” event listeners to the “div” element to animate. It will toggle a data property (e.g., hover) that controls the animation.
We used the CSS to define the animation. Toggling a class based on the hover data property allows you to apply a different style when the element hovers.
When we hover the “div” element, we include the transition property in your CSS to ensure the changes animate smoothly instead of changing abruptly.
Save this file and start the development server using this command:
npm run dev
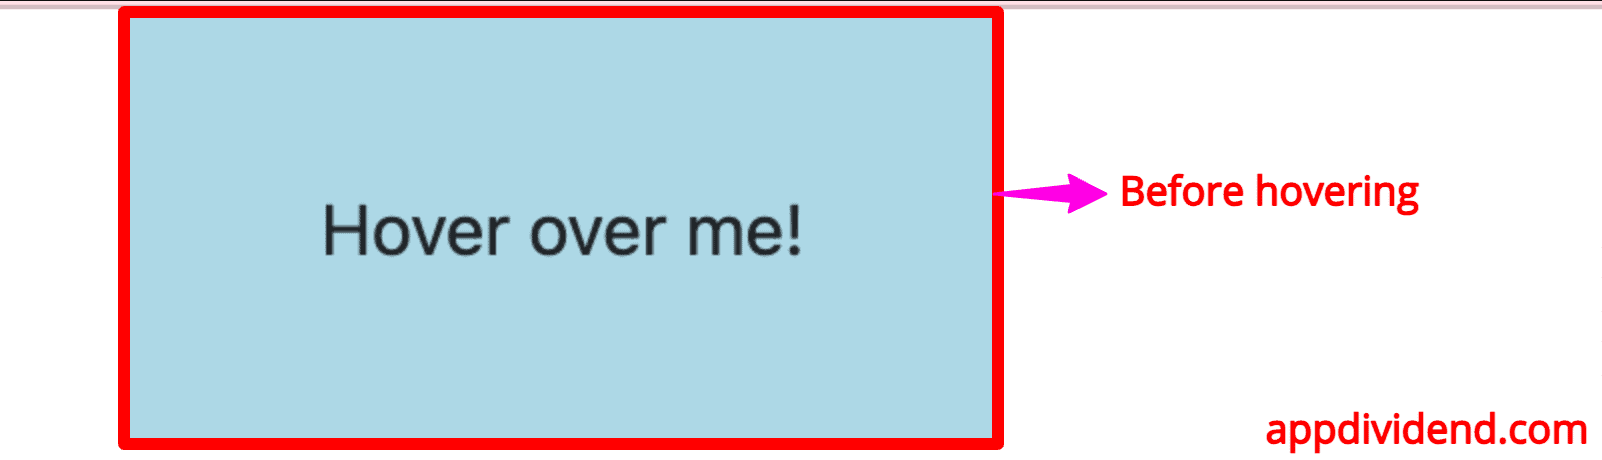
Before hovering:
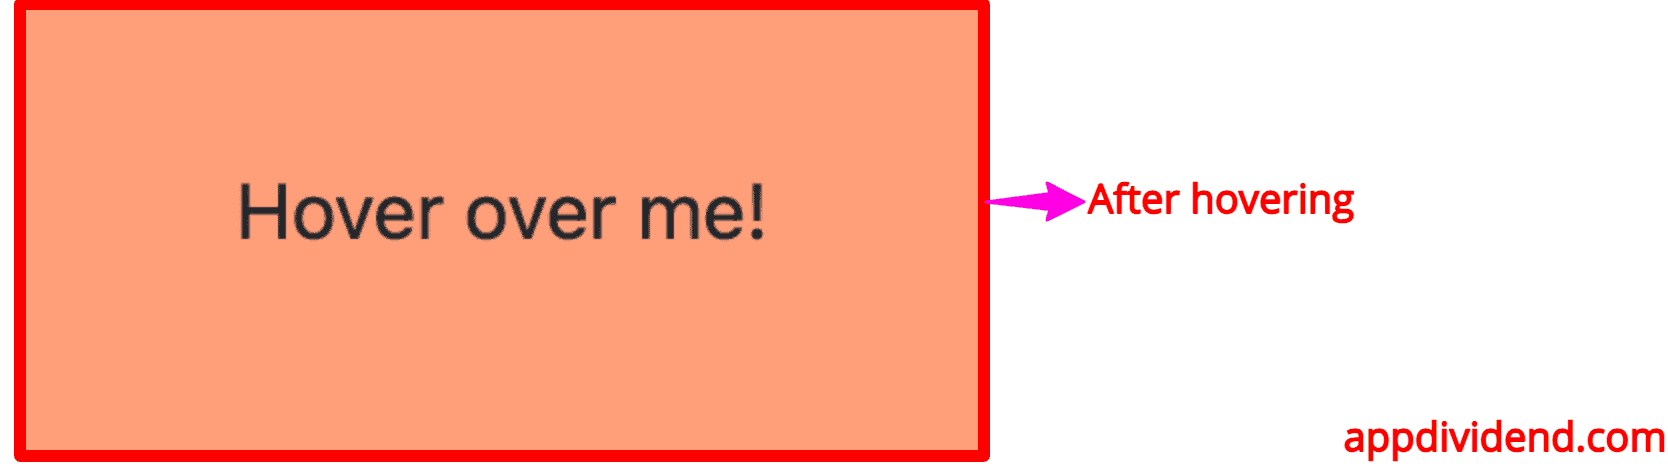
After hovering:
Conclusion
The easiest way to create a hover animation in Vue is to implement the mouseover and mouseout events to perform whatever actions are needed when the mouse hovers over or leaves the component.

Pierre
Why even using Vue just to toggle a `selected` class on `card-image` when you can use CSS and do `.card:hover .card-image` ? ? (Note: i’m ok to use Vue to build the markup)
Nope
Cuz, the other title is so much more catchy! 🙂