
Angular supports Sass, CSS, and Less to style global applications and component styles. In addition, angular component styles have an effective CSS encapsulation mechanism that assures any component CSS is local to the component and does not globally alter any styles.
Angular Sass (Syntactically Awesome Style Sheets) is an extension of CSS that allows you to use variables, nested rules, inline imports, and more. It also helps you stay organized and create style sheets faster.
Sass is a CSS preprocessor that combines unique features such as variables, nested rules, and mixins (sometimes called syntactic sugar) into regular CSS. Its main objective is to make the CSS coding process more comfortable and efficient.
Sass is compatible with all versions of CSS. The default stylesheets have the .css extension when working with the Angular CLI.
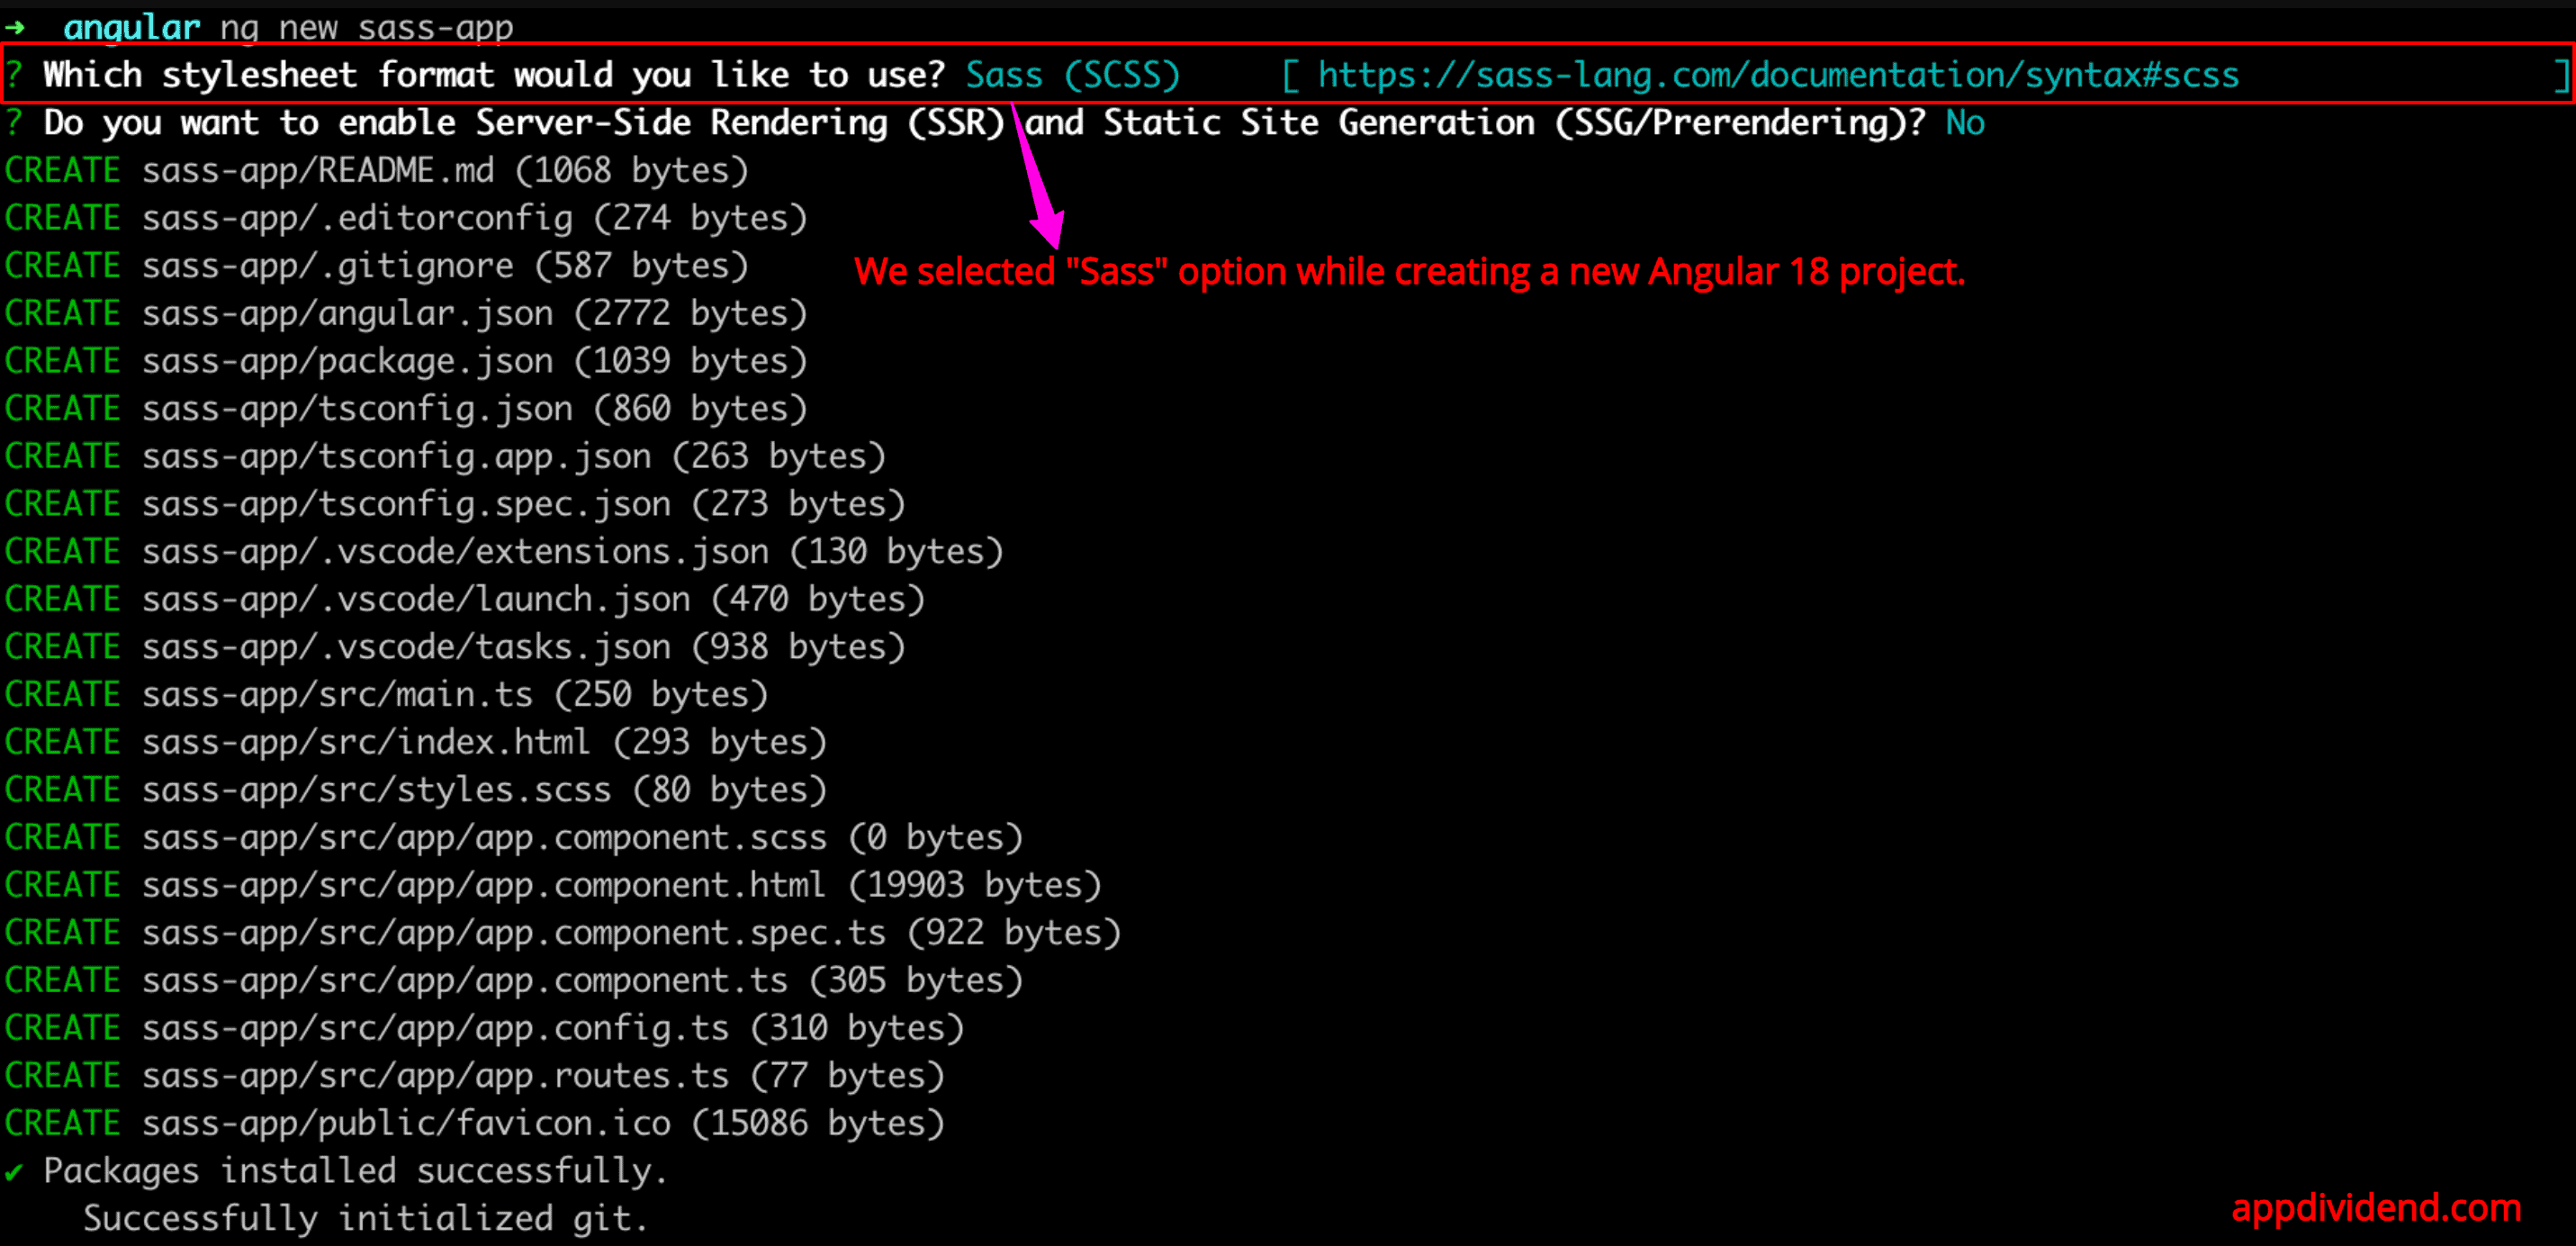
Angular 18 comes with Sass by default; you just need to select SCSS while creating a new Angular project:
Here is the step-by-step guide to using SCSS files in Angular:
Step 1: Setup a new Angular project
To create a new Angular 18 project, you must install Angular CLI 18 on your machine.
After installing Angular CLI, you can create a new project using the below command:
ng new sass-app
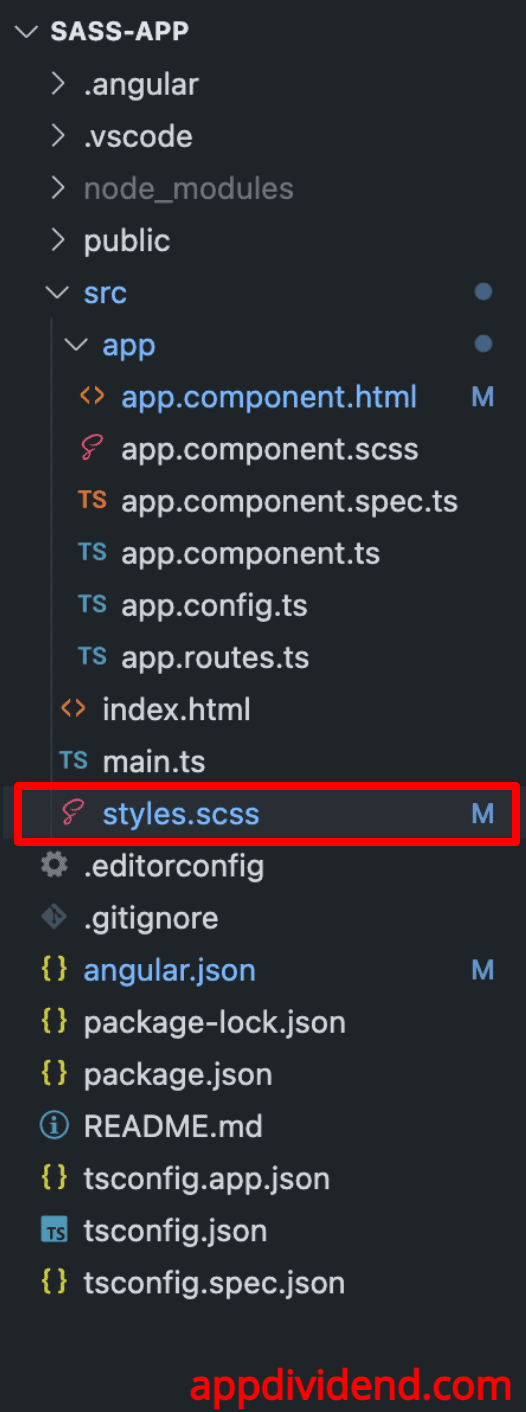
Go inside the project and open this project in your favourite code editor. Mine is Visual Studio Code.
Inside the src folder, you will see an SCSS file called styles.scss, which Angular creates by default.
Step 2: Add styling to styles.scss file
Open the src/styles.css file and add the below code:
$primary-color: #3498db;

body {
  font-family: Arial, sans-serif;
  color: $primary-color;

  .container {
    padding: 20px;
  }
}
Step 3: Use this style in an HTML file
Open the src/app/app.component.html file and replace the existing code with the below code:
<p>Angular 18 Sass App</p>
Save this file and start the development server:
ng serve --open

That’s it!

agency seo
If some one wants to bbe updated with most recent technologies afterward he must be
visit this site and be up to date everyday.