
Have you ever encountered a scenario in your Angular application where you must display different templates based on a dynamic value? You can use multiple *ngIf directives, but this will become cumbersome.
To make that code cleaner and more efficient, there is another directive called “NgSwitch.”
What is Angular NgSwitch?
The NgSwitch directive conditionally displays one of many elements based on the value of an expression.
This is how NgSwitch works:
- Every HTML view that matches is rendered.
- The view with a ngSwitchDefault directive is rendered if there are no matches.
- Elements within the [NgSwitch] statement but outside of any NgSwitchCase or ngSwitchDefault directive are preserved at the location.
Key Directives
- [ngSwitch]: The ngSwitch directive is placed on a container element and binds to an expression that determines which nested case view to display.
- *ngSwitchCase: The ngSwitchCase directives are placed on the elements within the [ngSwitch] container. They define the cases that should be matched against the expression value.
- *ngSwitchDefault: It defines a default view when none of the ngSwitchCase values match.
Basic syntax
Define the container element for the directive and specify a switch expression to match against an attribute.
<container-element [ngSwitch]="switch_expression">
Within the container, *ngSwitchCase statements specify the match expressions as attributes.
Include *ngSwitchDefault as a final case.
<container-element [ngSwitch]="switch_expression">
  <some-element *ngSwitchCase="match_expression_1">...</some-element>
    ...
  <some-element *ngSwitchDefault>...</some-element>
</container-element>
Selector
[ngSwitch]
Properties
| Property | Description |
|---|---|
| @Input() ngSwitch: any | Write-Only |
Example
Here is the step-by-step guide to implementing the NgSwitch directive in Angular 18:
Step 1: Setup an Angular 18 project
Create a new project using the below command:
ng new ngSwitchExample

cd ngSwitchExample
Step 2: Import CommonModule
The CommonModule contains various directives, including “NgSwitch”. So, import this module inside the src/app/app.component.ts file like this:
// app.component.ts

import { CommonModule } from '@angular/common';
import { Component } from '@angular/core';
import { RouterOutlet } from '@angular/router';

@Component({
  selector: 'app-root',
  standalone: true,
  imports: [RouterOutlet, CommonModule],
  templateUrl: './app.component.html',
  styleUrl: './app.component.css',
})

export class AppComponent {
  viewMode: string = 'map';
}
We also defined a class property called viewMode, whose default value is map.
Using the NgSwitch directive, we will change the value of viewMode. Based on various conditions, we will assign different values to viewMode.
Step 3: Use NgSwitch in HTML Template
Add the below code inside the src/app/app.component.html file like this:
<div class="view-container" [ngSwitch]="viewMode">
  <div *ngSwitchCase="'map'" class="view-item">Map View</div>
  <div *ngSwitchCase="'list'" class="view-item">List View</div>
  <div *ngSwitchDefault class="view-item">Select a view mode</div>
</div>

<div class="button-container">
  <button class="view-button" (click)="viewMode = 'map'">Map View</button>
  <button class="view-button" (click)="viewMode = 'list'">List View</button>
  <button class="view-button" (click)="viewMode = ''">Default View</button>
</div>
Also, add the following CSS code inside the src/app/app.component.css file:
.view-container {
  border: 1px solid #ccc;
  padding: 20px;
  margin-bottom: 20px;
  text-align: center;
  font-size: 1.2em;
  background-color: #f9f9f9;
}

.view-item {
  padding: 10px;
  margin: 5px 0;
}

.button-container {
  display: flex;
  justify-content: center;
  gap: 10px;
}

.view-button {
  padding: 10px 20px;
  font-size: 1em;
  cursor: pointer;
  border: none;
  background-color: #007bff;
  color: white;
  border-radius: 4px;
  transition: background-color 0.3s;
}

.view-button:hover {
  background-color: #0056b3;
}
In this example:
- The viewMode property controls which HTML view to display.
- The *ngSwitchCase directives try to match the viewMode value.
- The *ngSwitchDefault directive provides a default view if no case matches.
Save the file and start the development server:
ng serve --open
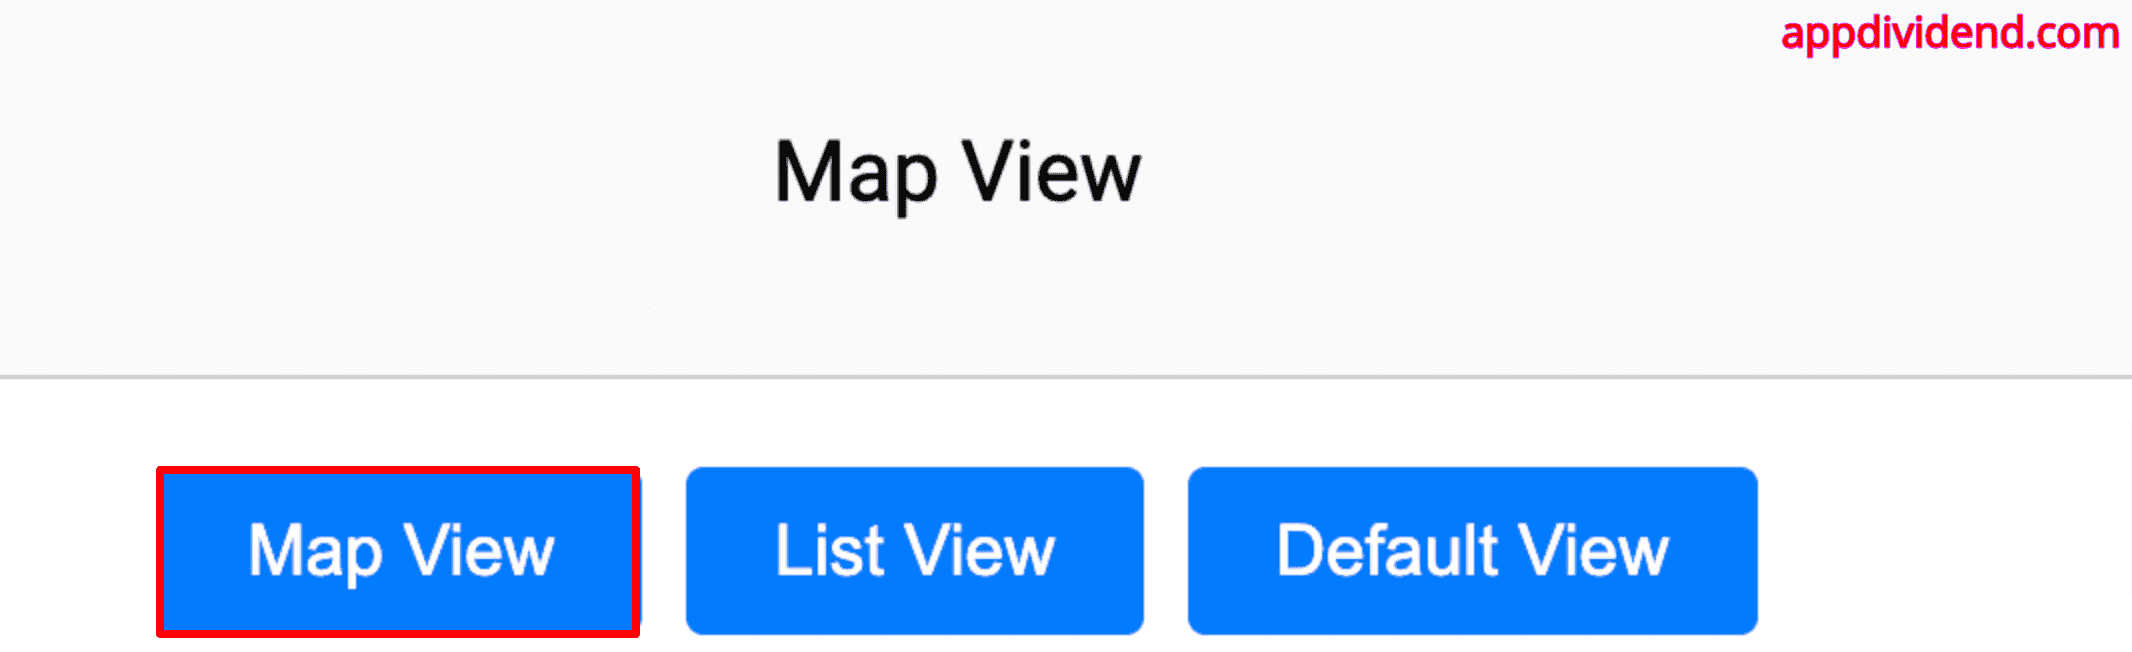
In the above figure, we displayed the default case, which is Map View.
Let’s click on the List View and see the output:
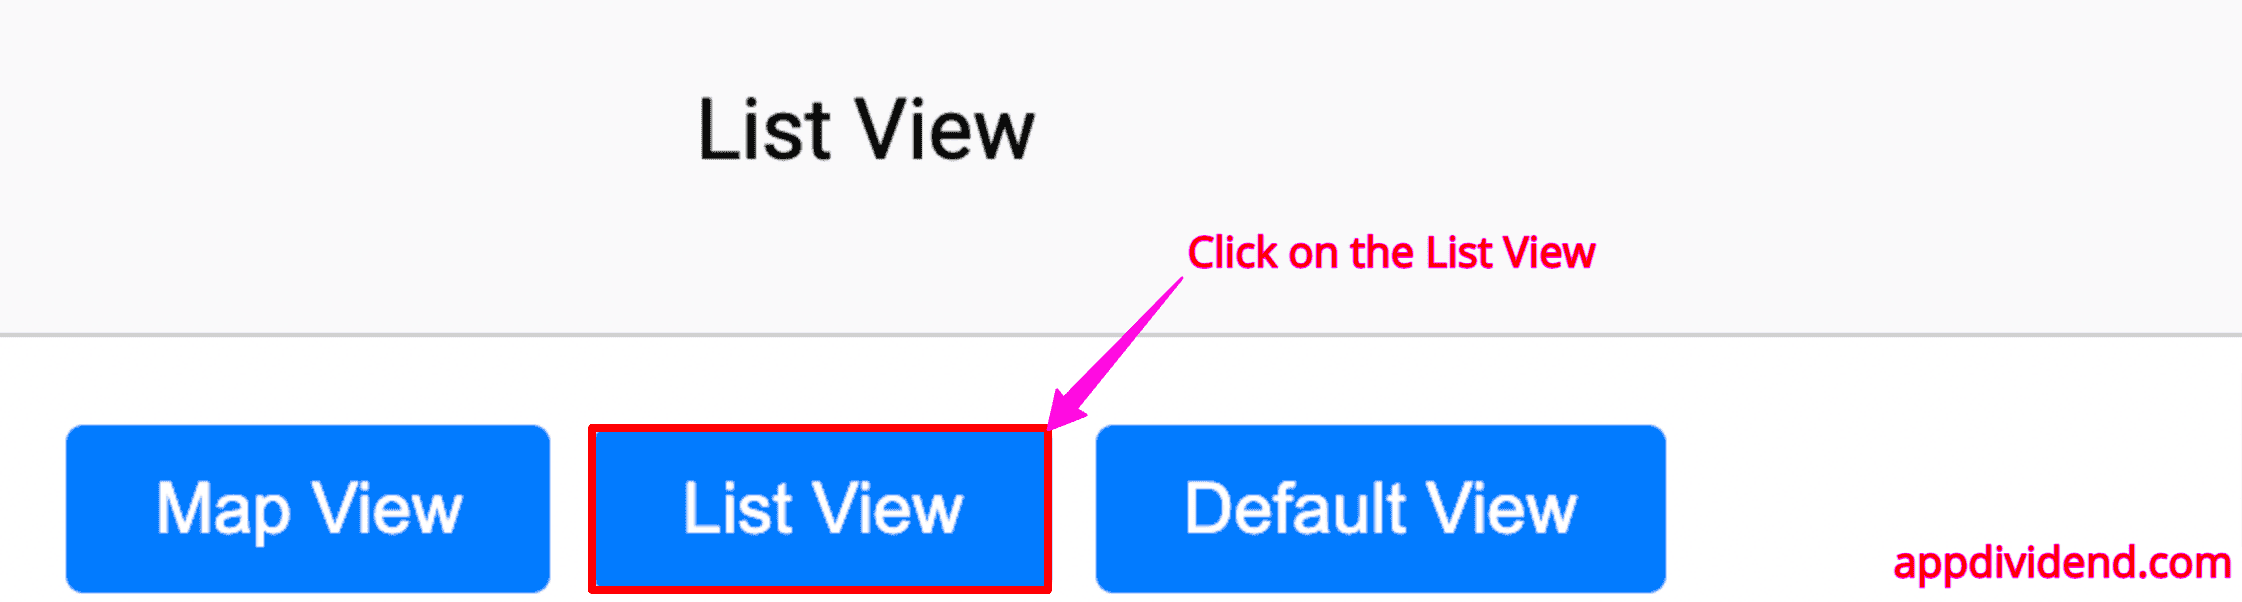
When this <button class=”view-button” (click)=”viewMode = ‘map'”>Map View</button> is clicked, it sets the viewMode property to ‘map’, causing the Map View to be displayed.
If you change the button and click this button (click) = “viewMode = ‘list'”, it will display the list view. We are switching the view based on the button we click, which sets the viewMode based on that button.
That’s all!
