
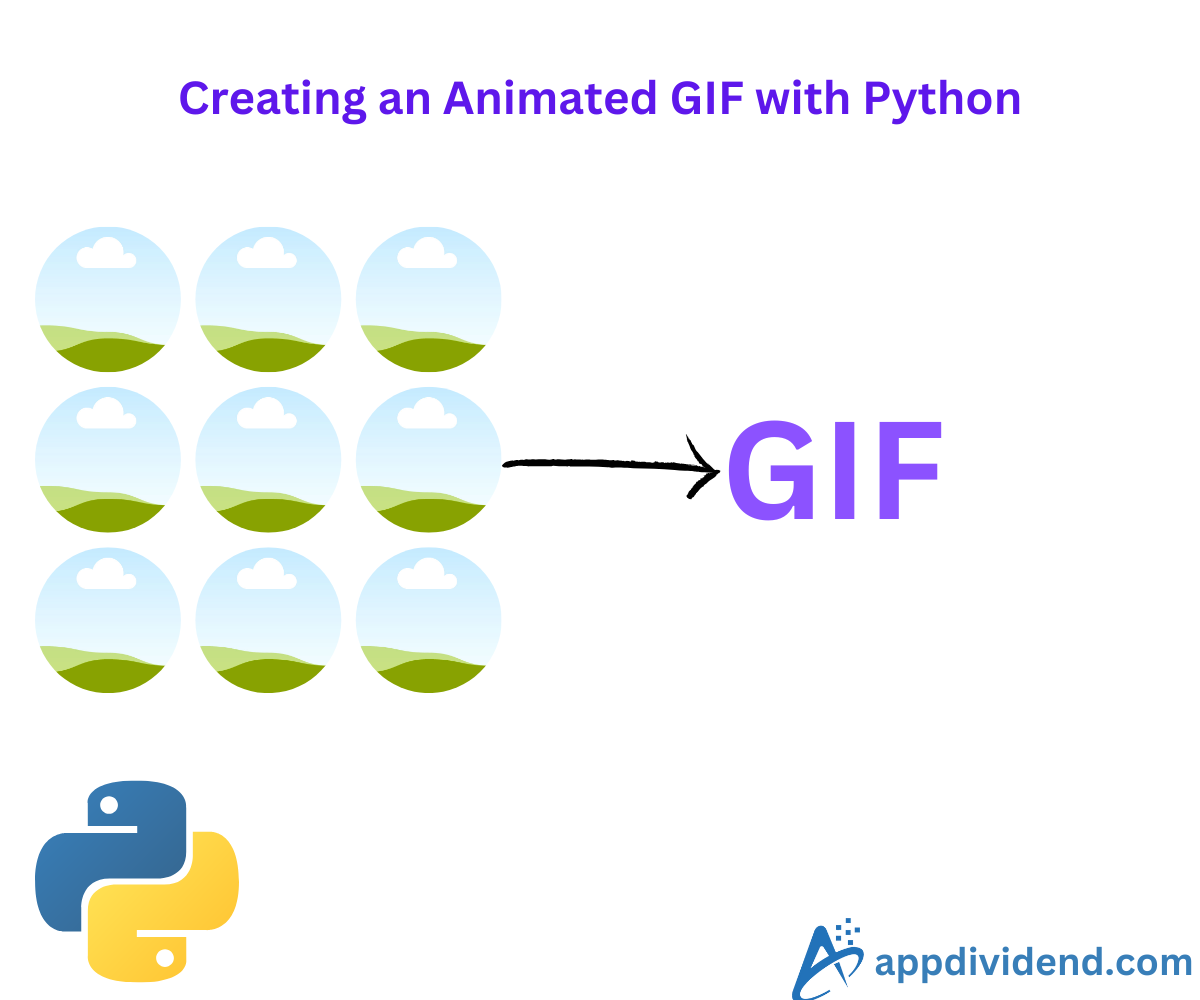
The easiest way to create an animated GIF in Python is to import the “imageio” library and use its “.imwrite()” function. Ensure that all the images you pass as input have the same height and width.
In the world of “memes”, you may want GIF(Graphics Interchange Format) to make your conversation funny with your friends.
GIF is a format that falls between the image and video formats. It is animated, but not a complete video. It is an exceptional choice when you don’t want to insert a video but want to add dynamic images.
Dimensions must be the same for all the images that will soon be converted to animated GIFs.
For this tutorial, I will be using the four images below and creating a GIF from them:


Decision Tree Diagram
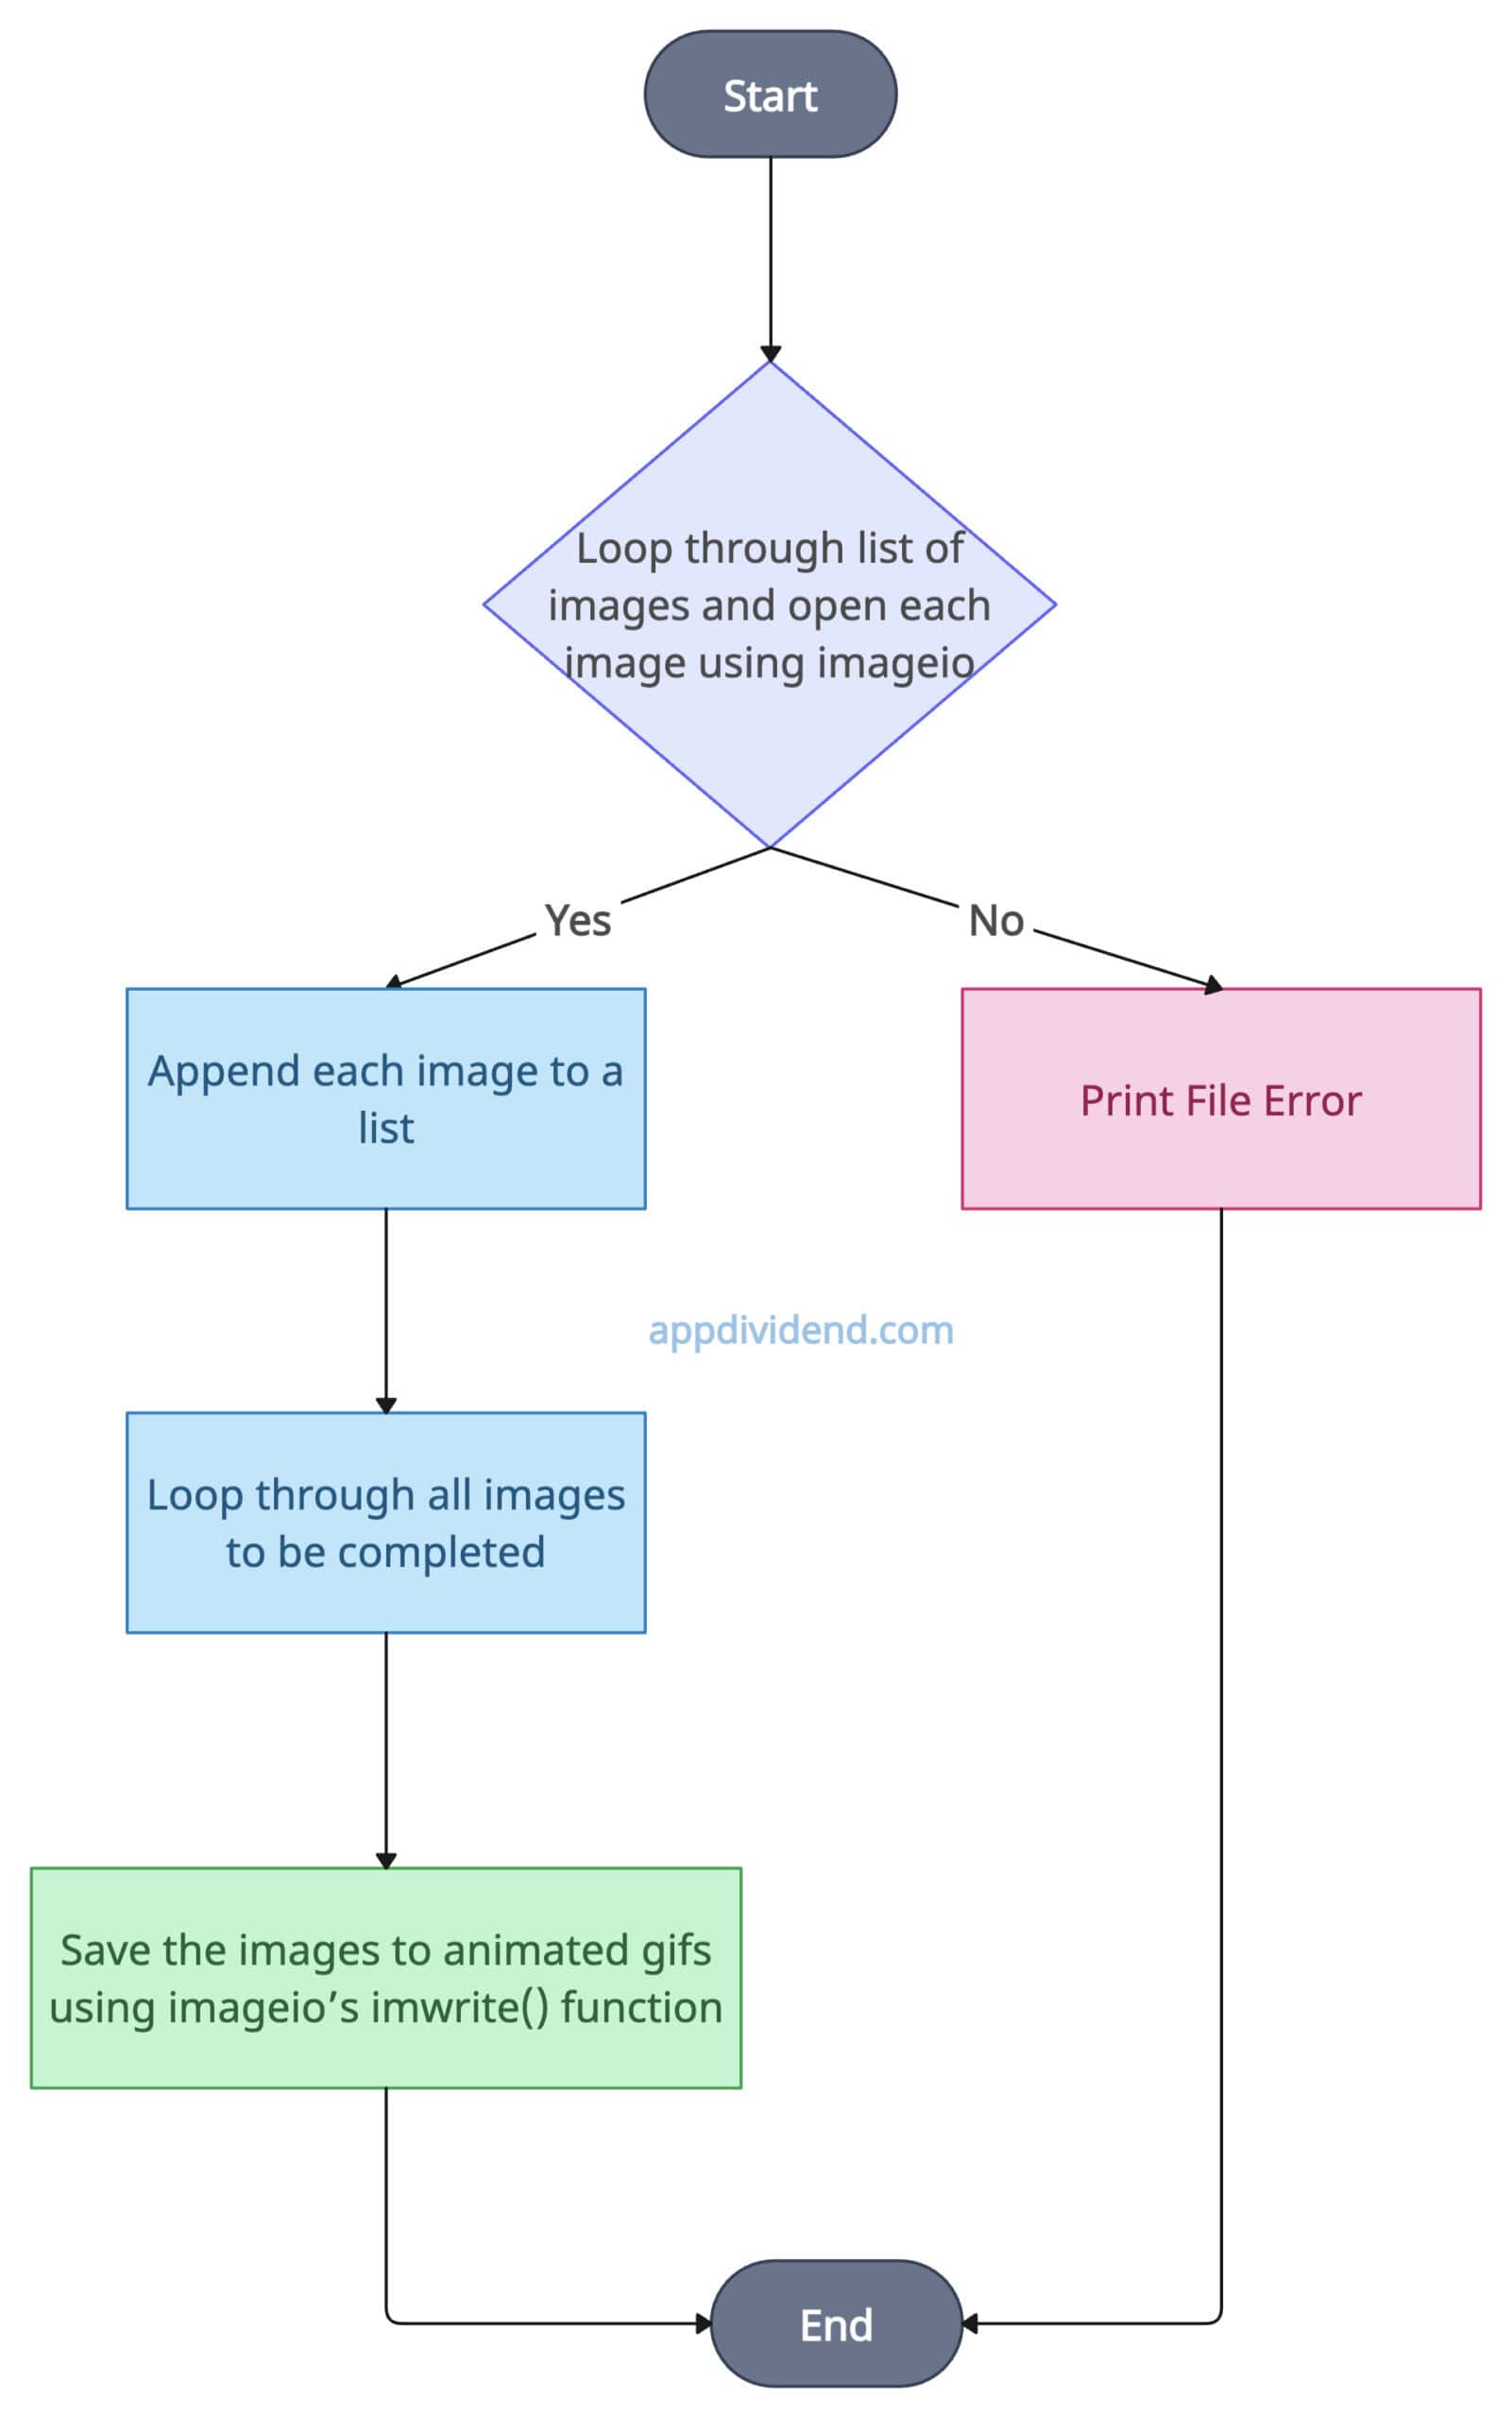 The above decision tree diagram depicts the step-by-step process of creating a GIF from multiple images. We used the imagio library to open each image from the library of images and append each image to the list.
Finally, use the imwrite() function to save the list of images as GIFs.
Install the imageio library using the command below if it is not installed:
pip install imageio
Code example
import imageio.v3 as iio

# List of images that will be converted to gif
list_of_images = ['k1.jpg', 'k2.jpg', 'k3.jpg', 'k4.jpg']

# Empty list that will store the image data read from the files.
images_arr = []

# Loop through each image and read each image file into an array
for filename in list_of_images:
    images_arr.append(iio.imread(filename))

# Save the sequence of images as an animated gif
iio.imwrite('krunal.gif', images_arr, duration=500, loop=0)

print("Animated GIF (krunal.gif) created successfully")
Output
Animated GIF (krunal.gif) created successfully

The .imread() method reads each image file into an array and returns its pixel data as a numpy array.
The .imwrite() method saves the sequence of images as an animated GIF.
The duration argument of the .imwrite() function specifies the duration (in milliseconds) for each frame in the GIF. Each image will be displayed for 500 milliseconds before the following image.
The imageio library is fast, but if the number of images is plenty, then processing each image can make the overall process slow. It is ideal for generating animated charts or plots.
GIF only supports a limited color palette (256 colors), which can affect image quality.
Working with different-sized images
The above approach assumes that we are working with multiple images of the same size. What if all the images in the list have different dimensions?
In that case, it will throw an error like this: ValueError: All input arrays must have the same shape.
To fix this error, we have to resize all the images to the same shape and then create a GIF based on those resized images.
To resize an image, we can use the “PIL” library and also the “numpy” library.
We can install both libraries using the command below:
pip install imageio

pip install numpy
Here is the code that deals with resizing and making GIFs:
import imageio.v3 as iio
from PIL import Image
import numpy as np

# Creating a list of images that will be saved as gif
filenames = ['k1.jpg', 'k2.jpg', 'k3.jpg', 'k4.jpg']

# An empty image array that will be filled with image data array
main_images = []

# Defining the desired output size (Width x Height)
output_size = (1000, 1000)

for filename in filenames:
    img = Image.open(filename).convert('RGB')  # Ensuring RGB color
    img_resized = img.resize(output_size, Image.LANCZOS)  # Resizing the image

    # Converting the resized image to numpy array
    img_array = np.asarray(img_resized)
    main_images.append(img_array)

# Saving the images as an animated GIF
iio.imwrite('krunal.gif', main_images, duration=500, loop=0)
And it will provide us with the output without returning any errors because we are modifying the image size. If you feed the same-sized photos, then it will work fine, but if it is no,t then it will give you an error.