

Here are three ways to convert an image from PIL to OpenCV:
- Using cv2.cvtColor()
- Using cv2.imdecode() with Bytes Buffer
- Using numpy slicing
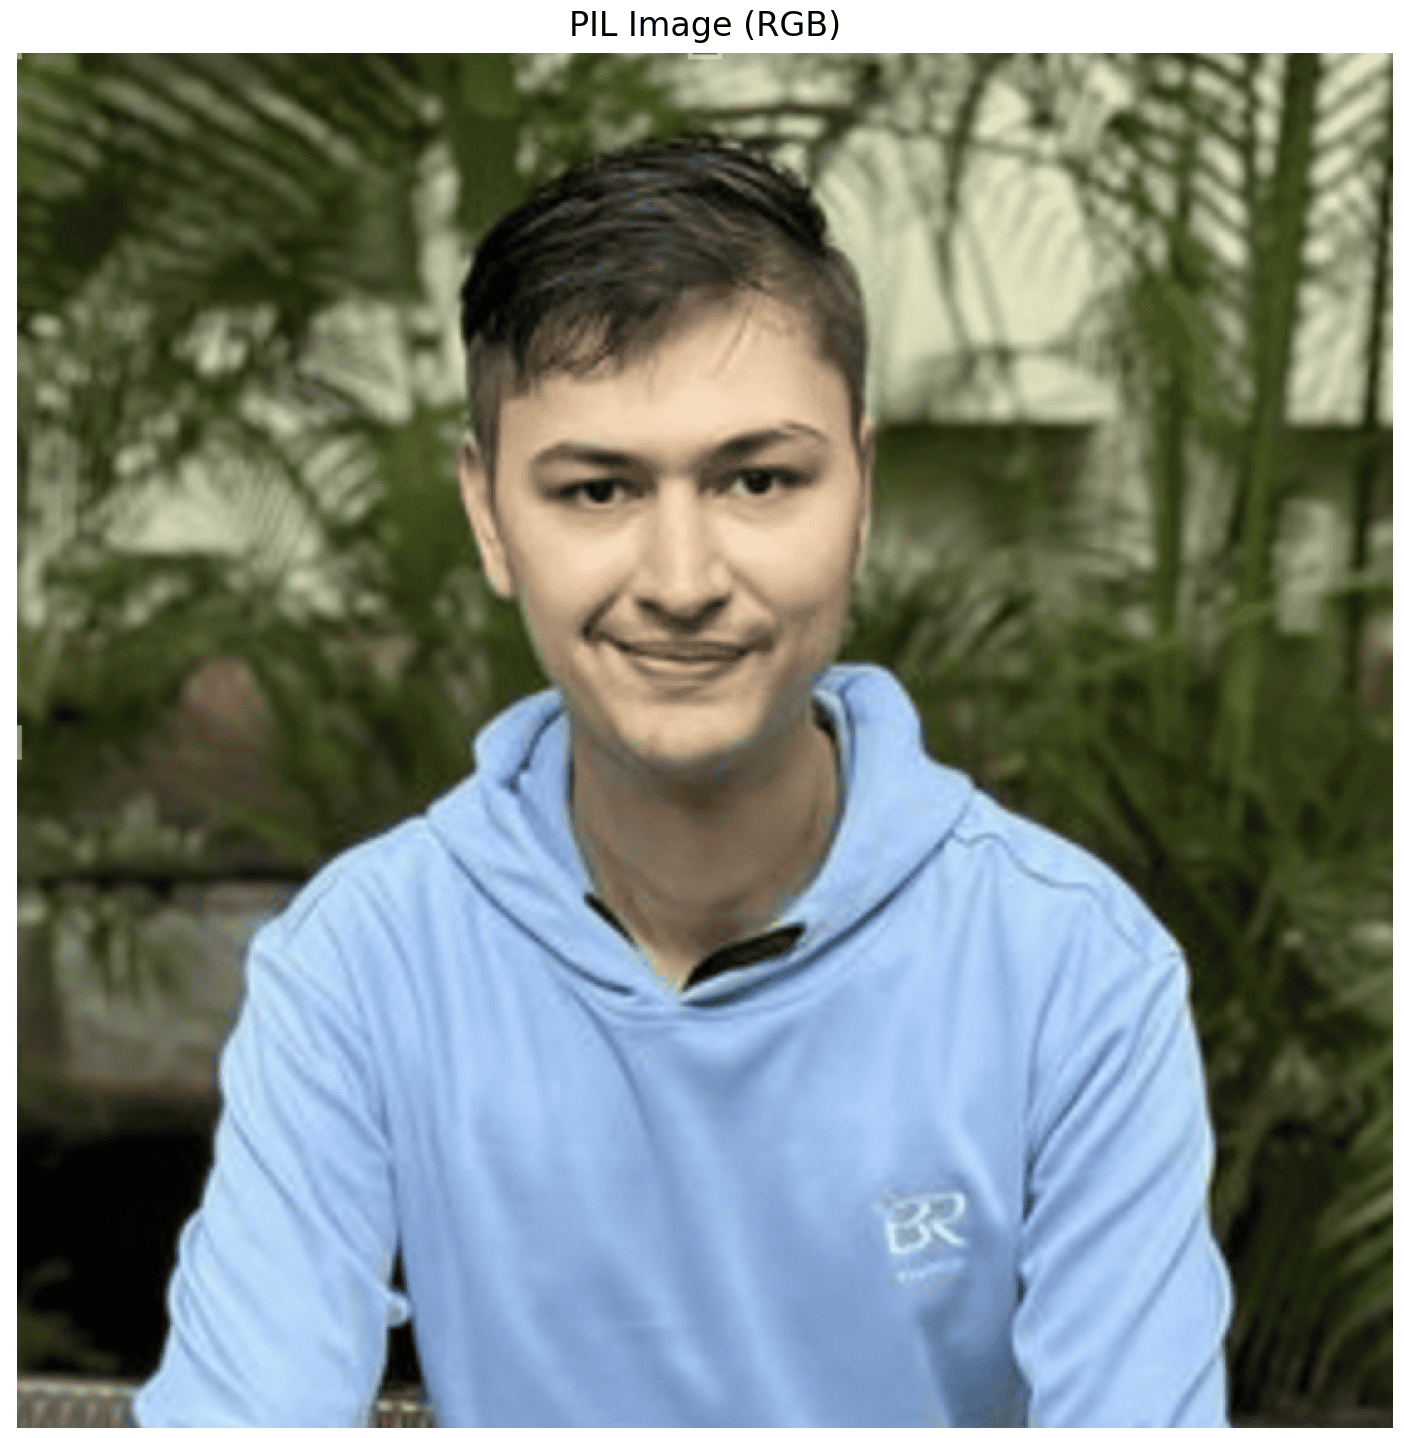
Here is the example RGB (PIL) image to use in this practical:
The converted OpenCV (BGR) output image looks like the image below:
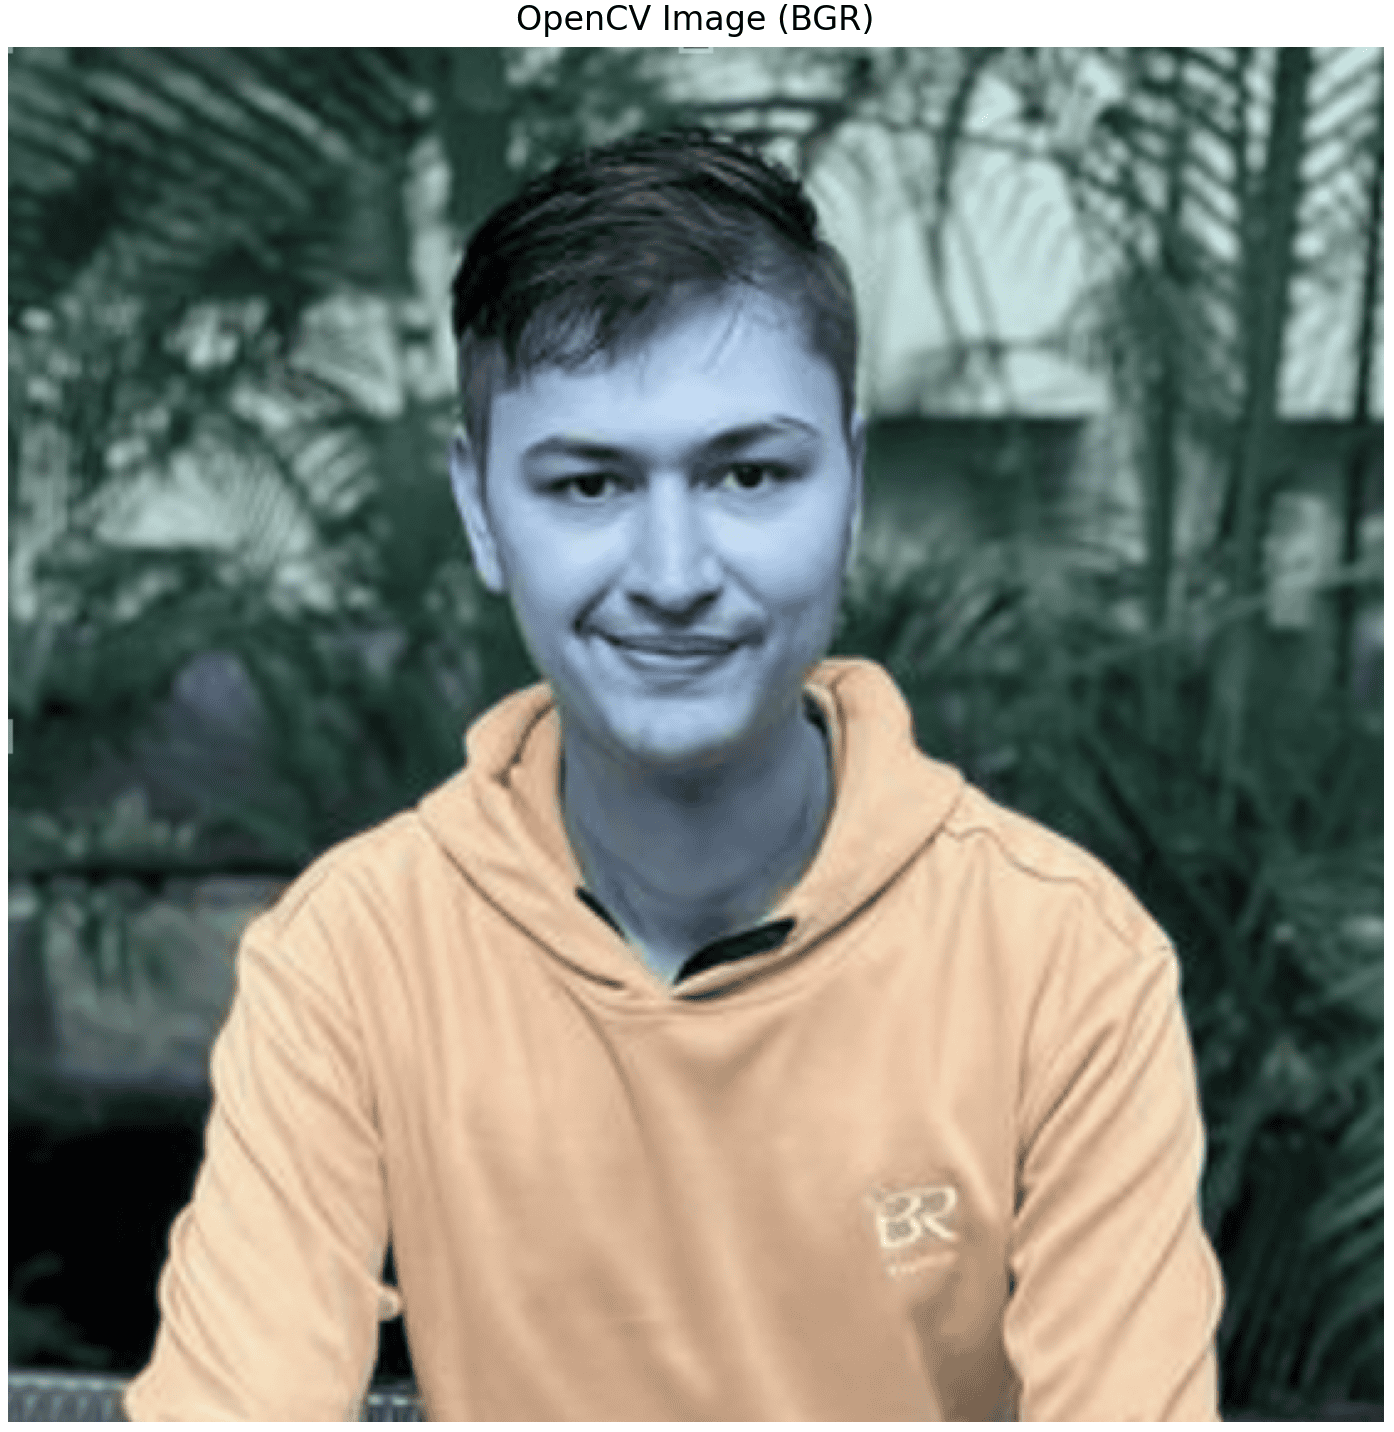
You can spot the clear color difference between RGB and BGR images.
OpenCV and PIL display images differently in Python.
Images in PIL are typically represented in RGB because the color channels are in RGB format.
Images in OpenCV are typically represented in BGR format. The color channels are in BGR format.
OpenCV expects an image to be in BGR format. If your image format is in RGB, you must first convert it to BGR format.
Method 1: Using cv2.cvtColor()
The cv2.cvtColor() method converts an image from one color space to another. It can convert RGB to BGR, which is the main solution for our problem.
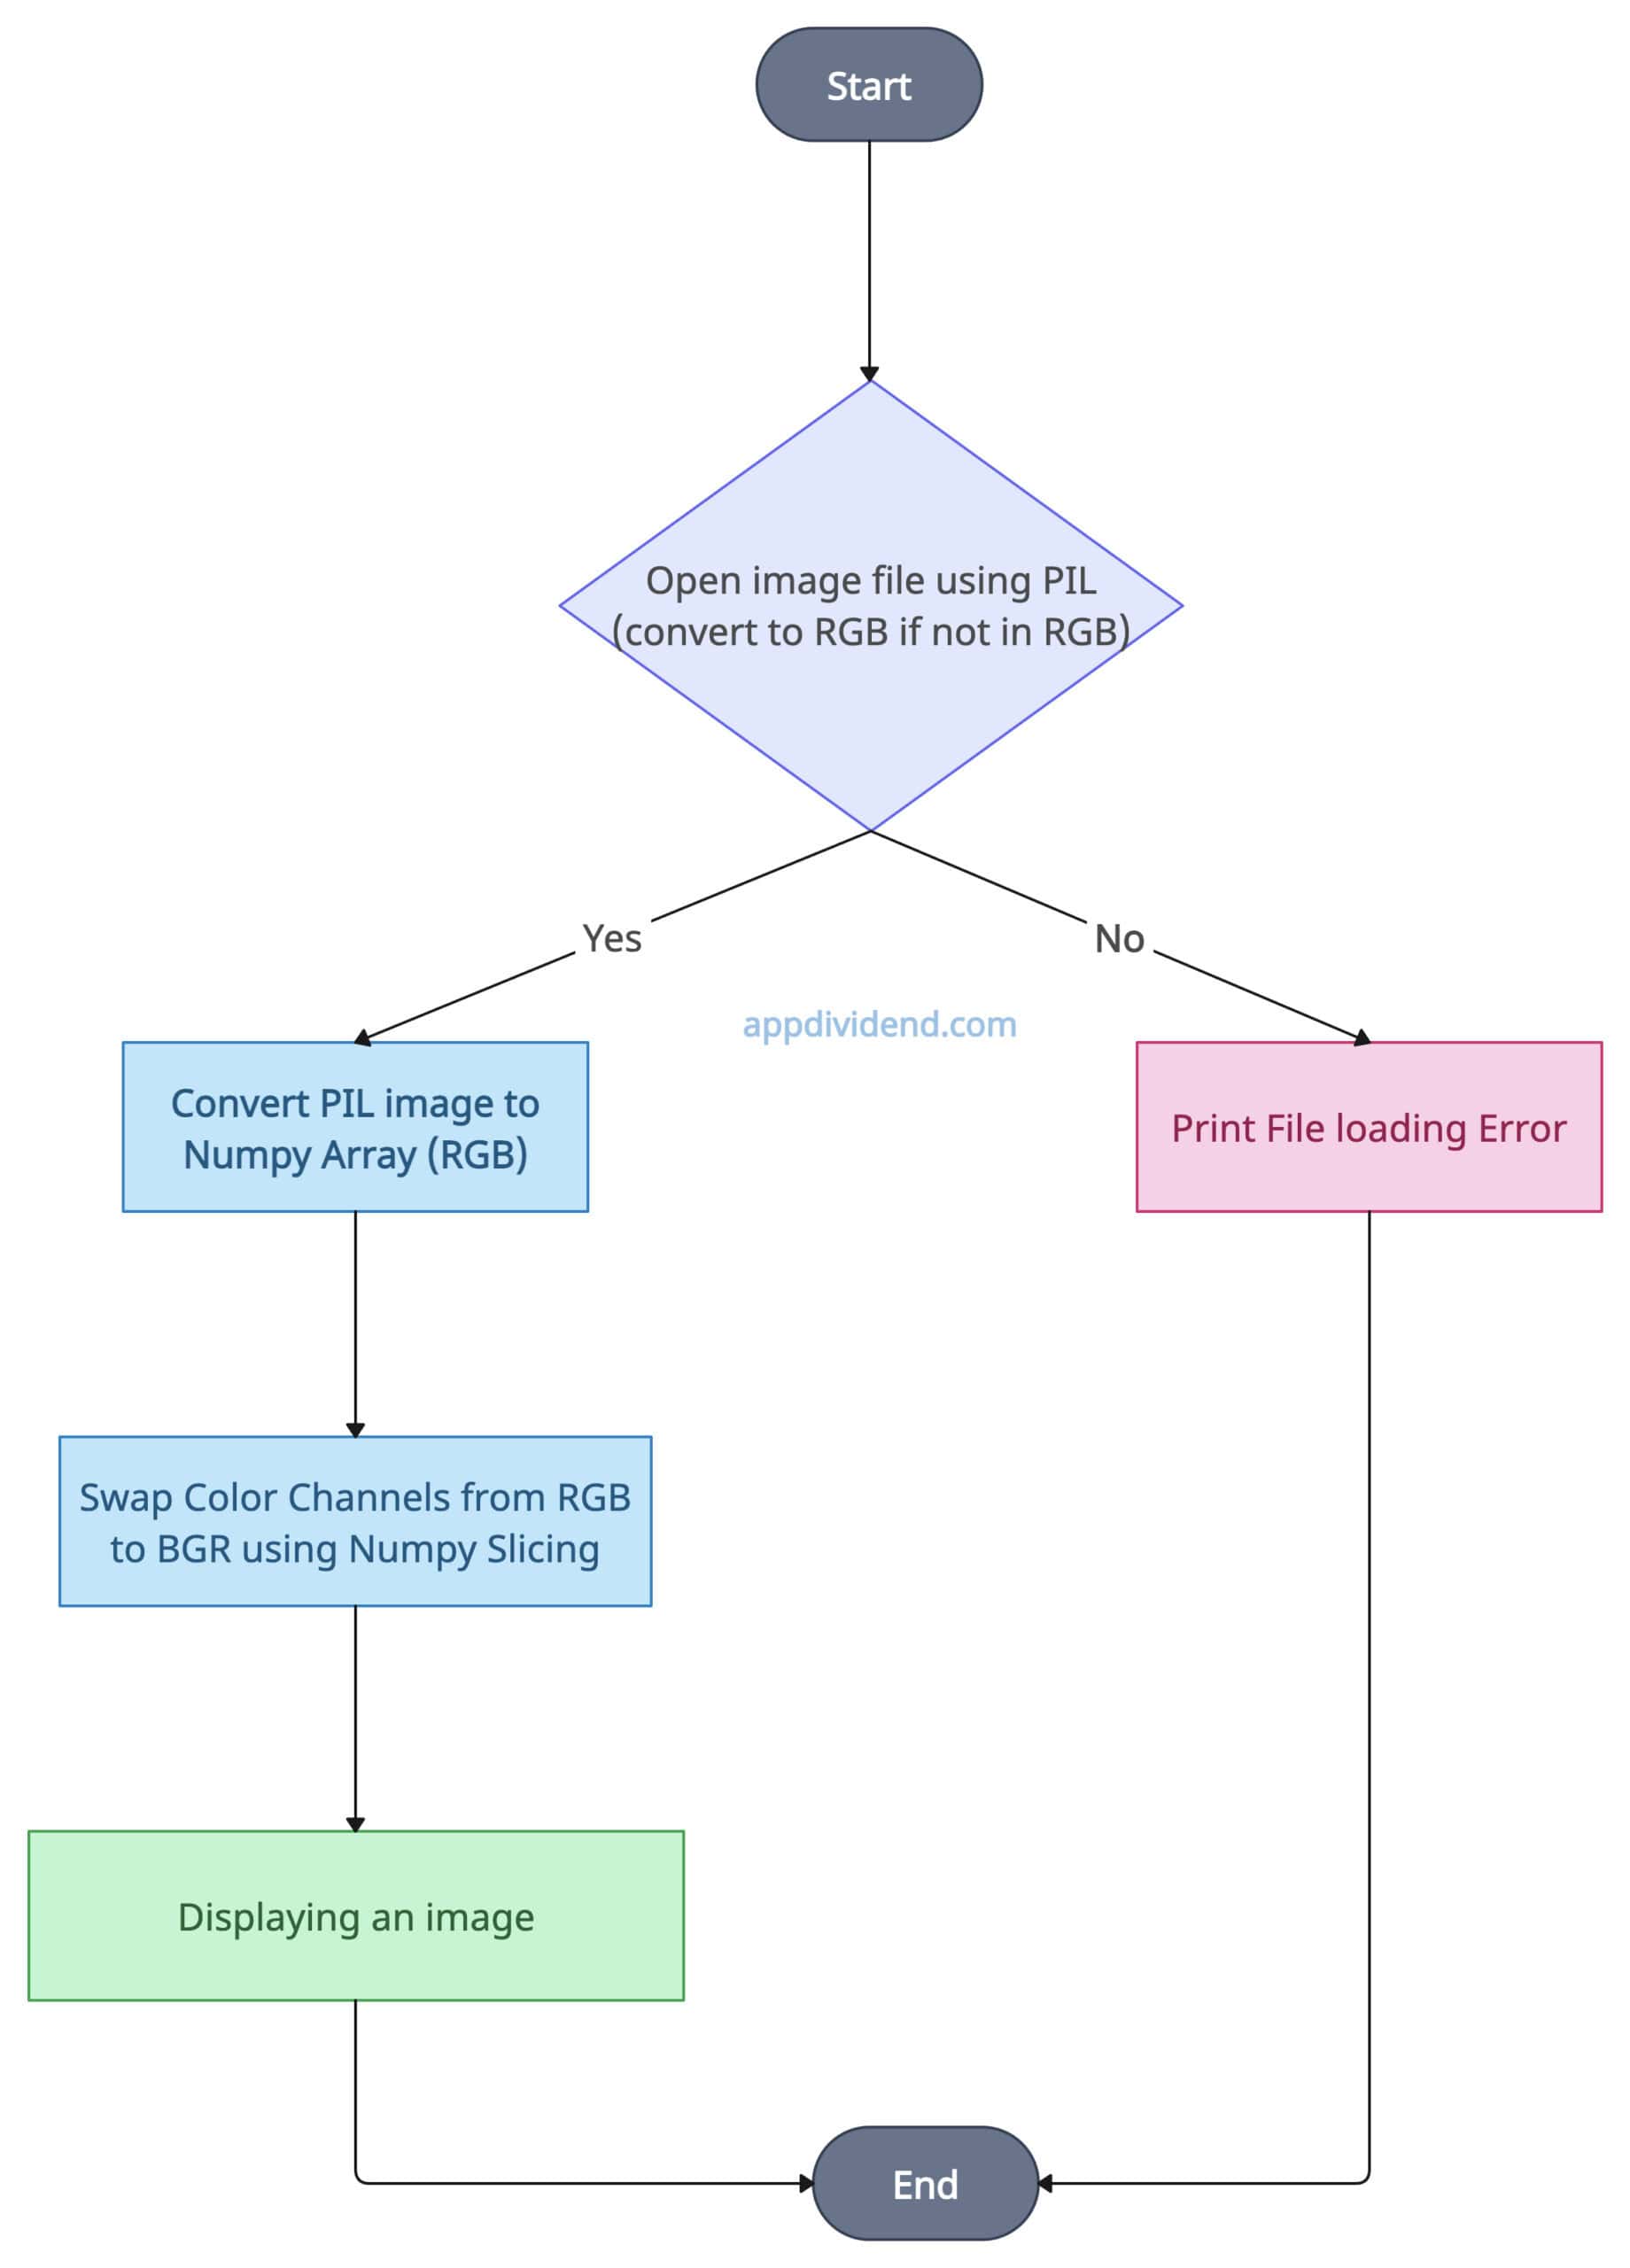
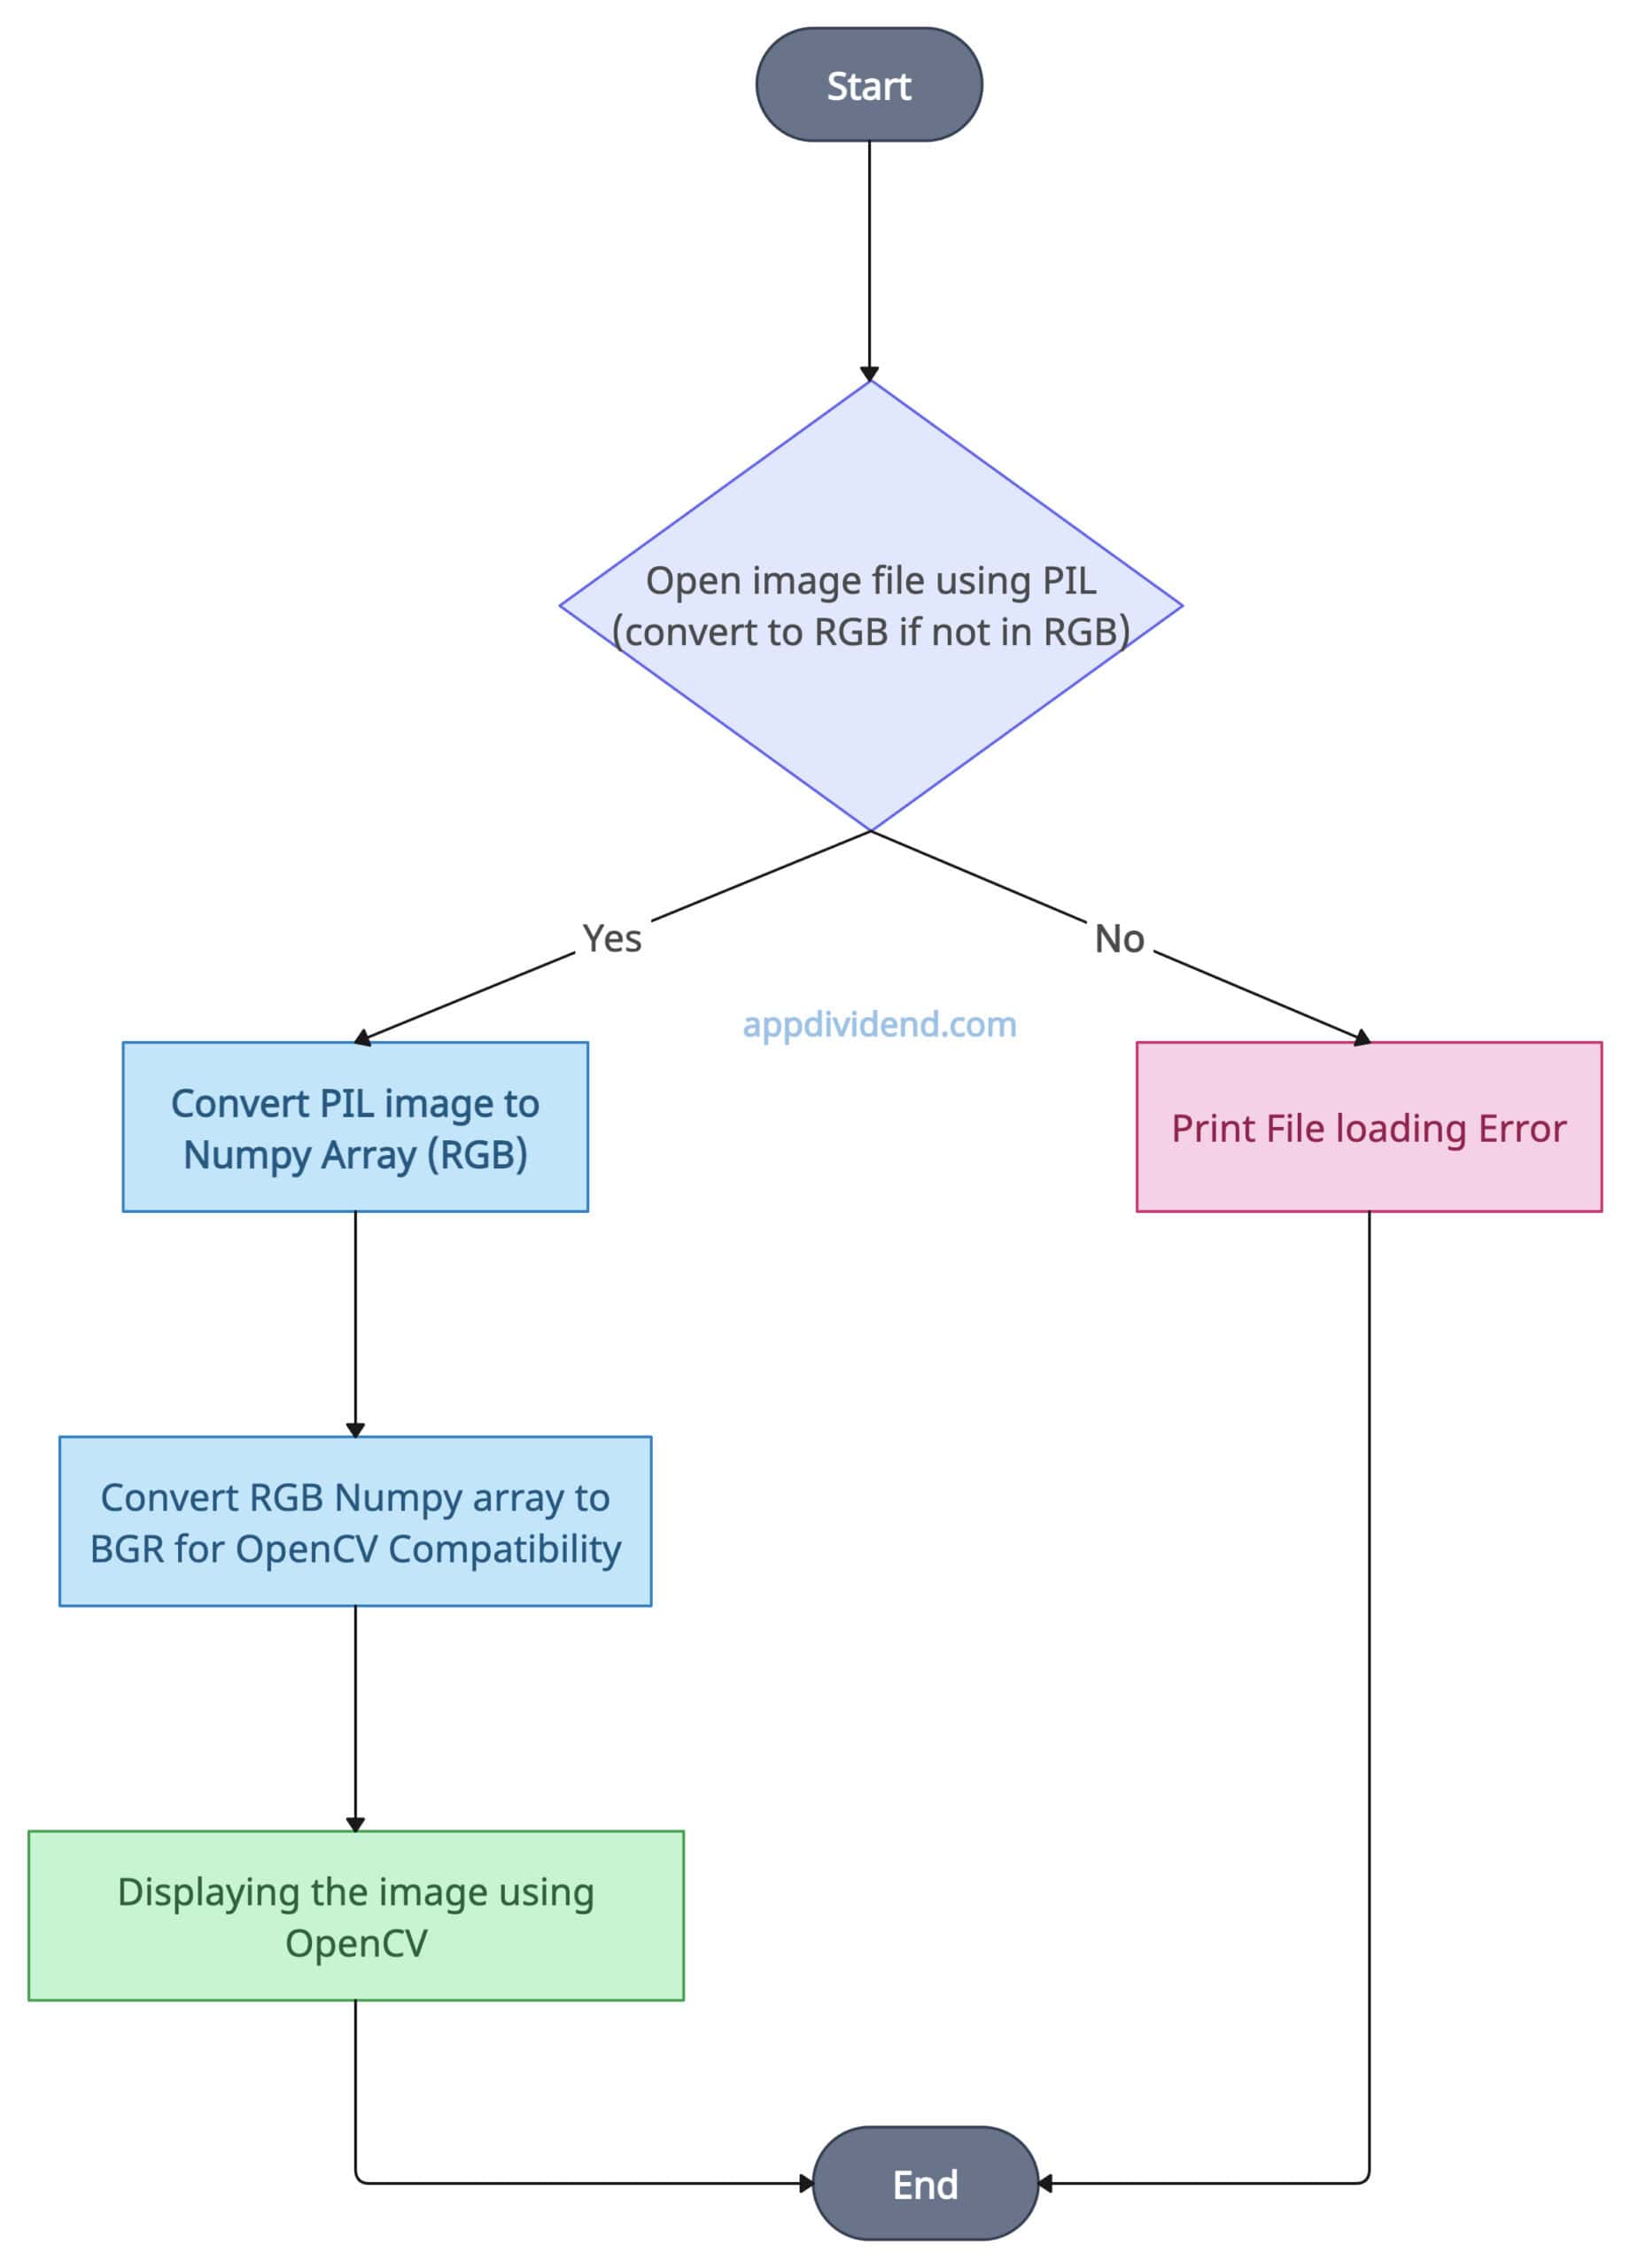 You can observe from the above decision tree diagram that we defined each step from top to bottom.
First, we load the input image and convert it to RGB if it is not already in this format. Furthermore, we will convert the image into a NumPy array for OpenCV compatibility and display it.
To run the practical, we need to install PIL, numpy, opencv-python, and matplotlib libraries.
pip install numpy pil opencv-python matplotlib
Code example
from PIL import Image
import numpy as np
import cv2
import matplotlib.pyplot as plt

# Opening the image using PIL and convert to RGB
pil_image = Image.open('./images/Avatar.png').convert('RGB')

# Converting the PIL image to a NumPy array (RGB)
numpy_image = np.array(pil_image)

# Converting the RGB image to BGR for OpenCV compatibility
opencv_image = cv2.cvtColor(numpy_image, cv2.COLOR_RGB2BGR)

# Displaying both images side by side using matplotlib

# Creating a figure with 1 row and 2 columns
fig, axs = plt.subplots(1, 2, figsize=(10, 5))

# Displaying the original PIL image (RGB)
axs[0].imshow(pil_image)
axs[0].set_title('PIL Image (RGB)')
axs[0].axis('off')  # Turn off axis

# Displaying the BGR image (without converting back to RGB)
axs[1].imshow(opencv_image)  # This shows the BGR image as-is
axs[1].set_title('OpenCV Image (BGR Format)')
axs[1].axis('off')  # Turn off axis

# Showing the images side by side
plt.tight_layout()
plt.show()
Output
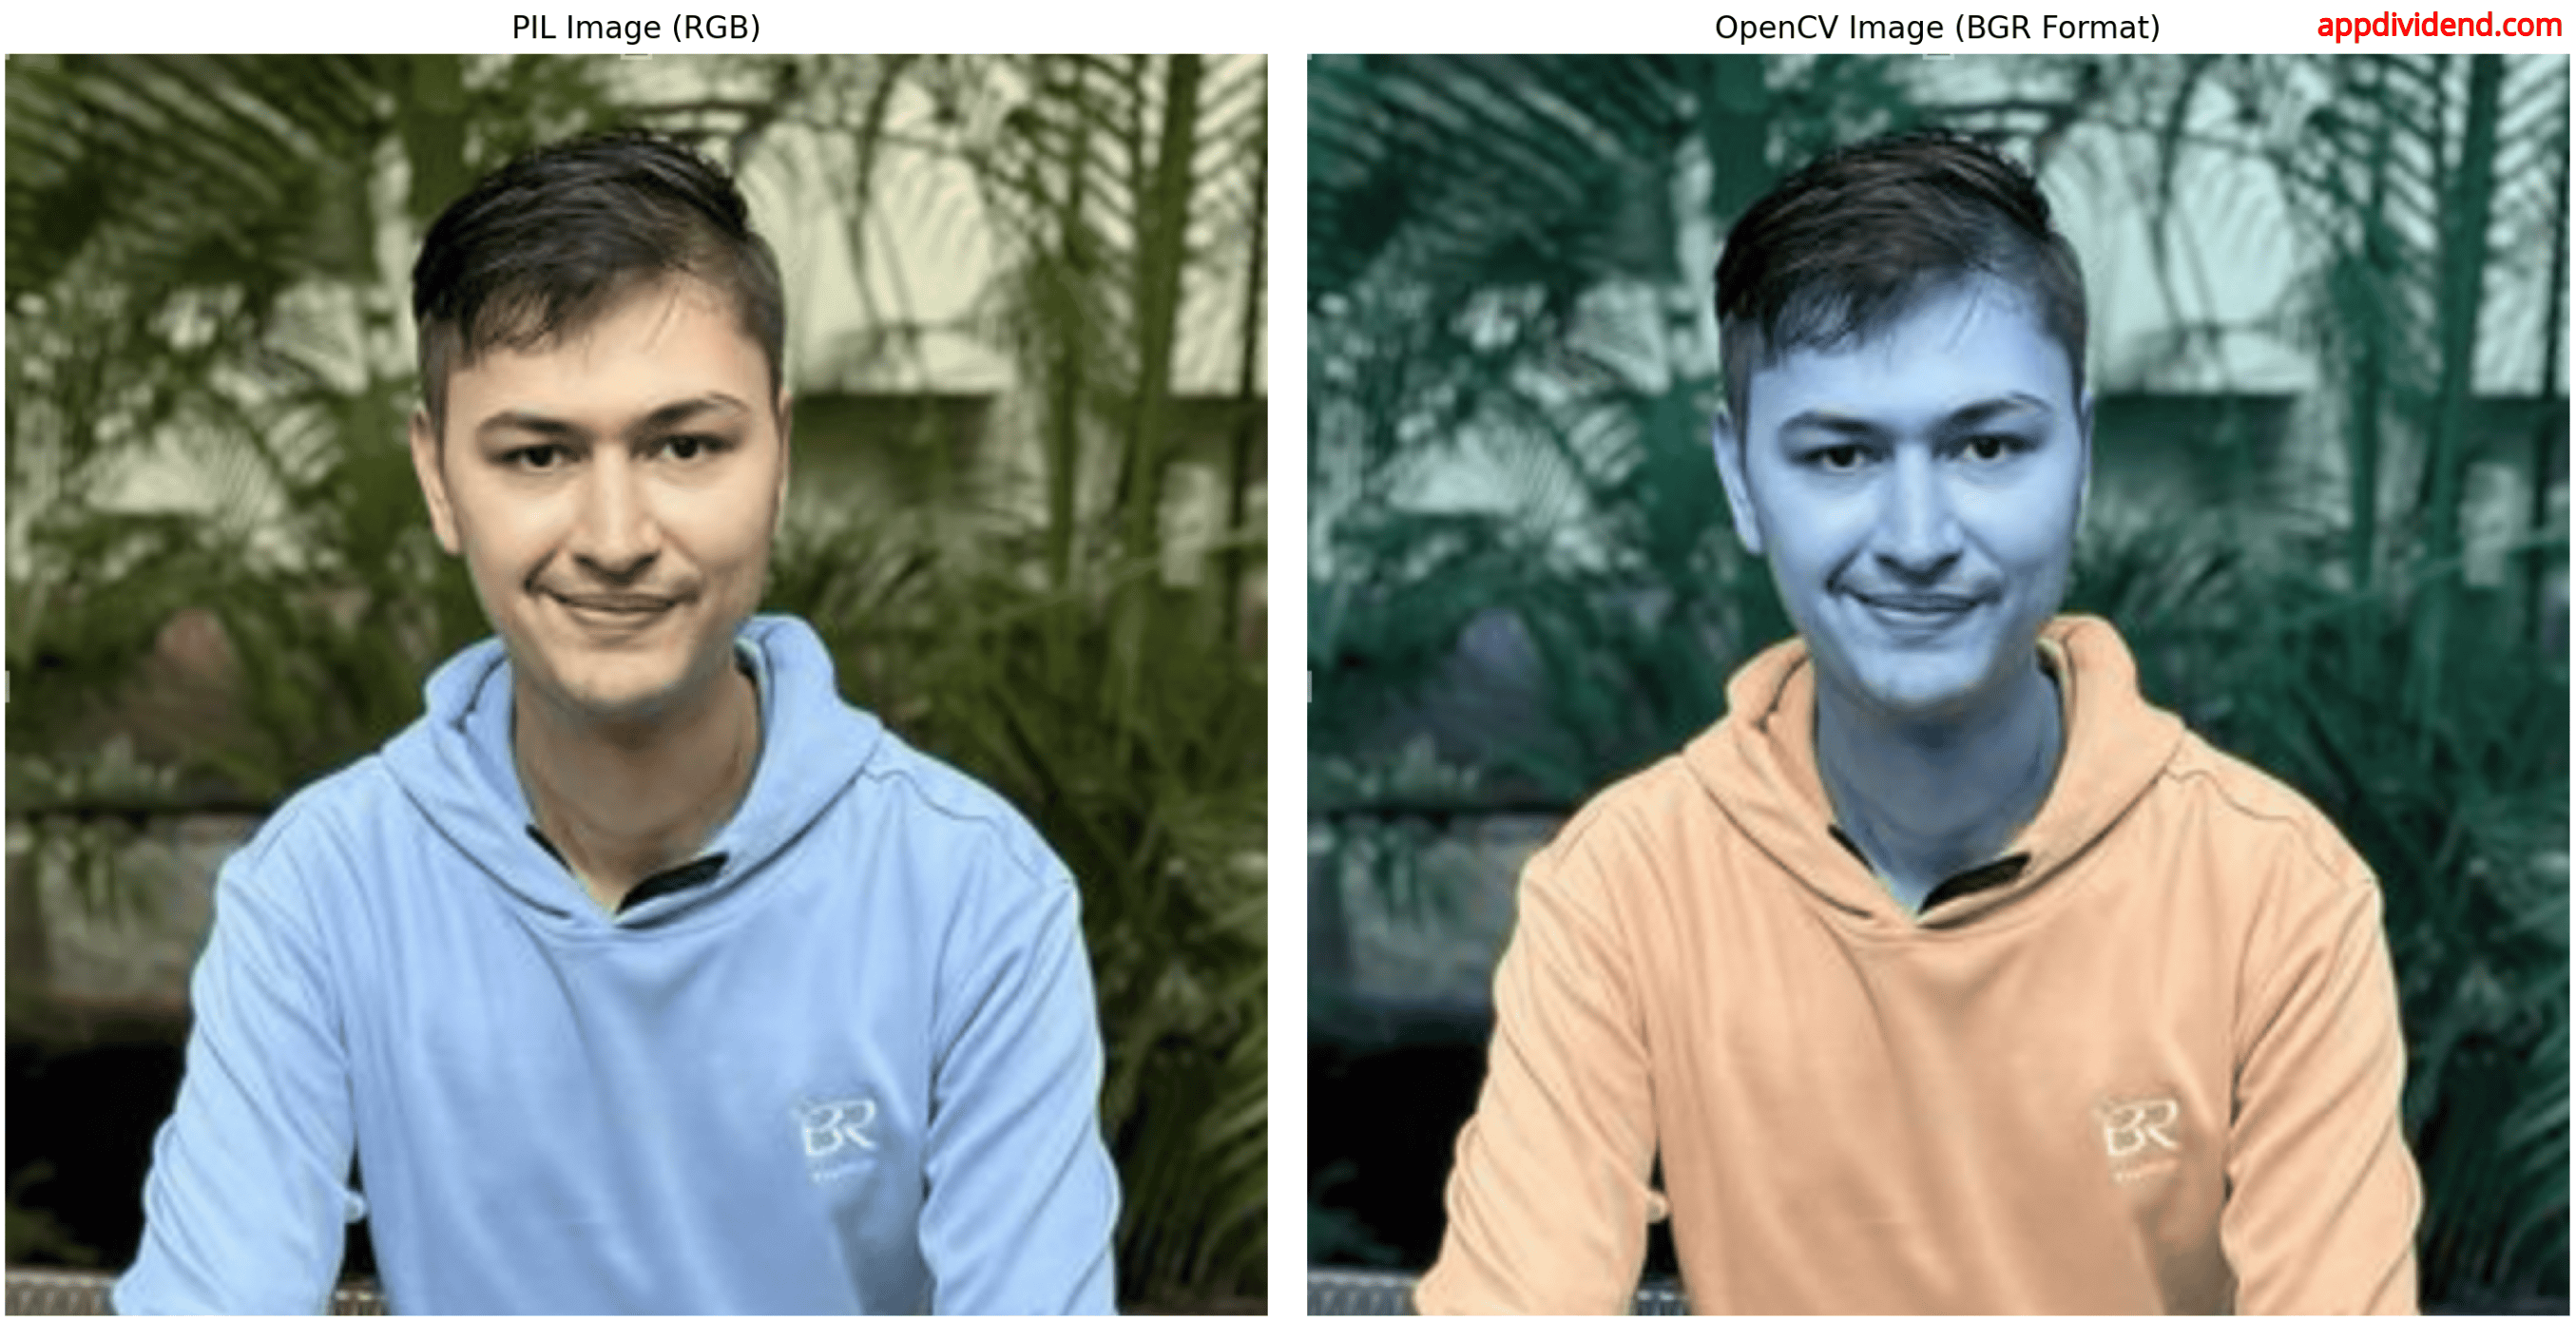
You can see from the above output image that we put two side-by-side images. The left image is a PIL image (RGB), and the right image is OpenCV (BGR). You can see the clear difference between the two images.
This approach is straightforward to implement, requiring only a few lines of code. It is used for color conversion to ensure accuracy.
Method 2: Using cv2.imdecode() with Bytes Buffer
We will use the io.BytesIO() function to save an image to an in-memory buffer.
In the next step, convert the buffer to a numpy array, and use the cv2.imdecode() function to decode the image buffer into an OpenCV image.
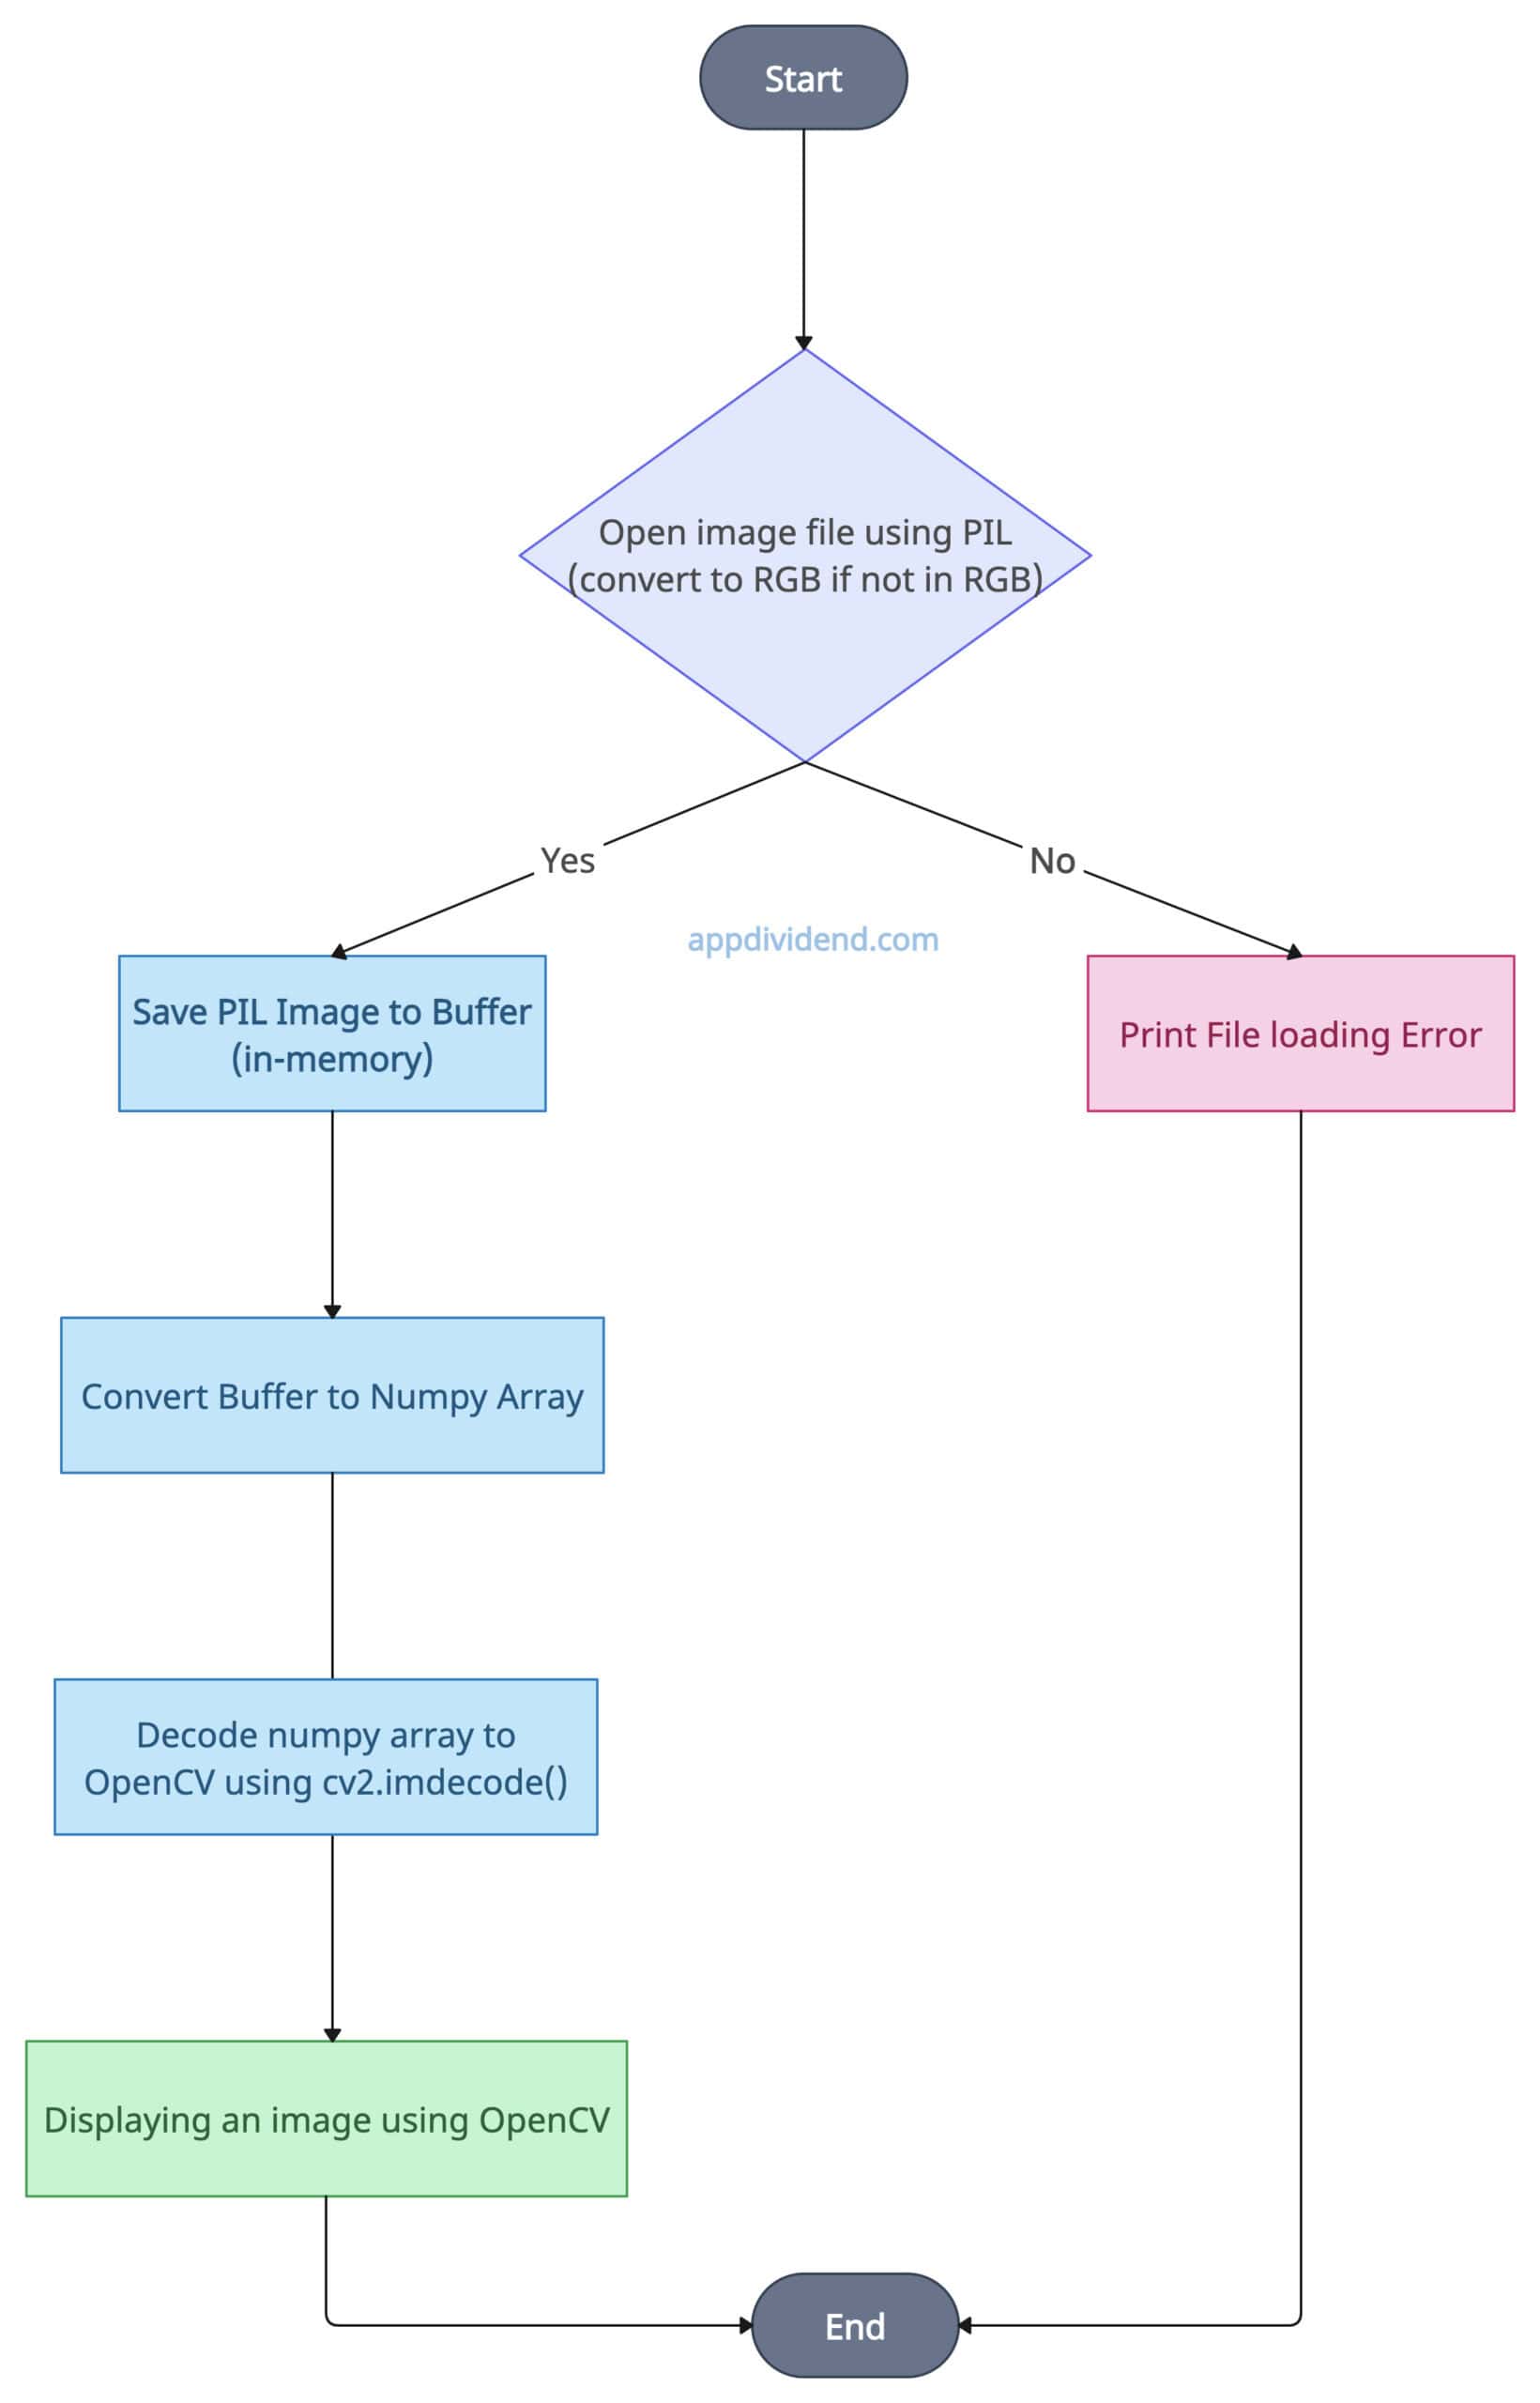
The above decision diagram depicts the step-by-step process I already described.
Code example
from PIL import Image
import io
import numpy as np
import cv2
import matplotlib.pyplot as plt

# Open the image using PIL and convert to RGB
pil_image = Image.open('./images/Avatar.png').convert('RGB')

# Save the PIL image to an in-memory buffer
buffer = io.BytesIO()
pil_image.save(buffer, format='PNG')

# Convert the buffer to a NumPy array
numpy_buffer = np.frombuffer(buffer.getvalue(), dtype=np.uint8)

# Decode the image buffer into an OpenCV image (which is in BGR format)
opencv_image = cv2.imdecode(numpy_buffer, cv2.IMREAD_COLOR)

# Now display both images side by side using matplotlib

# Create a figure with 1 row and 2 columns
fig, axs = plt.subplots(1, 2, figsize=(10, 5))

# Display the original PIL image (RGB)
axs[0].imshow(pil_image)
axs[0].set_title('PIL Image (RGB)')
axs[0].axis('off')  # Turn off axis

# Display the OpenCV image (BGR format without converting back to RGB)
axs[1].imshow(opencv_image)  # Display the BGR image without color conversion
axs[1].set_title('OpenCV Image (BGR Format)')
axs[1].axis('off')  # Turn off axis

# Show the images side by side
plt.tight_layout()
plt.show()
Output
It can handle different image formats, maintain image quality, and ensure the image is in a format that OpenCV expects.
Method 3: Using Numpy slicing
Open the image using PIL, convert the image into a numpy array, and swap color channels from RGB to BGR using numpy slicing.
Code example
from PIL import Image
import numpy as np
import matplotlib.pyplot as plt

# Opening the image using PIL and convert to RGB
pil_data = Image.open('./images/Avatar.png').convert('RGB')

# Converting the PIL image to a NumPy array (RGB)
numpy_image = np.array(pil_data)

# Swapping the color channels from RGB to BGR
image_bgr = numpy_image[:, :, ::-1].copy()

# Displaying both images side by side using matplotlib

# Creating a figure with 1 row and 2 columns
fig, axs = plt.subplots(1, 2, figsize=(10, 5))

# Displaying the original PIL image (RGB)
axs[0].imshow(pil_data)
axs[0].set_title('PIL Image (RGB)')
axs[0].axis('off')  # Turn off axis

# Displaying the image with swapped channels (BGR)
axs[1].imshow(image_bgr)
axs[1].set_title('OpenCV Image (BGR)')
axs[1].axis('off')  # Turn off axis

# Showing the images side by side
plt.tight_layout()
plt.show()
Output
That’s all!