
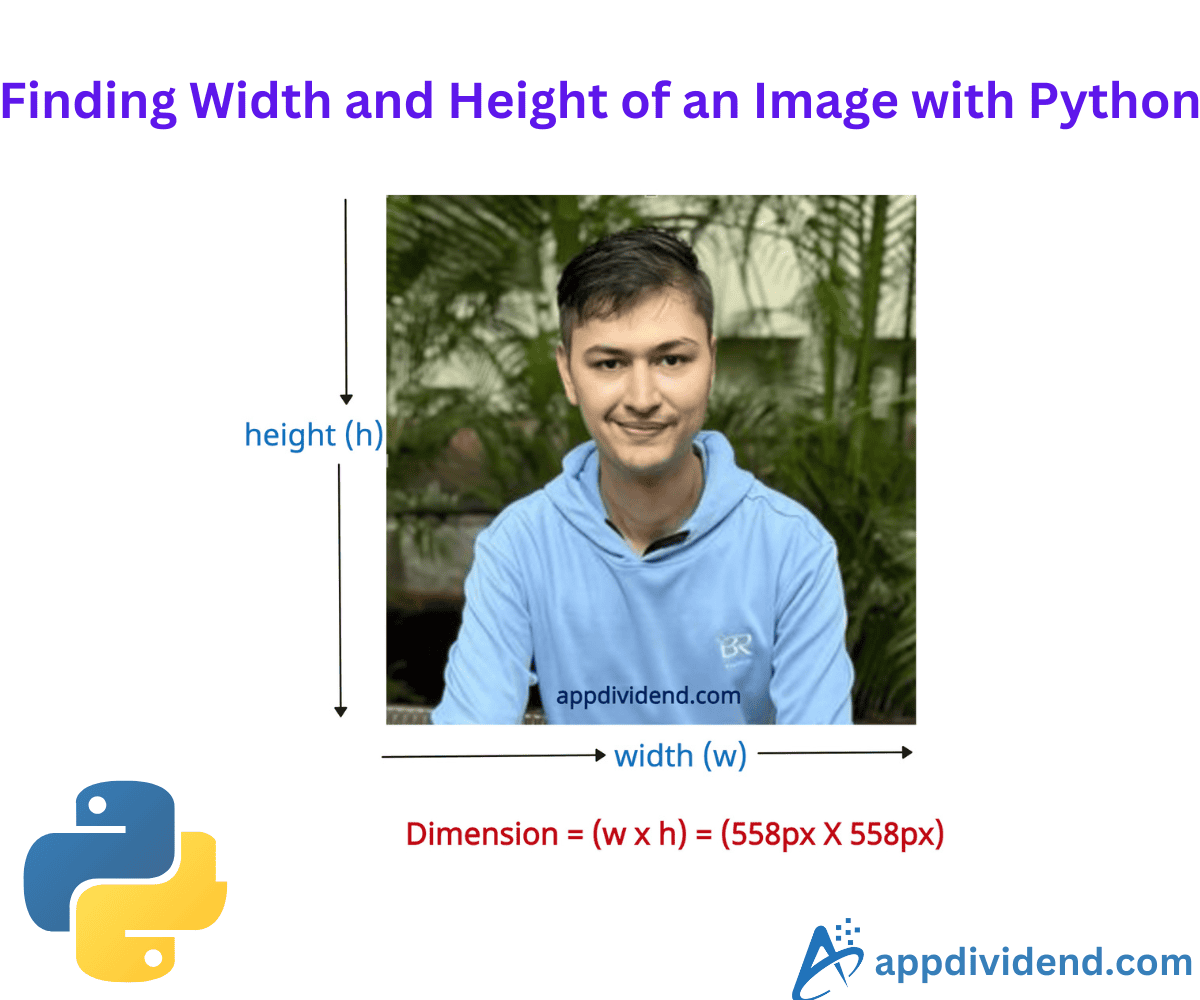
The dimension of an image is defined by its width and height and typically represented as (w × h).

Here are three ways to find a height and width of an image in Python:
- Using Pillow’s image.size
- Using cv2’s image.shape
- Using matplotlib’s image.shape
For this practical, I will be using the image below:

Method 1: Using PIL’s image.size
The Pillow is an image-editing library used to open, manipulate, and save images.
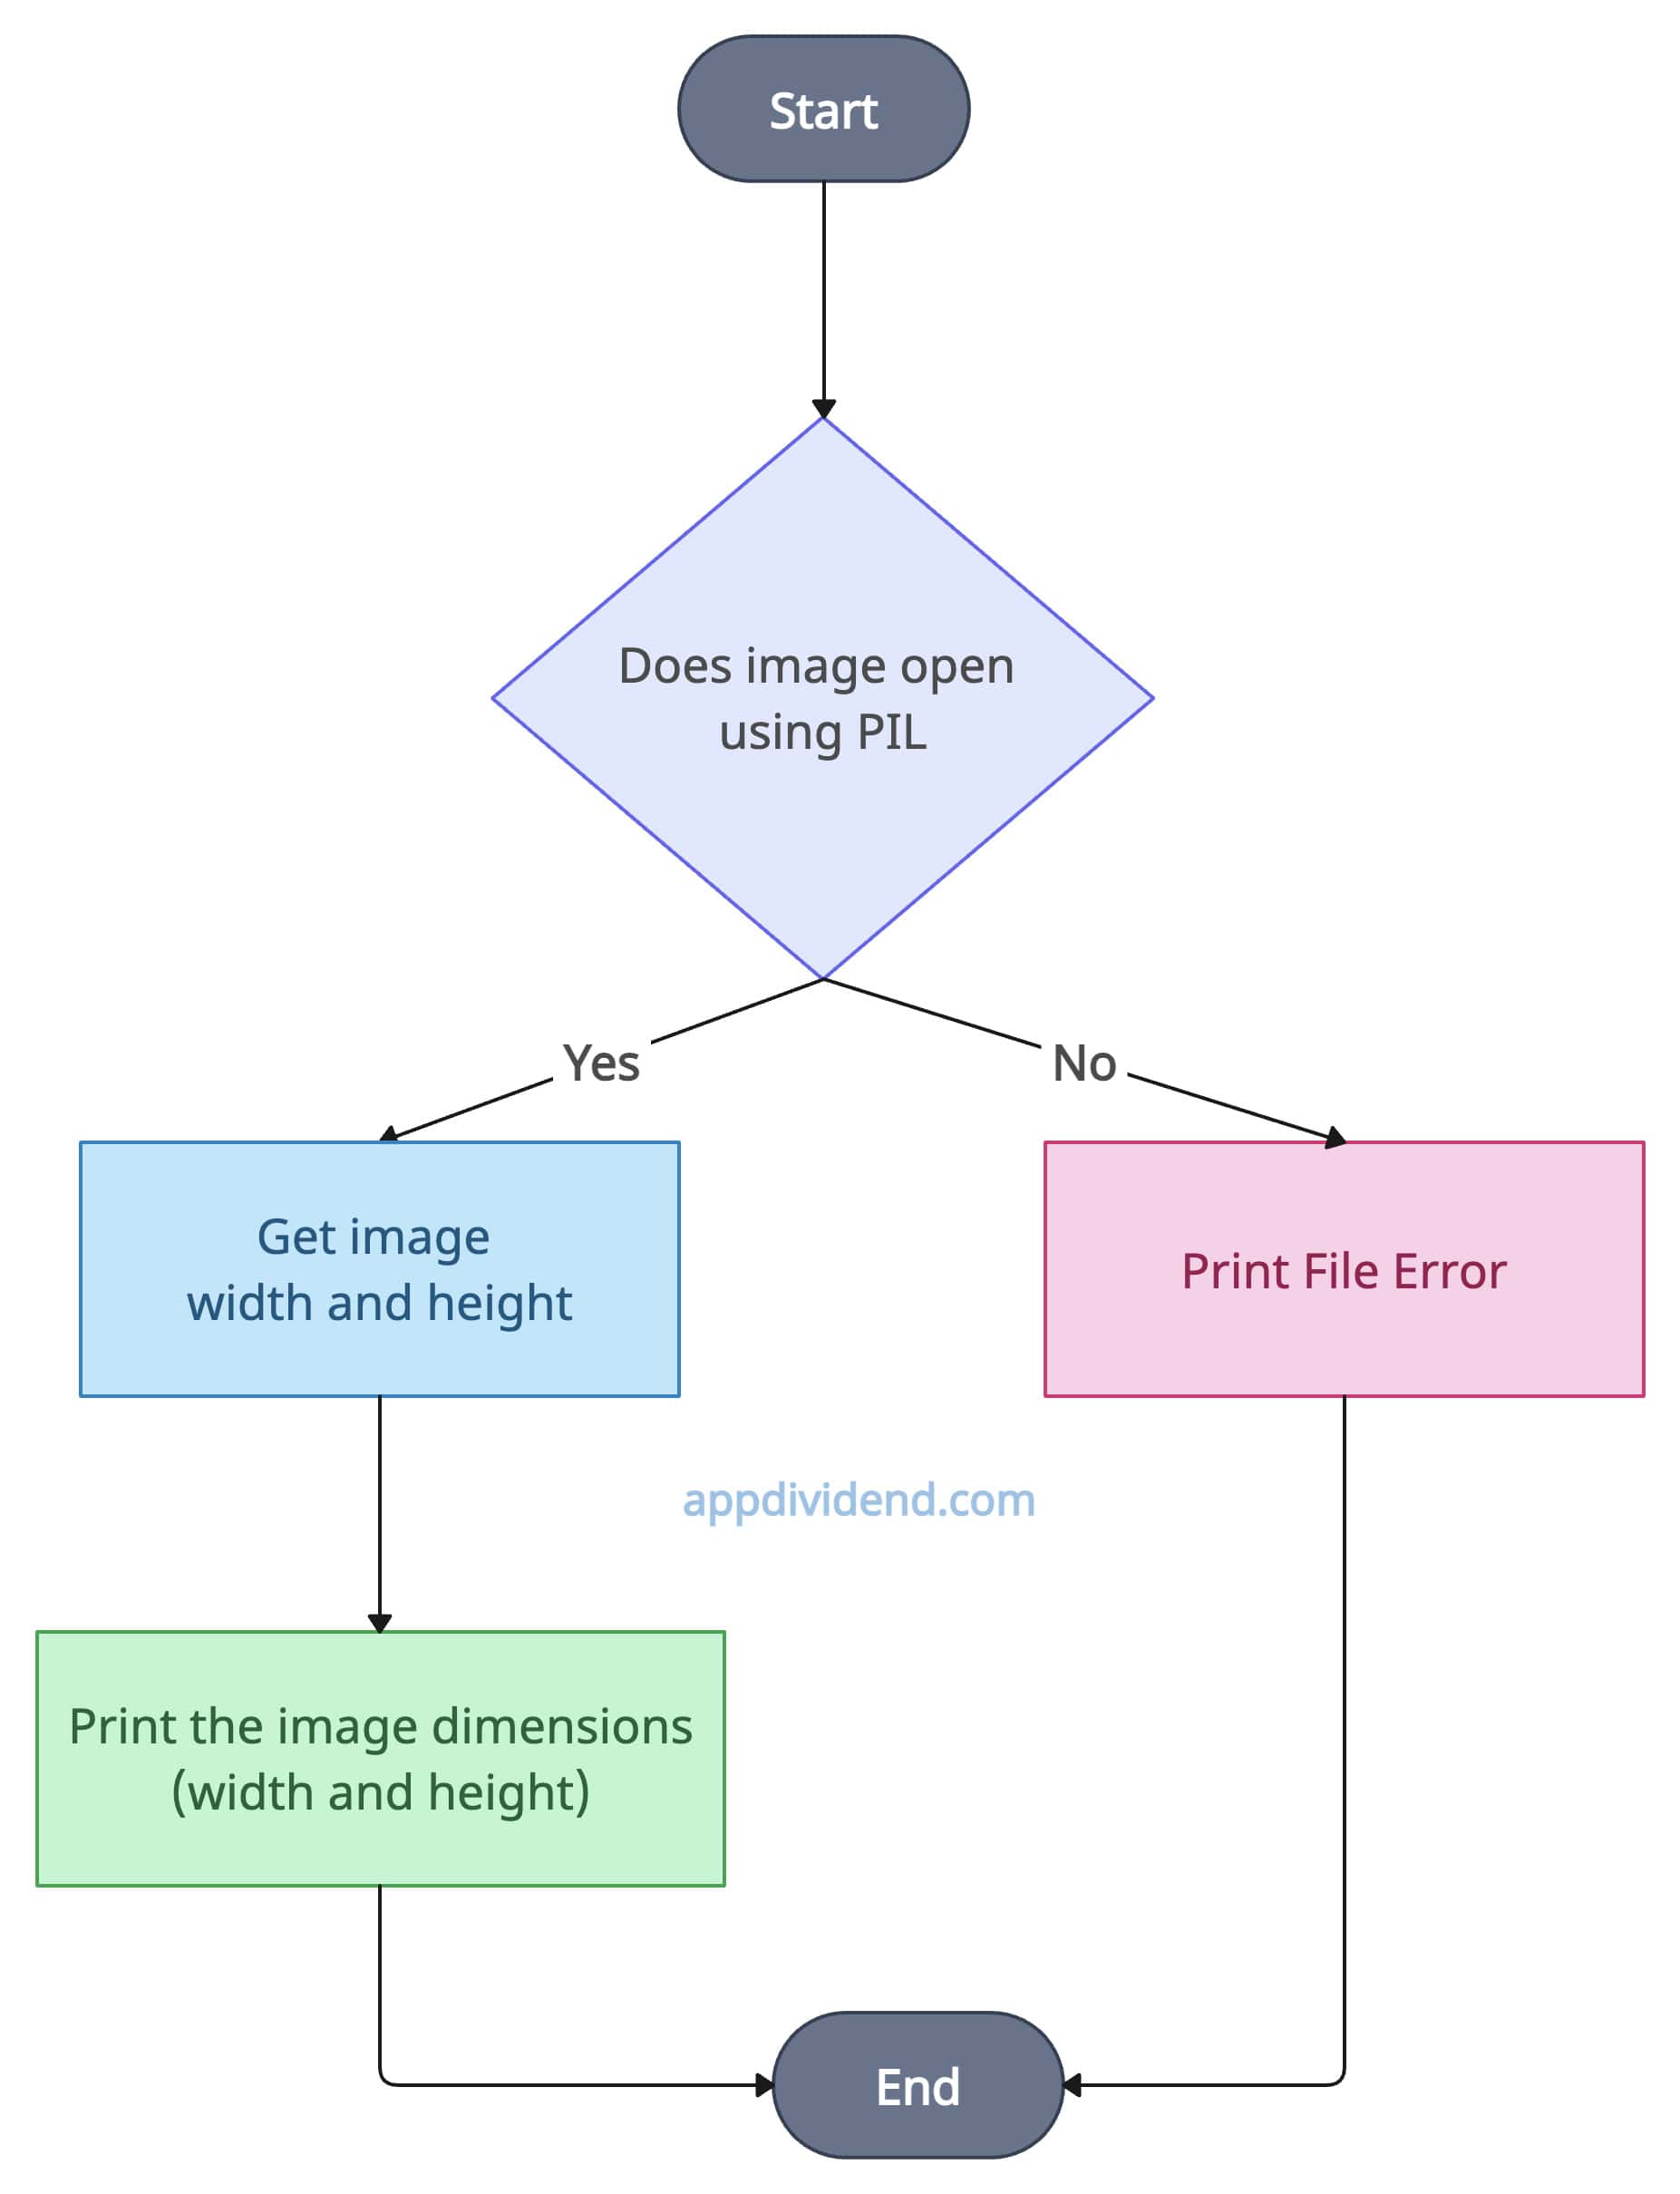
Import the Image module from Pillow, open the image using the .open() function, and retrieve the dimensions using the image.size attribute, and print them.
Decision Tree Diagram
 Install the pillow library if not installed using the below command:
pip install pillow
Code example
from PIL import Image

# Opening the input image file
image = Image.open('krunal.png')

# Getting width and height of the image
width, height = image.size

# Printing the dimensions (width and height)
print(f"The image width is {width} pixels.")
print(f"The image height is {height} pixels.")
Output
The image width is 558 pixels.

The image height is 558 pixels.
The pillow is a lightweight approach to finding the image dimensions. It can handle various image formats, including JPG, PNG, and BMP.
However, it does not support computer vision functions. For that, use the opencv module.
Method 2: Using cv2’s image.shape
The cv2 module provides a .shape attribute to extract the width (shape[1]) and height (shape[0]) from the shape. After getting it, print it, and if any error occurs, then display it to the user.
Decision Tree Diagram
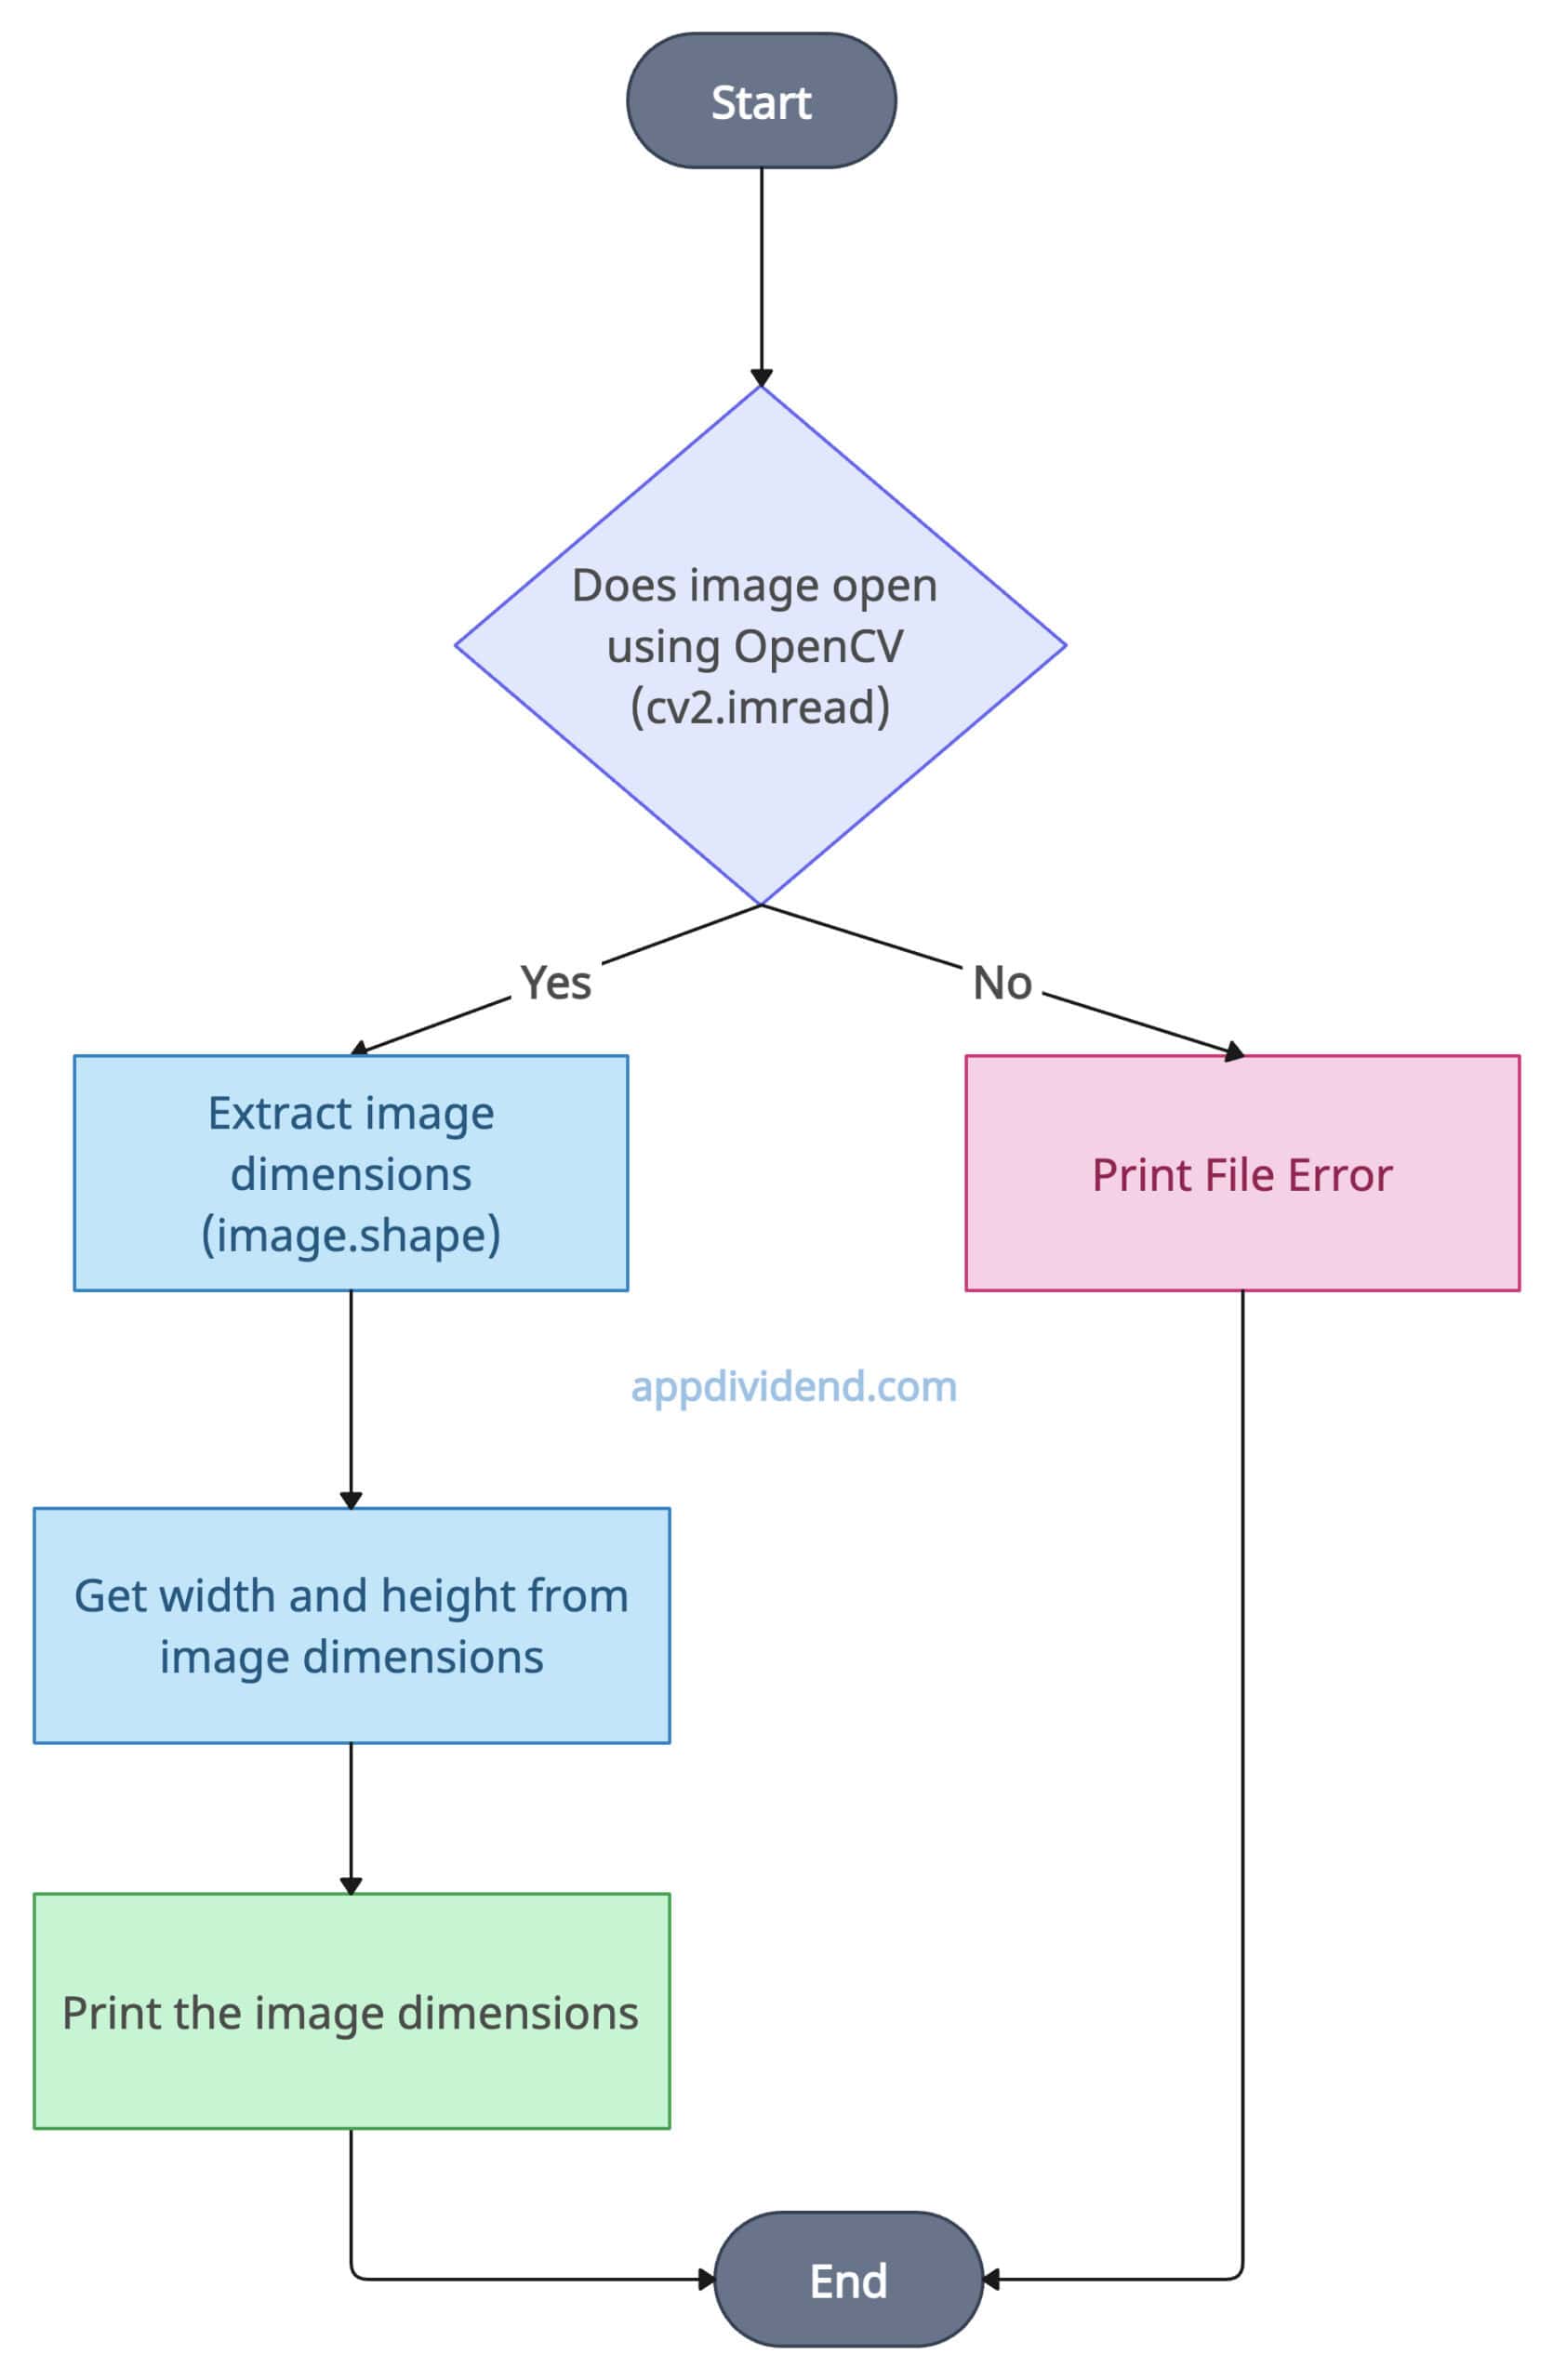
The above diagram is pretty simple.
We defined each process in a step of the diagram and finally ended the process.
To work with opencv in Python, we need to install it using the command below:
pip install opencv-python
Code example
import cv2

# Reading the input image file
image = cv2.imread('krunal.png')

# Extracting image dimensions (width and height)
dimensions = image.shape
width = image.shape[1]
height = image.shape[0]


# Displaying the dimensions
print(f"The image width is {width} pixels.")
print(f"The image height is {height} pixels.")
Output
The image width is 558 pixels.

The image height is 558 pixels.
OpenCV is a highly optimized and efficient approach that can be used for image and video processing. However, it can be overwhelming for simple tasks like this.
Only use this approach when you are doing computer vision tasks because, in that case, you have already installed opencv on your machine.
Method 3: Using matplotlib’s image.shape
Matplotlib library is the least likable approach you can use because it is a charting library and not an imaging library, but it does provide a function to edit the image.
Decision Tree Diagram

Use mpimg.imread() function to load the input image, use the image.shape to get the height and width of the image, and print it to the console so that the user can see it.
To work with the matplotlib library in Python, we need to install it if it is not already installed using the command below:
pip install matplotlib
Code example
import matplotlib.image as mpimg

# Reading the image file using mpimg
image = mpimg.imread('krunal.png')

# Getting dimensions (height and width)
height = image.shape[0]
width = image.shape[1]

# Displaying the dimensions
print(f"The image width is {width} pixels.")
print(f"The image height is {height} pixels.")
Output
The image width is 558 pixels.

The image height is 558 pixels.
I suggest you refrain from using this approach, as it is a plotting library that does not support all image formats. However, if you are working with plotting and do not want to install other libraries, then you can use it.
That’s all!