
Introduction
When you are working with TanStack Query (formerly known as React Query), you need to use the useQuery hook. This hook returns almost 15 properties but three main properties:
- data: It is the data fetched from the API returned from the query function.
- error: If the query function fails to return the data, it will return this property. If you fetch the data correctly, this property will have a null value.
- isLoading: This property has a boolean that suggests whether the query is in a loading state (i.e., the query is currently fetching data).
To improve user experience in web or mobile applications, we need to properly show the user the state of the current web application.
The user expects feedback from the application that the data is currently loading, and if the app fails to fetch the data, what could possibly go wrong? Sometimes, a poor internet connection can cause this issue, 500 Internal Server Error, or something related to a network error.
Displaying a meaningful error message helps users understand what happened and what they can do next. It maintains the professionalism of our application with a positive user experience.
Providing feedback for loading and error states builds user trust. They will continue to use our application, and a high retention ratio can be maintained easily.
That’s where handling loading and error state comes into the picture.
Project Overview
In this project, we will create a custom hook that uses the useQuery hook to fetch the data from the API server. While fetching the data, we will display the loading or error states.
While we are fetching the data, we display the loading component. If it encounters any error, it will display an error component. We will use two conditional statements to display these two fallback UI components.
If fetching is done successfully, we will display the data using MUI styling.
Learn how to set up a tanstack query if you want to know what a tanstack query is and how to use it.
Here is the step-by-step guide to handle loading and error states gracefully in a React application:
Step 1: Set Up a new React Project with Vite
You can create a new React project using Vite using the following command:
npm create vite@latest tanstack-app -- --template react
Go inside the project folder and install the dependencies:
cd tanstack-app

npm install
Step 2: Install @tanstack/react-query
Install the @tanstack/react-query module using the command below:
npm install @tanstack/react-query
Also, we need to install the axios library to send a network request:
npm install axios
Step 3: Install MUI
Install the Material-UI for styling:
npm install @mui/material @emotion/react @emotion/styled
Step 4: Set Up TanStack Query
Create a new file, src/queryClient.js, to set up the query client.
// src/queryClient.js

import { QueryClient } from '@tanstack/react-query';

const queryClient = new QueryClient();

export default queryClient;
Step 5: Create a Custom Hook for Data Fetching
The tanstack query provides a useQuery hook that can be used to fetch the data from the server. We will create a custom hook that uses the useQuery hook to fetch the data.
Under the “src” folder, create a new folder called “hooks”.
Under the “hooks” folder, create a new file called useFetchTodos.js.
// src/hooks/useFetchTodos.js

import { useQuery } from '@tanstack/react-query';
import axios from 'axios';

const fetchTodos = async () => {
    const { data } = await axios.get('https://jsonplaceholder.typicode.com/todos');
    return data;
};

const useFetchTodos = () => {
    return useQuery({
        queryKey: ['todos'],
        queryFn: fetchTodos,
    });
};

export default useFetchTodos;
We used async/await to perform side effects and fetch the data from the server.
This is a custom React hook that uses the useQuery hook. The useQuery() hook accepts an object that has two properties:
- queryKey: It is an array specifying the query key. This query key can be further used to identify and manage the cached data associated with the query.
- queryFn: It is a simple function that fetches the data, which in this case is fetchTodos, that will send a network request to an API.
Step 6: Create Fallback UI Components
Create reusable components for loading, error, and success states.
Under the components folder, create a new component called “Loading.jsx”. Add the below code to it:
// src/components/Loading.jsx

import CircularProgress from "@mui/material/CircularProgress";
import Box from "@mui/material/Box";

const Loading = () => {
  return (
    <Box
      display="flex"
      justifyContent="center"
      alignItems="center"
      minHeight="100vh"
    >
      <CircularProgress />
    </Box>
  );
};

export default Loading;
While the data is fetching, we will display this “Loading.jsx” fallback component.
To display an error, we need to create an Error.jsx component inside the components folder.
// src/components/Error.jsx

import Alert from "@mui/material/Alert";
import Box from "@mui/material/Box";

// eslint-disable-next-line react/prop-types
const Error = ({ message }) => {
  return (
    <Box
      display="flex"
      justifyContent="center"
      alignItems="center"
      minHeight="100vh"
    >
      <Alert severity="error">{message}</Alert>
    </Box>
  );
};

export default Error;
This fallback component will be displayed when an error occurs.
The last component is the List Container component, which will display todos in a proper format.
Create a new file called TodoList.jsx and add the below code:
// src/components/TodosList.jsx
import Box from "@mui/material/Box";
import Typography from "@mui/material/Typography";
import List from "@mui/material/List";
import ListItem from "@mui/material/ListItem";
import ListItemText from "@mui/material/ListItemText";
// eslint-disable-next-line react/prop-types
const TodosList = ({ todos }) => {
return (
<Box padding={2}>
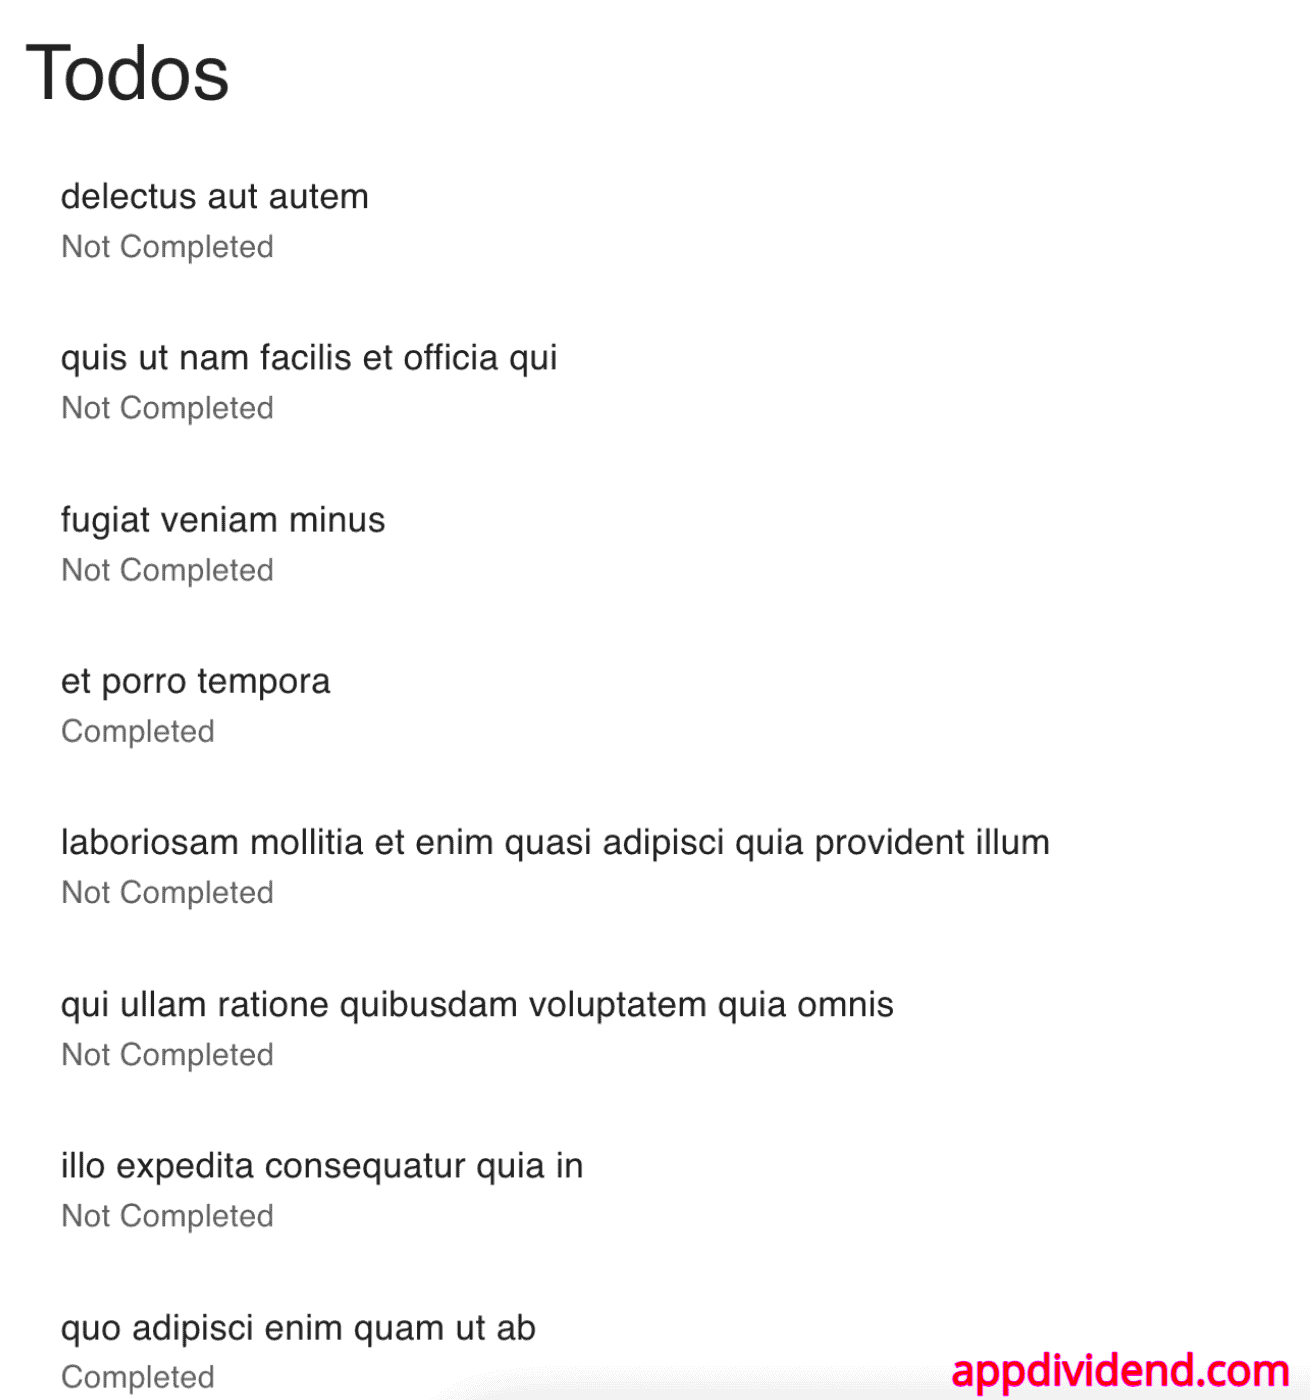
<Typography variant="h4">Todos</Typography>
<List>
{
// eslint-disable-next-line react/prop-types
todos.map((todo) => (
<ListItem key={todo.id}>
<ListItemText
primary={todo.title}
secondary={todo.completed ? "Completed" : "Not Completed"}
/>
</ListItem>
))
}
</List>
</Box>
);
};
export default TodosList;
Let’s create a final DataComponent.jsx file that includes all the other components under the components folder:
// src/components/DataComponent.js

import useFetchTodos from "../hooks/useFetchTodos";
import Loading from "./Loading";
import Error from "./Error";
import TodosList from "./TodosList";

const DataComponent = () => {
  const { data, error, isLoading, isError } = useFetchTodos();

  if (isLoading) return <Loading />;
  if (isError) return <Error message={error.message} />;
  if (data) return <TodosList todos={data} />;

  return null;
};

export default DataComponent;
Step 7: Update the App.jsx file
Import the DataComponent.jsx file in the src/App.jsx file:
// src/App.jsx

import { QueryClientProvider } from "@tanstack/react-query";
import queryClient from "./queryClient";
import DataComponent from "./components/DataComponent";
import CssBaseline from "@mui/material/CssBaseline";
import { ThemeProvider, createTheme } from "@mui/material/styles";

const theme = createTheme();

const App = () => {
  return (
    <QueryClientProvider client={queryClient}>
      <ThemeProvider theme={theme}>
        <CssBaseline />
        <DataComponent />
      </ThemeProvider>
    </QueryClientProvider>
  );
};

export default App;
Step 8: Update main.jsx to Render App.jsx
Ensure your main.jsx file renders the App.jsx component:
// src/main.jsx

import React from "react";
import ReactDOM from "react-dom/client";
import App from "./App.jsx";

ReactDOM.createRoot(document.getElementById("root")).render(
  <React.StrictMode>
    <App />
  </React.StrictMode>
);
Our final project structure will look like this:
tanstack-app/
├── node_modules/
├── public/
├── src/
│   ├── components/
│   │   ├── DataComponent.jsx
│   │   ├── Loading.jsx
│   │   ├── Error.jsx
│   │   └── TodosList.jsx
│   ├── hooks/
│   │   └── useFetchTodos.js
│   ├── App.jsx
│   ├── main.jsx
│   └── queryClient.js
├── .gitignore
├── index.html
├── package.json
├── README.md
└── vite.config.js
Step 9: Run the project
Start the Vite development server using the command below:
npm run dev
Go to this URL: http://localhost:5173/
Conclusion
We created separate components for loading, error, and data to remove complexity from the project.
So, this is how you create fallback UI components for loading, error, and data components.
By following this structured approach, you can effectively handle and display fallback UIs for loading, error, and success states in your React application using TanStack Query.
Here is the complete code on Github.
