
Laravel 11 has been released! And today, we will create a CRUD application from scratch! By the end of this article, you will know how to create a bootstrap form, handle the user input, submit the form data, save the data into the database, update the data, and delete the record from the database.
CRUD sounds like a monster under your bed, but it’s the bread and butter of web applications.
We are talking about Create, Read, Update, and Delete functionalities. Without them, our apps would be as empty as a party without music. And who wants that? So, let’s jump right into it:
Here is the step-by-step guide:
Step 1: Install Laravel 11
To install Laravel globally, use this command:
composer global require laravel/installerNow, we will create a new Laravel application:
laravel new laravel11crud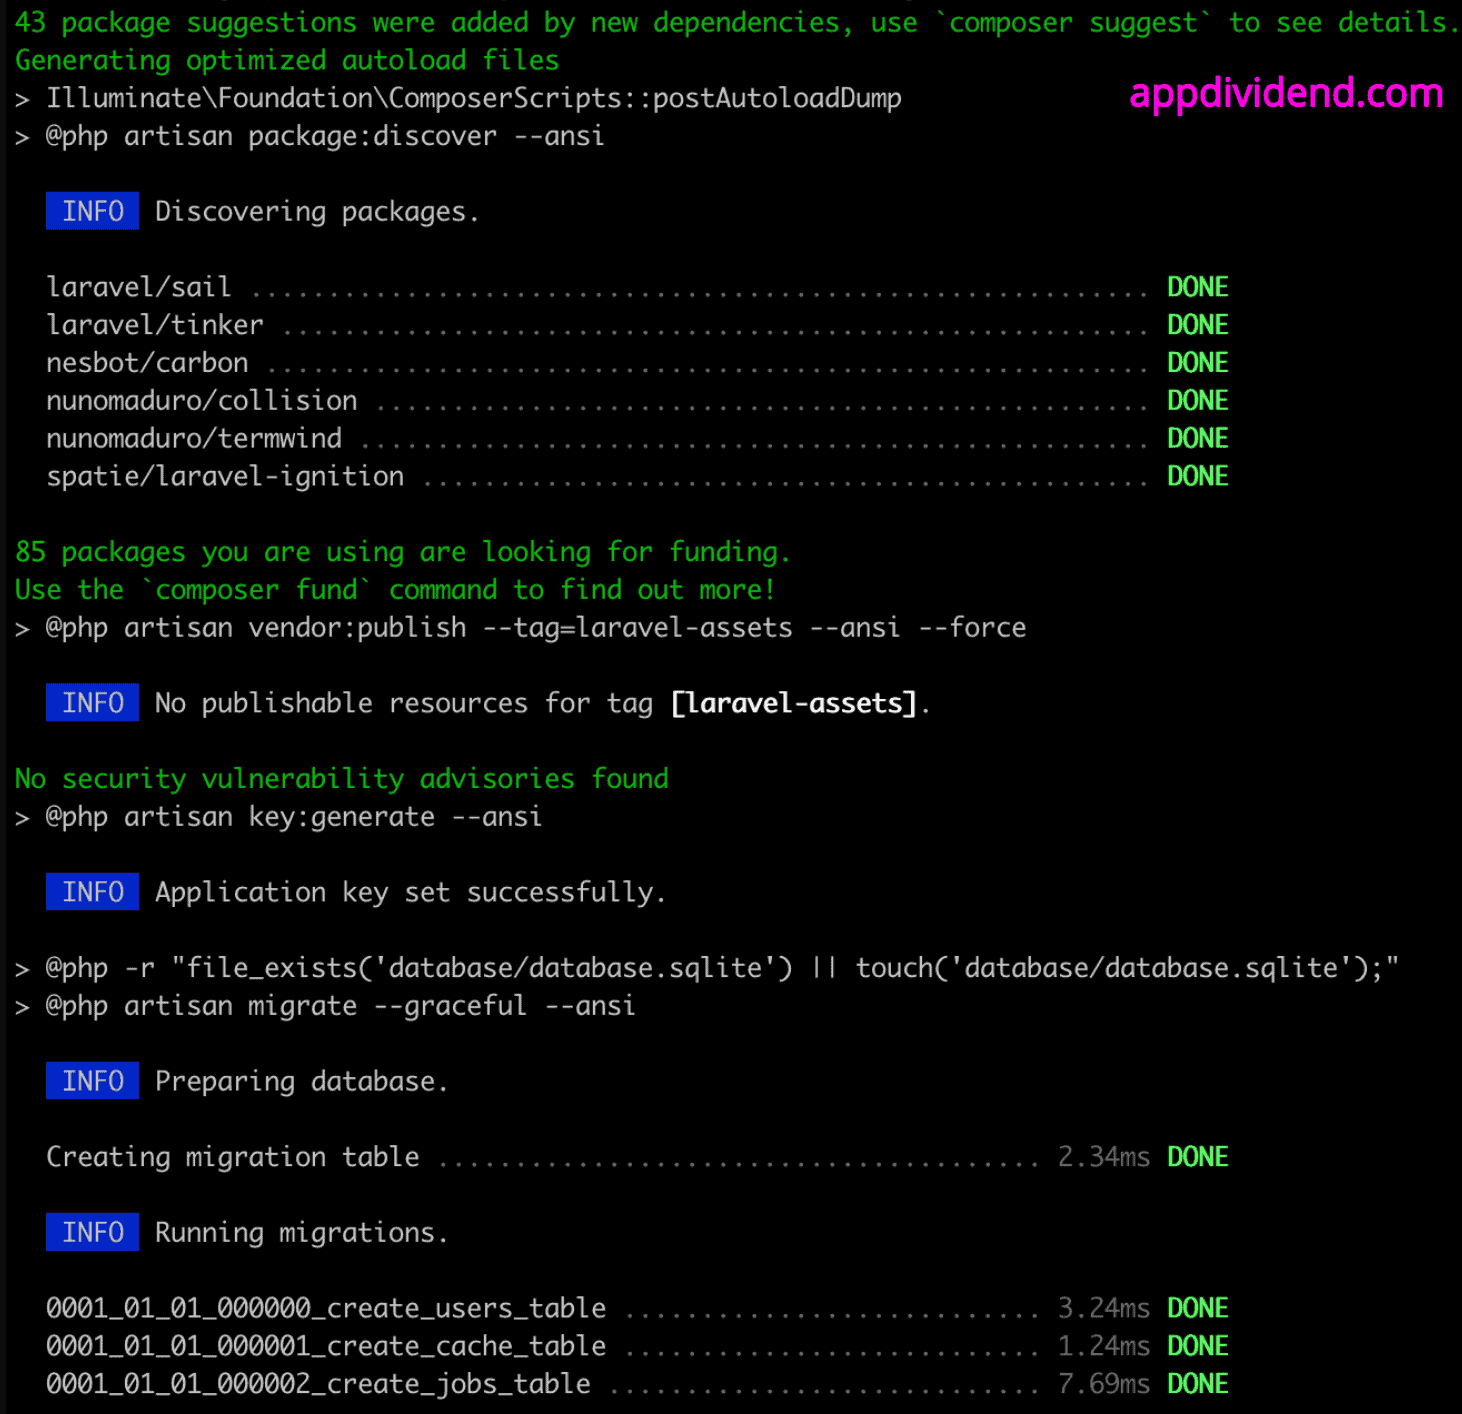
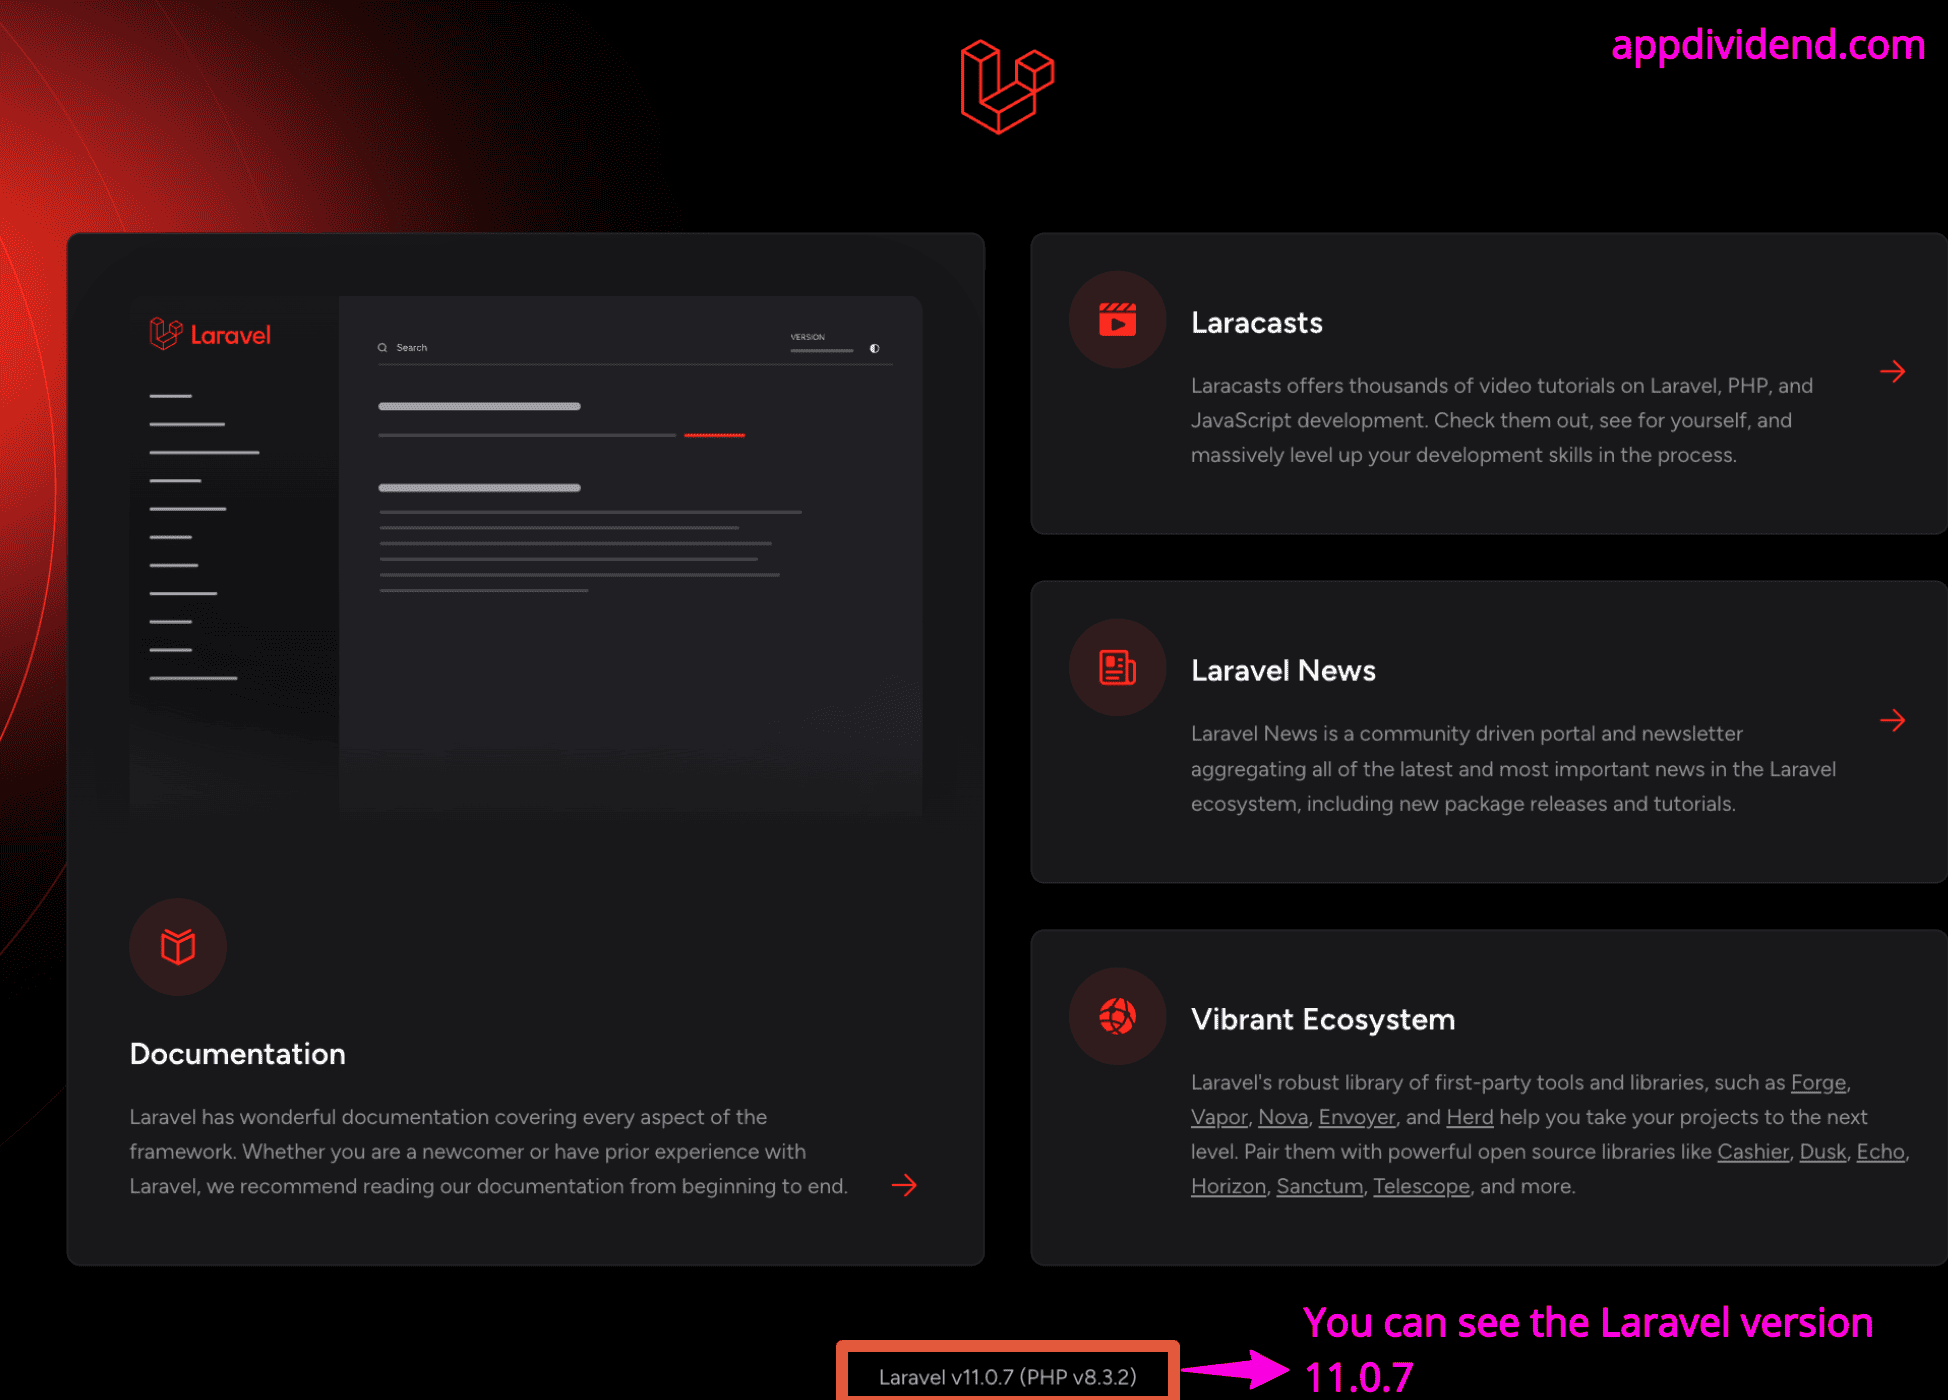
After installing, go inside the project, open the terminal, and start the development server:
php artisan serveIt will start a development server at: http://localhost:8000
Here is the screenshot:
Step 2: Configuring Database
You need to create a new Database in MySQL (phpmyadmin):
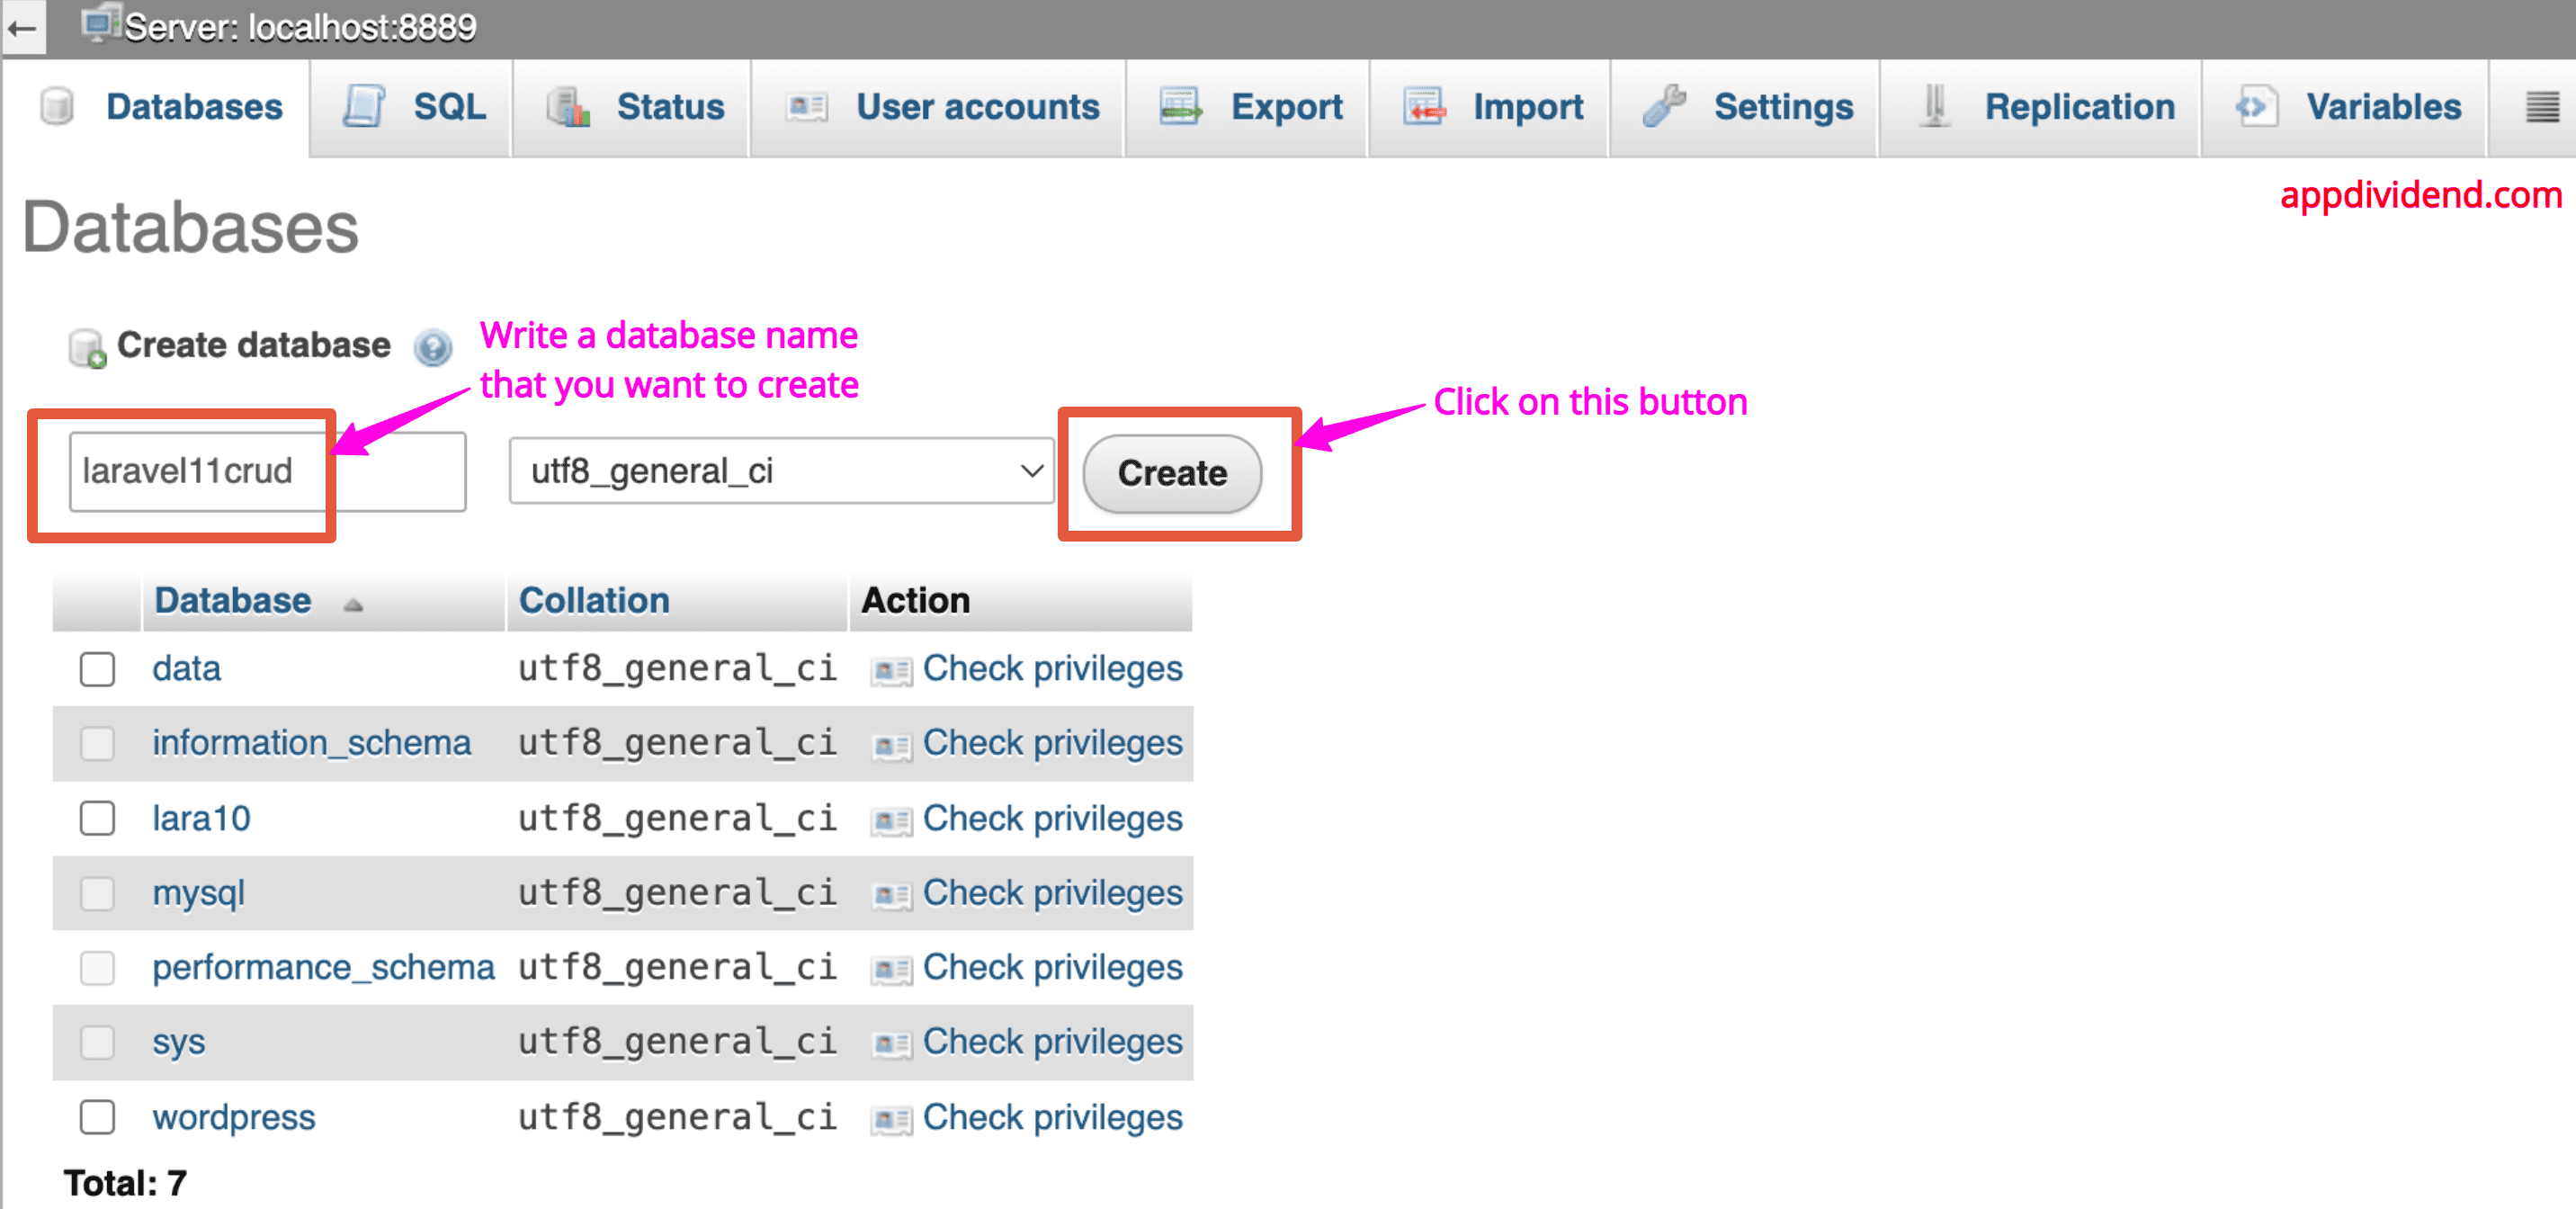
After creating a database, you will see like this:

Our next step is to connect the Laravel application to this Database.
To do that, we need to modify the .env file. Go to your Laravel project’s root directory and open the .env file, and you will have options like this:
DB_CONNECTION=mysql
DB_HOST=127.0.0.1
DB_PORT=
DB_DATABASE=
DB_USERNAME=
DB_PASSWORD=
You must write database credentials based on your system’s configuration in the above snippet.
Ensure you have the correct port, Database, username, and password.
Step 3: Create a Database table
We will create an employee’s table with three columns.
To create a table in Laravel, you must create a migration file.
Here is the command to create a migration:
php artisan make:migration create_employees_table

Go to your database >> migrations folder to see the 2024_03_20_094408_create_employees_table.php file.
Here, you need to add the columns for your table:
 public function up(): void
 {
   Schema::create('employees', function (Blueprint $table) {
     $table->id();
     $table->string('name');
     $table->string('position');
     $table->integer('salary');
     $table->timestamps();
   });
 }
Here, we added three columns:
- Name (string)
- Position (string)
- Salary (integer)
Now, you need to run the migration files to create a table in your database.

Head over to the phpmyadmin and check out the database:
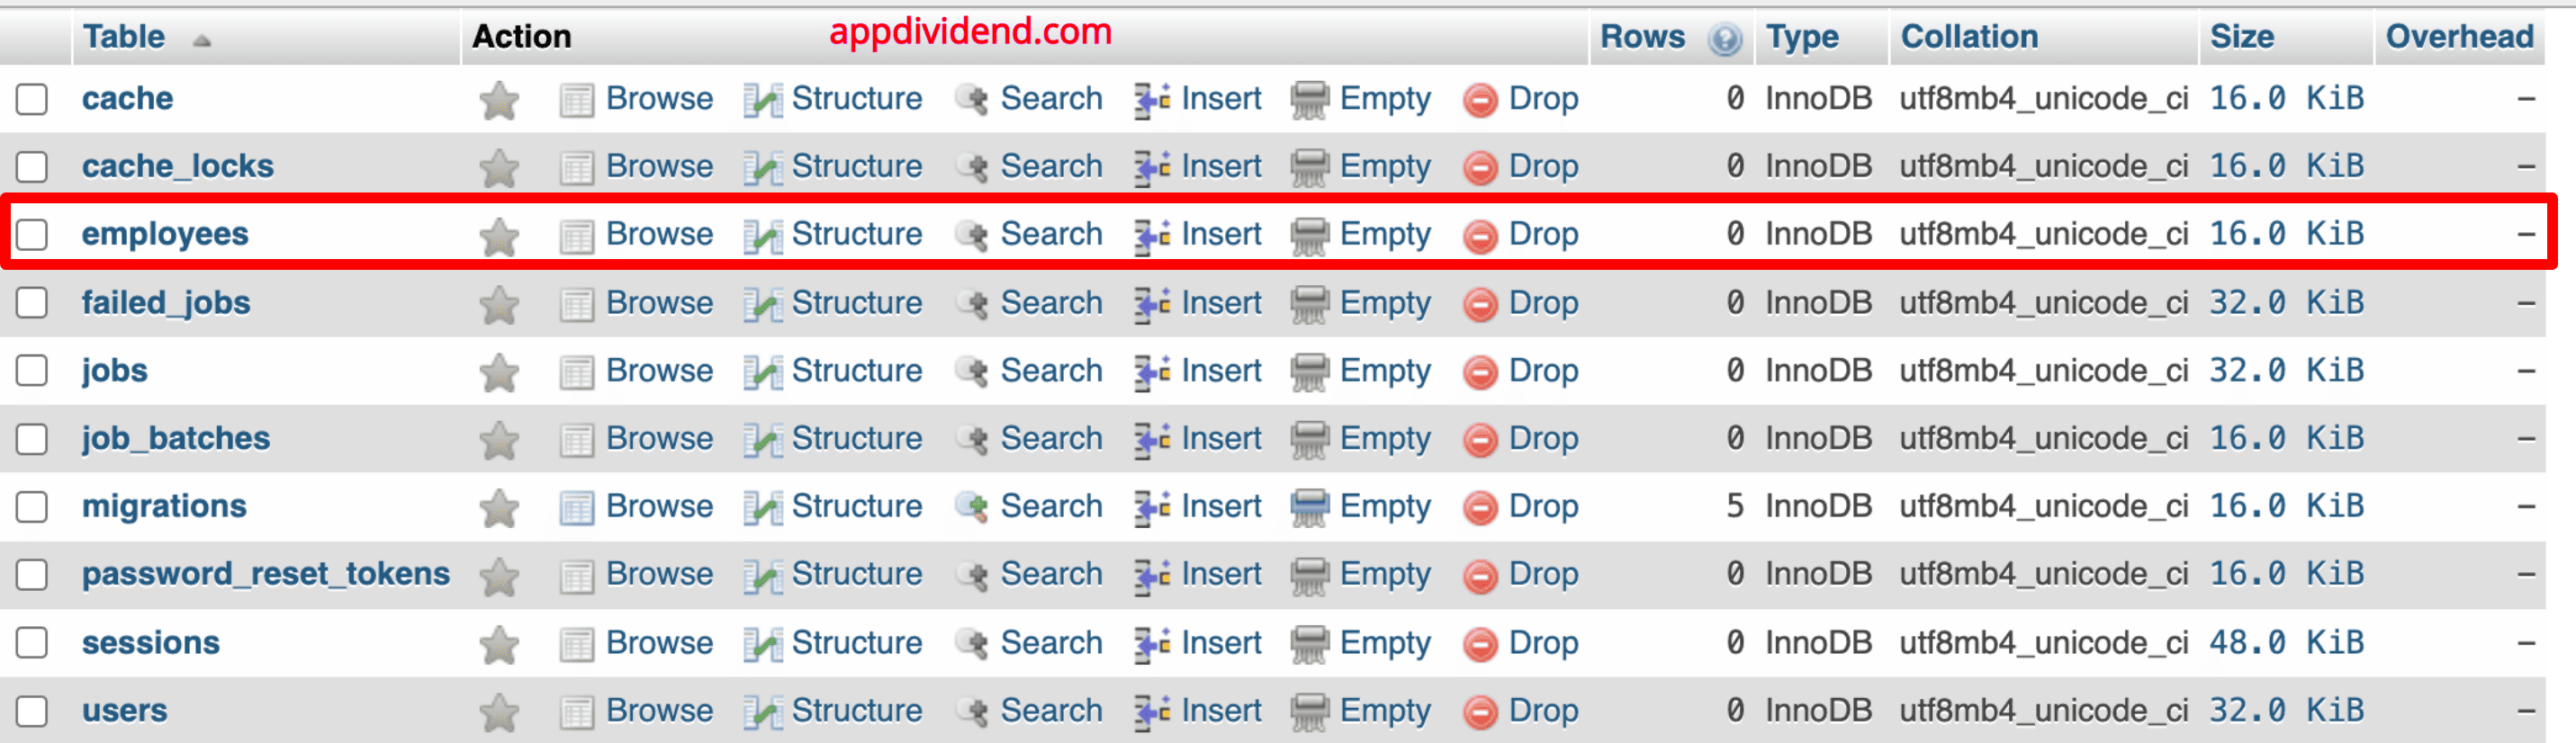
This also means we successfully connected our Laravel application to the MySQL database.
Step 4: Configure vite
Vite is a modern front-end build tool that provides an extremely fast development environment and bundles your code for production.
When building a Laravel application, you should use Vite to bundle your CSS and JS files for production-ready assets.
To install vite and other JavaScript dependencies, you need to install node.js and npm package manager:
To verify if node.js is installed on your machine, use these commands:
node -v

npm -v
I have already installed Node.js and npm so that it will give me an output like this:
v21.6.1 (Node.js version)

10.5.0 (NPM version)
Now, go to your root of the laravel11crud project, open the terminal or cmd, and type the below command to install the dependencies:
npm install
It will install all the frontend-related dependencies.
Now, run the scaffolding using this command:
npm run devStep 5: Creating resource controller
Laravel resource routing assigns the typical “CRUD” routes to a controller with a single line of code.
php artisan make:controller EmployeeController --resourceIt will create an EmployeeController.php file.
Now, register this resource controller inside the routes >> web.php file.
<?php

use Illuminate\Support\Facades\Route;
use App\Http\Controllers\EmployeeController;

Route::get('/', function () {
  return view('welcome');
});

Route::resource('employees', EmployeeController::class);
To see what routes the resource controller has created, go to the terminal and type this command to see the list:
php artisan route:list

Step 6: Creating views
In Laravel, views contain the HTML served by your application and separate your controller/application logic from your presentation logic. Views are stored in the resources/views directory.
Create a new file called layout.blade.php inside the views directory and add the code below.
<!DOCTYPE html>
<html lang="en">
<head>
  <meta charset="UTF-8">
  <meta name="viewport" content="width=device-width, initial-scale=1.0">
  <meta http-equiv="X-UA-Compatible" content="ie=edge">
  <title>Laravel 11 CRUD Tutorial</title>
</head>
<body>
  <div class="container">
    @yield('content')
  </div>
 <!-- Scripts -->
  @vite(['resources/sass/app.scss', 'resources/js/app.js'])
</body>
</html>
Here, you can see that we added the @vite tag to include CSS and JS files for our application.
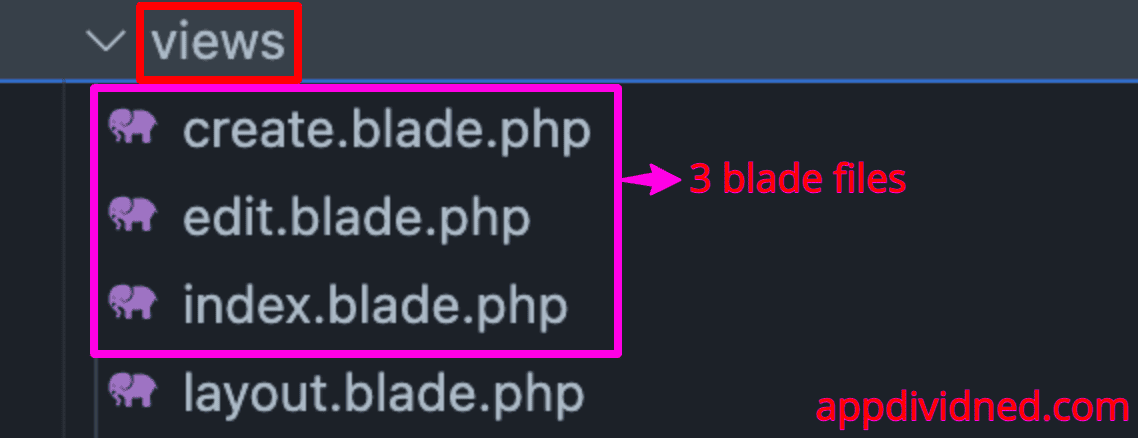
Create the following three more blade files inside the resources >> views folder.
- create.blade.php
- edit.blade.php
- index.blade.php
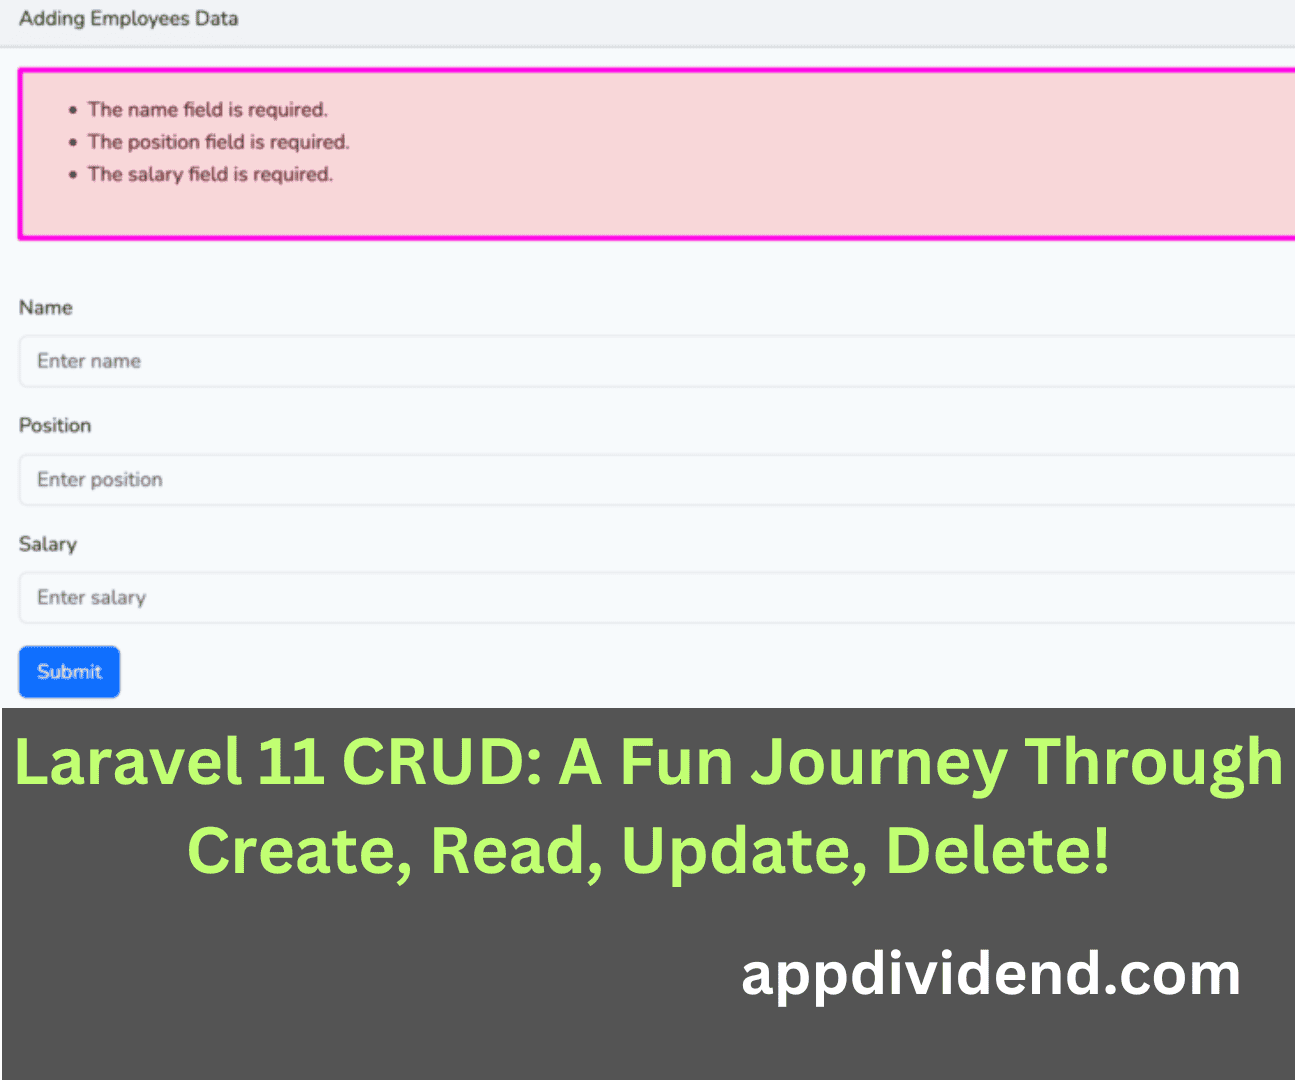
Step 7: Creating a web form
Here, we must create a web form to handle the user input.
Write the below code inside the create.blade.php file.
@extends('layout')
@section('content')
<style>
.uper {
margin-top: 40px;
}
</style>
<div class="card uper">
<div class="card-header">
Adding Employees Data
</div>
<div class="card-body">
@if ($errors->any())
<div class="alert alert-danger">
<ul>
@foreach ($errors->all() as $error)
<li>{{ $error }}</li>
@endforeach
</ul>
</div><br />
@endif
<form method="post" action="{{ route('employees.store') }}">
@csrf
<!-- Name Field -->
<div class="mb-3">
<label for="name" class="form-label">Name</label>
<input type="text" class="form-control" name="name" placeholder="Enter name">
</div>
<!-- Position Field -->
<div class="mb-3">
<label for="position" class="form-label">Position</label>
<input type="text" class="form-control" name="position" placeholder="Enter position">
</div>
<!-- Salary Field -->
<div class="mb-3">
<label for="salary" class="form-label">Salary</label>
<input type="number" class="form-control" name="salary" placeholder="Enter salary">
</div>
<!-- Submit Button -->
<button type="submit" class="btn btn-primary">Submit</button>
</form>
</div>
</div>
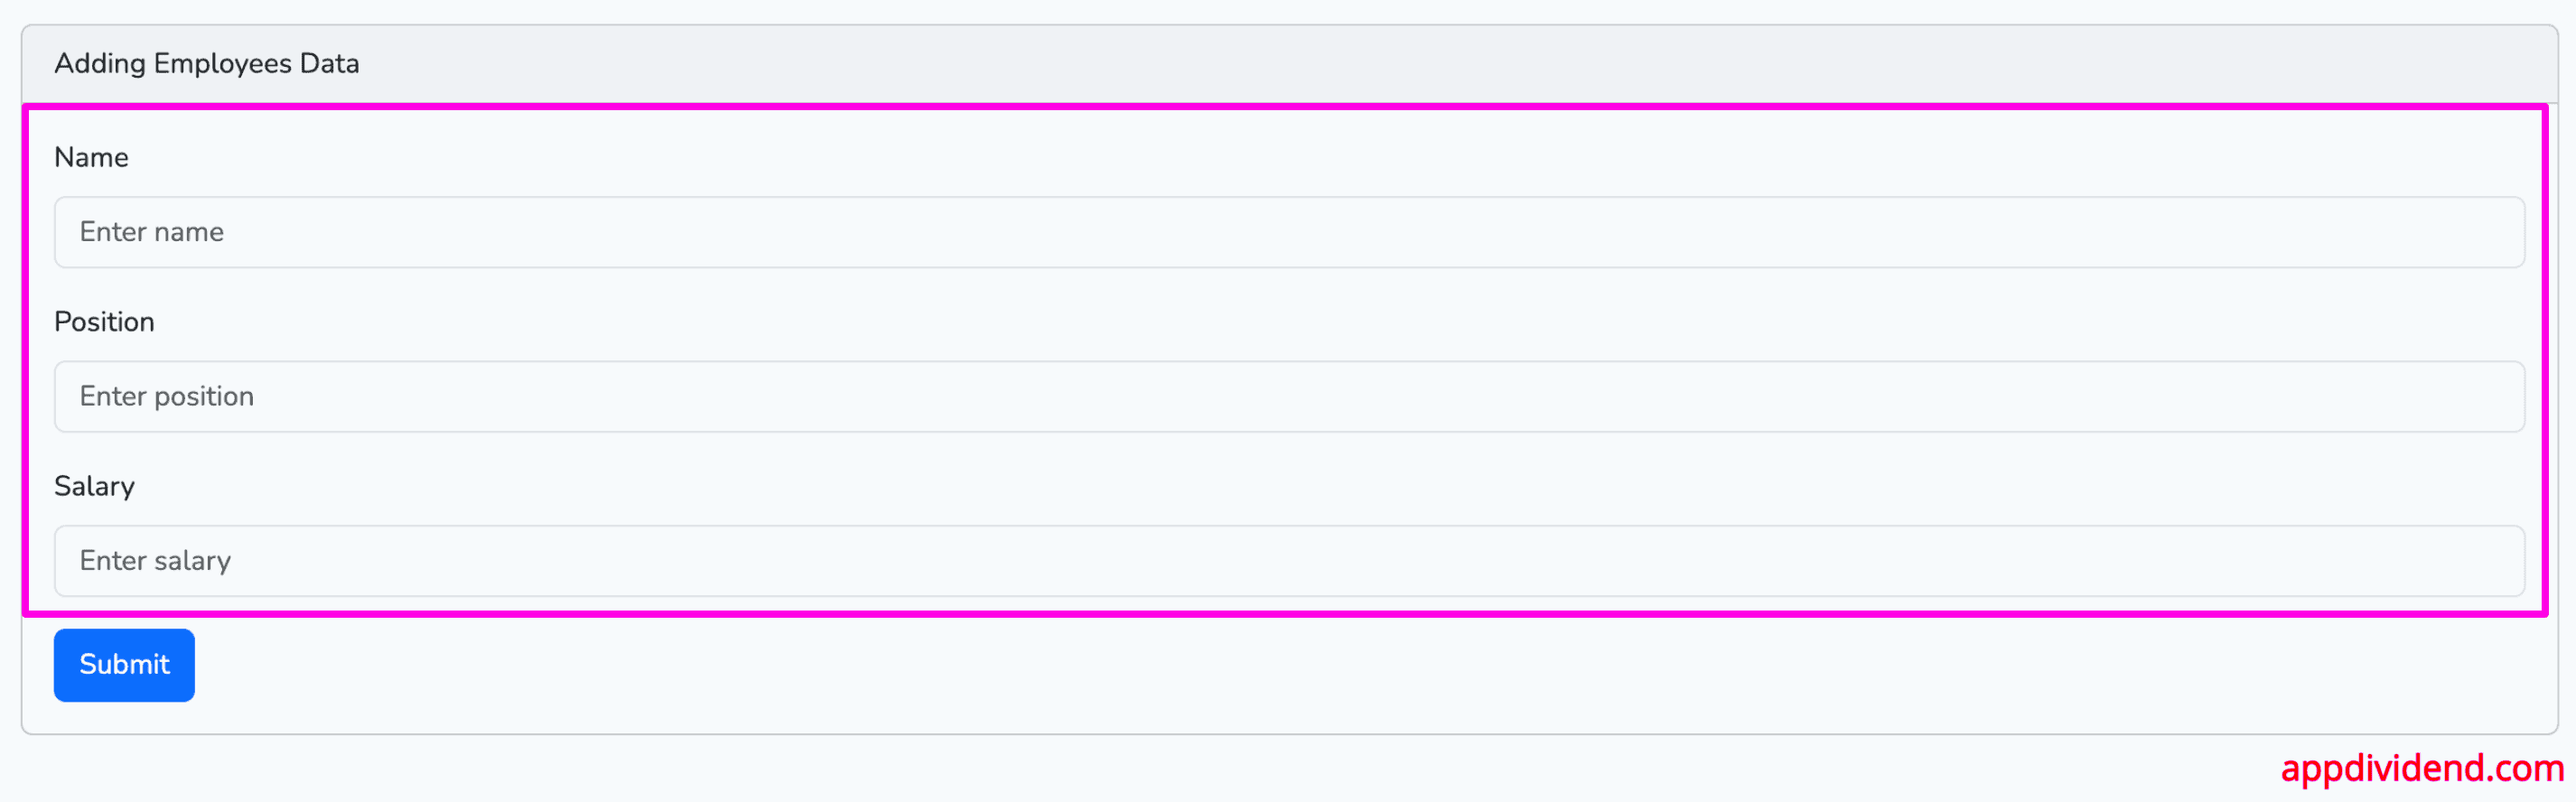
@endsectionTo access this view, we need to return this view from EmployeeController’s create() function
 public function create()
 {
    return view('create');
 }
Go to http://localhost:8000/employees/create, and you will see something like this:
Step 8: Add validation rules and store the data
As the name suggests, we must add form field validation rules.
Create a model file called Employee.php using this command:
php artisan make:model Employee
Now, import the Employee.php model file inside the EmployeeController.php file.
<?php

namespace App\Http\Controllers;

use Illuminate\Http\Request;
use App\Models\Employee;
Write the following code inside the EmployeeController.php file’s store() function.
 public function store(Request $request)
 {
   $validatedData = $request->validate([
     'name' => 'required|max:255',
     'position' => 'required',
     'salary' => 'required',
   ]);

   Employee::create($validatedData);

   return redirect('/employees')->with('success', 'New Employee has been added');
 }
This code will create an employee record in the database’s employees table.
One thing to take care of is MassAssignmentException, which we will handle in the Employee.php model file.
<?php

namespace App\Models;

use Illuminate\Database\Eloquent\Factories\HasFactory;
use Illuminate\Database\Eloquent\Model;

class Employee extends Model
{
   use HasFactory;
   protected $fillable = ['name', 'position', 'salary'];
}
To prevent the MassAssignmentException, we must fill the $fillable array with the column names to which we will insert the values.
Head to the browser and try to submit the form without inserting any values:
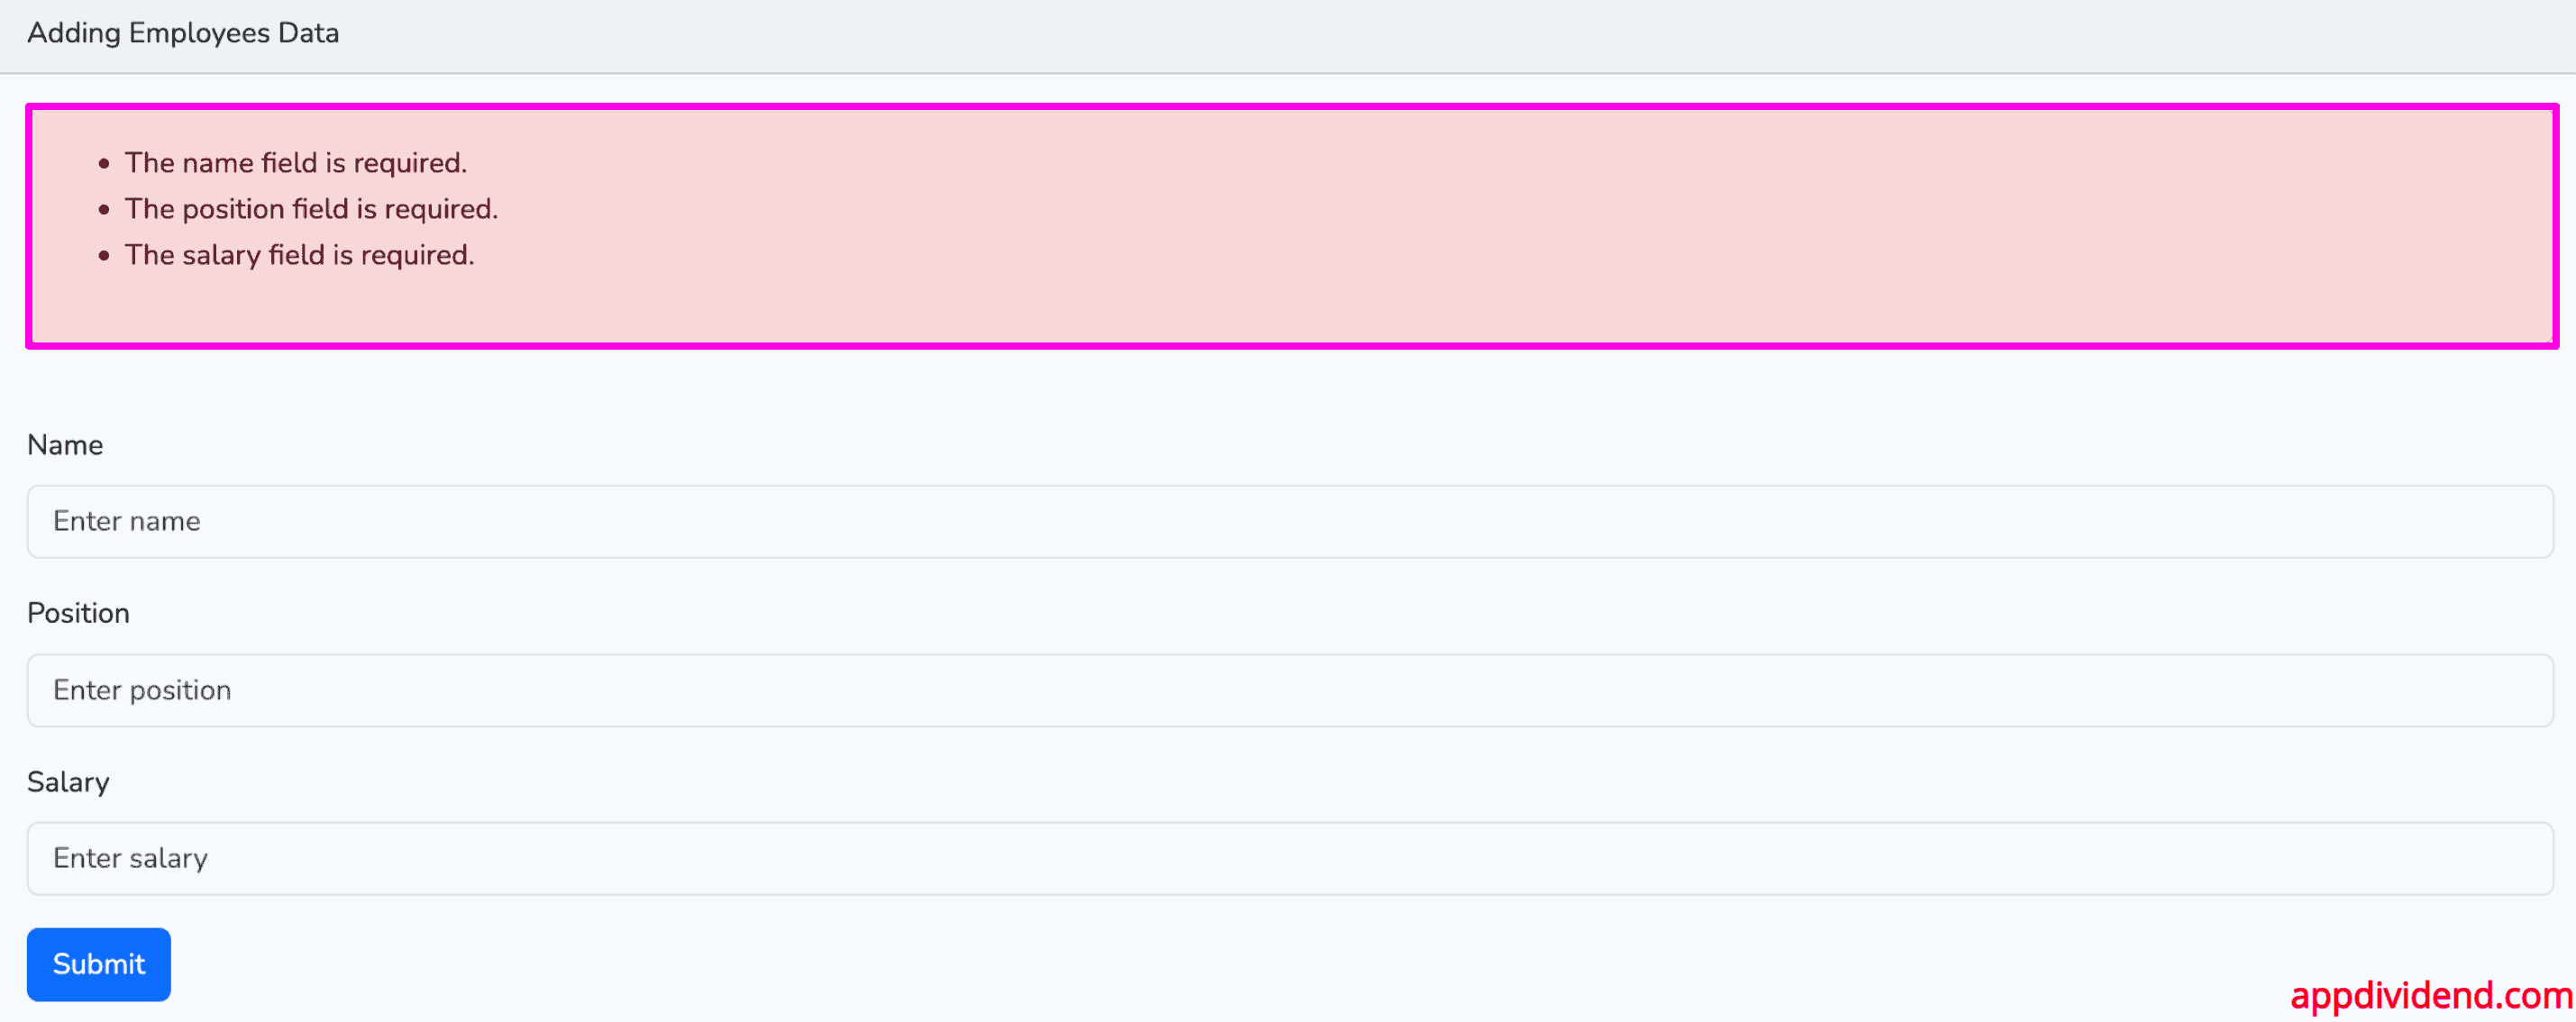
You can see that we got the validation message.
Now, fill in the form values and submit the form. You will see in your database that the employee’s table has one row.

Step 9: Display the data
We need to write HTML code inside the index.blade.php file to display the employees’ details in tabular format.
But before that, let’s write the index() function of the EmployeeController.php file to get the array of data from the database.
 public function index()
 {
   $employees = Employee::all();

   return view('index', compact('employees'));
 }
Now, write the below HTML code inside the index.blade.php file.
<!-- index.blade.php -->

@extends('layout')

@section('content')
  <style>
    .uper {
      margin-top: 40px;
    }
 </style>
<div class="uper">
  @if(session()->get('success'))
   <div class="alert alert-success">
     {{ session()->get('success') }}
   </div><br />
  @endif
 <table class="table table-striped">
  <thead>
    <tr>
     <td>ID</td>
     <td>Employee Name</td>
     <td>Employee Position</td>
     <td>Employee Salary</td>
     <td colspan="2">Action</td>
    </tr>
  </thead>
  <tbody>
    @foreach($employees as $employee)
    <tr>
      <td>{{$employee->id}}</td>
      <td>{{$employee->name}}</td>
      <td>{{$employee->position}}</td>
      <td>{{$employee->salary}}</td>
      <td><a href="{{ route('employees.edit', $employee->id)}}" class="btn btn-primary">Edit</a></td>
      <td>
       <form action="{{ route('employees.destroy', $employee->id)}}" method="post">
         @csrf
         @method('DELETE')
        <button class="btn btn-danger" type="submit">Delete</button>
       </form>
     </td>
   </tr>
   @endforeach
  </tbody>
 </table>
<div>
@endsection
Save this file and go to this URL: http://localhost:8000/employees
You will see something like this screenshot:

And yes, we fetched the data from the database with edit and delete buttons.
Step 10: Complete the update functionalities
To edit and update the data, we need a unique ID to update the specific record.
Write the edit code using the EmployeeController’s edit() method.
 public function edit(string $id)
 {
   $employee = Employee::findOrFail($id);

   return view('edit', compact('employee'));
 }
Add the below code inside the edit.blade.php file
@extends('layout')

@section('content')
  <style>
    .uper {
      margin-top: 40px;
    }
  </style>
  <div class="card uper">
    <div class="card-header">
      Edit Employees Data
    </div>
    <div class="card-body">
     @if ($errors->any())
     <div class="alert alert-danger">
       <ul>
       @foreach ($errors->all() as $error)
         <li>{{ $error }}</li>
       @endforeach
      </ul>
    </div><br />
   @endif
   <form method="post" action="{{ route('employees.update', $employee->id ) }}">
   @csrf
   @method('PATCH')
    <!-- Name Field -->
    <div class="mb-3">
       <label for="name" class="form-label">Name</label>
       <input type="text" class="form-control"
         name="name" placeholder="Enter name"
         value="{{ $employee->name }}">
    </div>

    <!-- Position Field -->
    <div class="mb-3">
      <label for="position" class="form-label">Position</label>
      <input type="text" class="form-control"
        name="position" placeholder="Enter position"
        value="{{ $employee->position }}">
    </div>

    <!-- Salary Field -->
    <div class="mb-3">
      <label for="salary" class="form-label">Salary</label>
      <input type="number" class="form-control" name="salary"
        placeholder="Enter salary"
        value="{{ $employee->salary }}">
      </div>

    <!-- Submit Button -->
     <button type="submit" class="btn btn-primary">Update</button>
    </form>
  </div>
</div>
@endsection
Now, you have the ready page to update the existing record.
For example, you can go to this URL and get the form through which you can update the record: http://localhost:8000/employees/1/edit
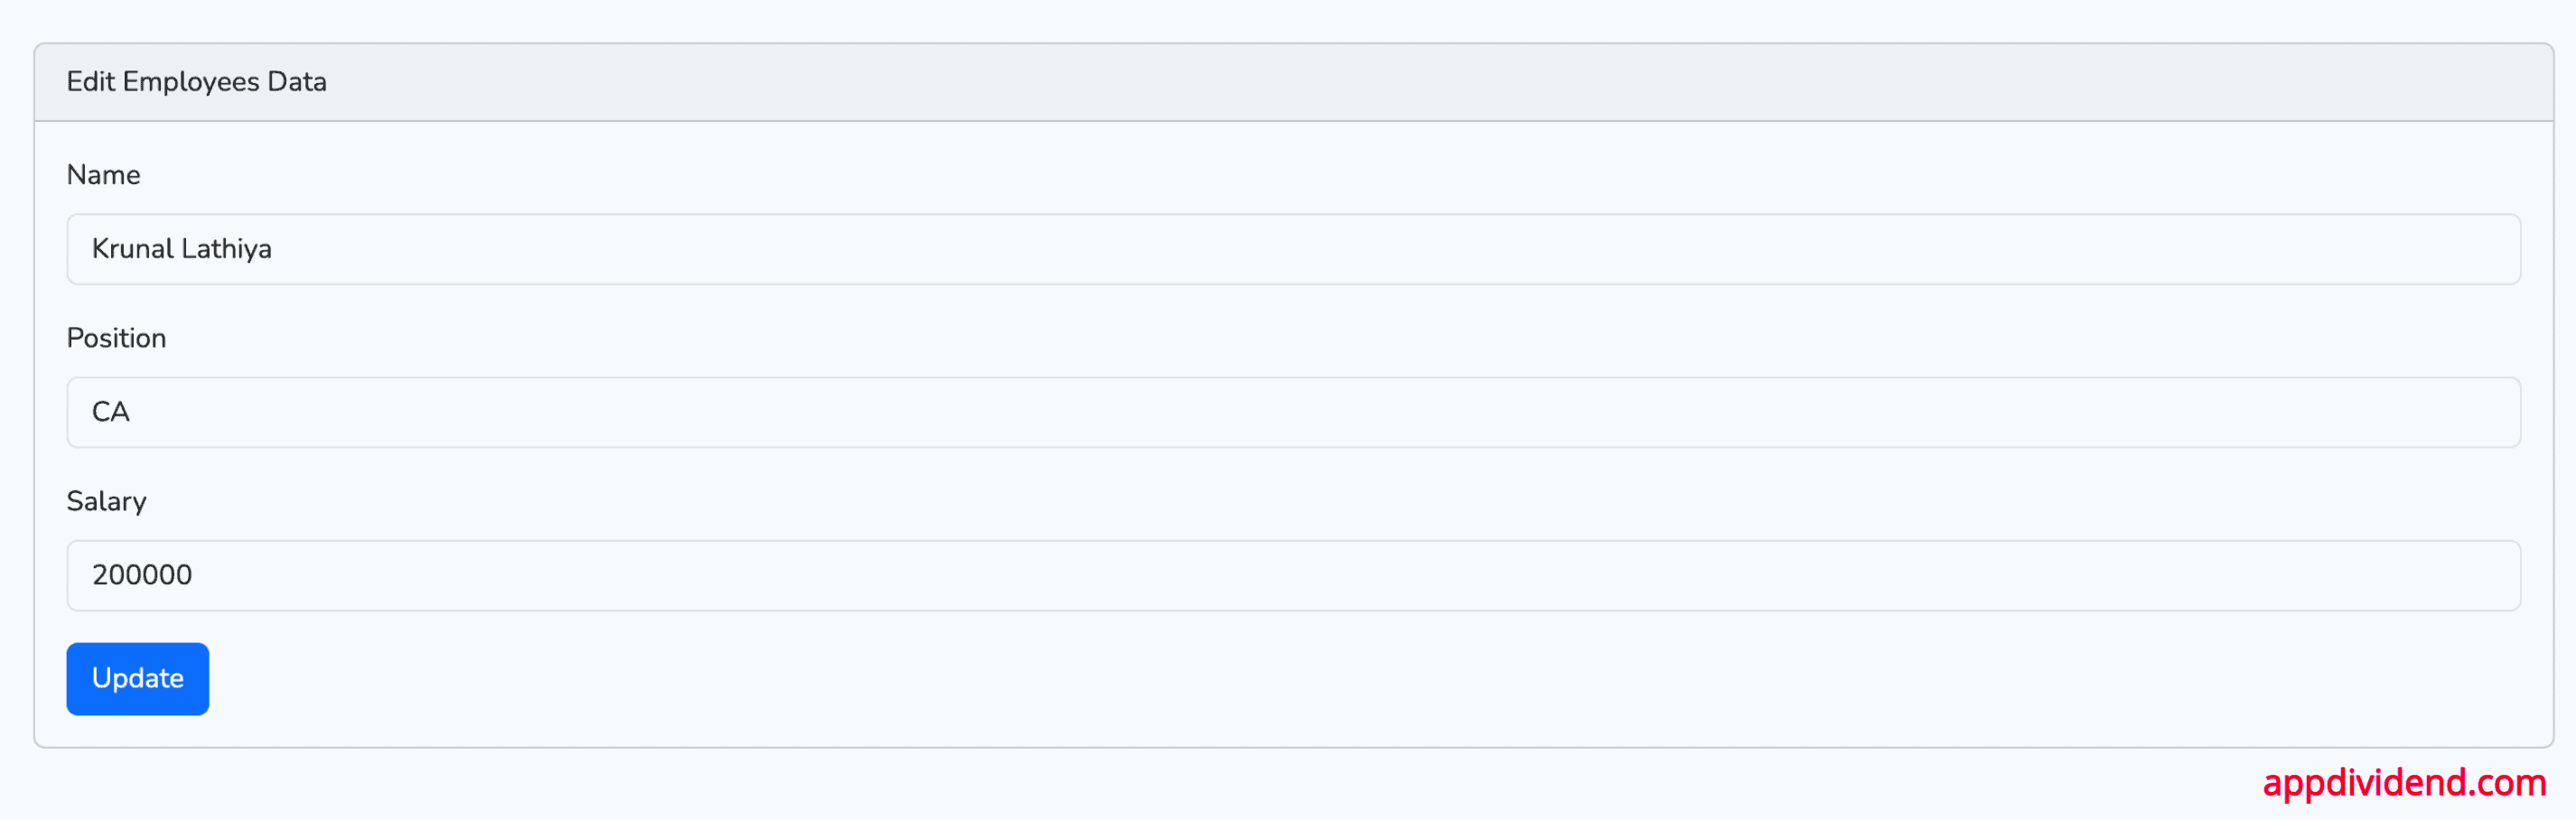
You can see that the edit form is already filled with existing values. Now, you can update the values to update the values in the database.
We did not write any logic to update the record, but that’s what we will do next!
Go to the EmployeeController’s update() method and add the below code.
public function update(Request $request, string $id)
{
   $validatedData = $request->validate([
     'name' => 'required|max:255',
     'position' => 'required',
     'salary' => 'required'
   ]);

   Employee::whereId($id)->update($validatedData);

   return redirect('/employees')->with('success', 'Employee Data is successfully updated');
 }
Go to the edit page and try to update the record. If you succeed, you will be redirected to the index page with the updated record.
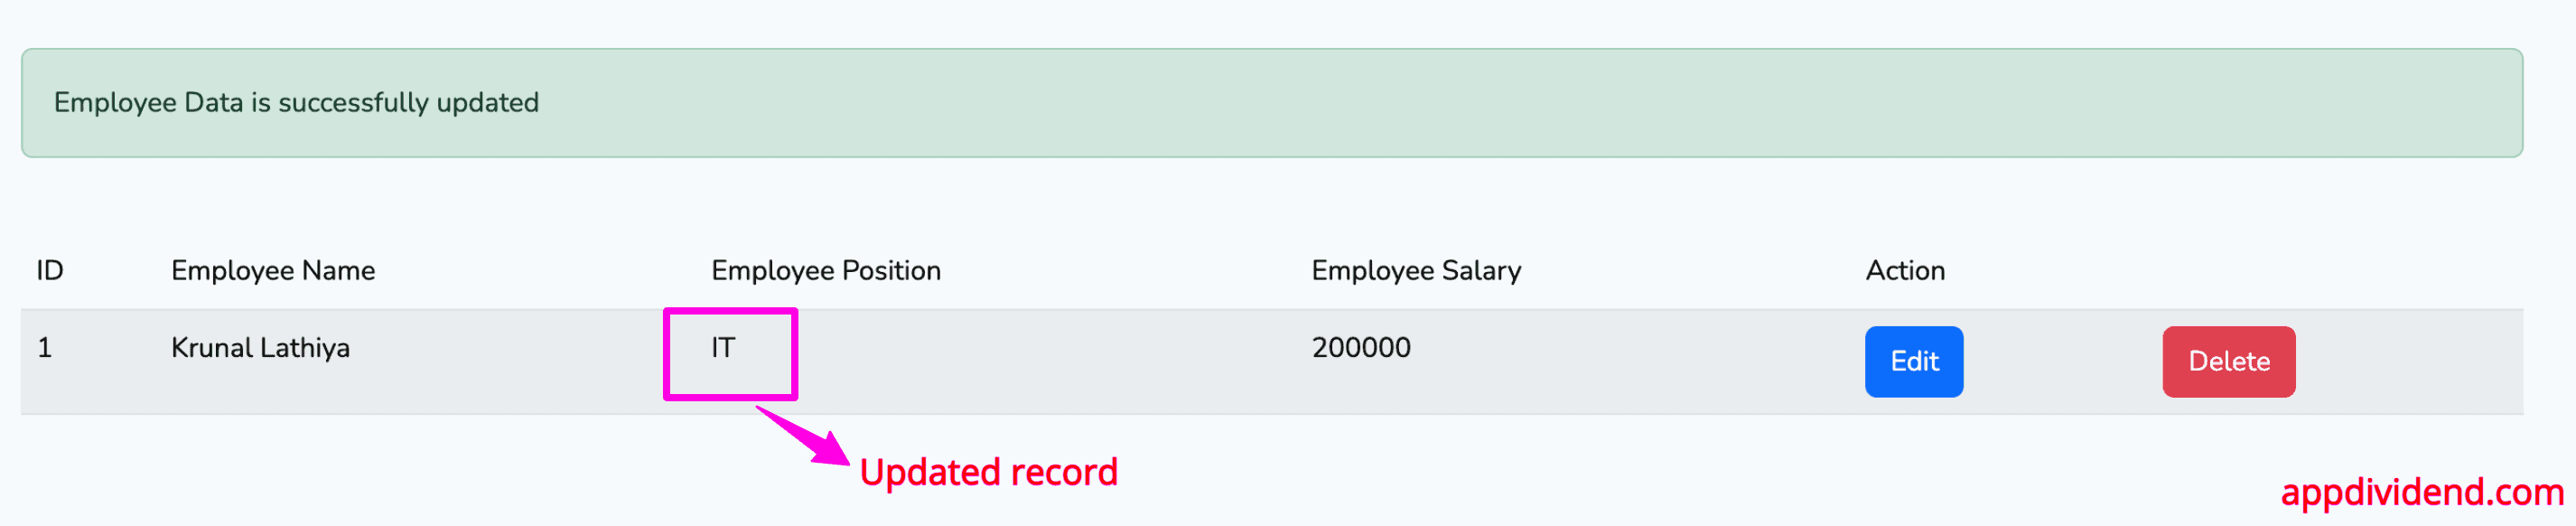
So, until now, we have created, edited, and updated the record.
Only deletion remains, which we will do next!
Step 11: Create a delete functionality
We will use EmployeeController’s destroy() function to remove data from the database.
 public function destroy(string $id)
 {
   $employee = Employee::findOrFail($id);
   $employee->delete();

   return redirect('/employees')->with('success', 'Employee Data is successfully deleted');
 }
Go to the index or listing page and try to delete the specific record. You will see that it has been successful!
That’s it.
