

Routing defines how we organize our application’s endpoints. To make different parts of our application easily accessible, we need to assign different routes to different parts.
Managing the project can be very difficult if you don’t define routing. Not only is managing difficult, but the project’s flow becomes very messy, and it is hard to look at the code and fix any issues.
For example, let’s say we have two types of entities:
- Customer
- Account
If we create an API, we will define a group of routes for Customer and Account.
The Customer route is responsible for getting all users, adding a new user, modifying the user, and removing the user.
The Account route is responsible for getting all the customers’ accounts, modifying existing accounts, adding new accounts, removing existing accounts, and so on.
To create a routing mechanism in express, you can use the express.Router() function.
The express.Router() function is used to create modular, mountable route handlers.
Syntax
express.Router( [options] )
Parameters (Optional)
- case-sensitive: This enables case sensitivity.
- mergeParams: It preserves the req.params values from the parent router.
- strict: This enables strict routing.
Return value
This function returns the New Router Object.
Implementing routing in Node.js using Express
Here is the step-by-step guide:
Step 1: Create a new project
Let’s start our project by creating a new folder and then go inside that folder.
mkdir routing-app

cd routing-app
We need to install the express and dotenv libraries.
npm install express dotenv
We will enable the ES modules by adding type:module inside the package.json file like this:
{
  "type": "module",
  "dependencies": {
    "dotenv": "^16.4.5",
    "express": "^4.19.2"
  }
}
Step 2: Create a .env file
Inside the root of your directory, create a new file called .env and define the environment variables in it:
PORT=4000
Add this .env file inside the .gitignore file.
Step 3: Create an app.js file
Create an app.js file, our main application file, in the root folder.
Add the below code inside the app.js file:
import express from 'express';
import { config } from 'dotenv';

// Load environment variables from .env file
config();

// Create an instance of the Express application
const app = express();
const router = express.Router();

// Define the port number
const PORT = process.env.PORT;

// Start the Express server
app.listen(PORT, () => {
    console.log(`Server is running on port ${PORT}`);
});
In this code, we imported the express module and config() function from the dotenv module.
We loaded the environment variables using the config() function.
In the next step, we created an instance of the express application and an instance of the router.
And then, we started the express server using the app.listen() function.
Step 4: Define routes
You can define routes on the router instance just as you would on the main app instance. This allows you to modularize your route handling.
// Define a home route
router.get('/', (req, res) => {
    res.send('Hello, this is the home route!');
});

// Define users route
router.get('/users', (req, res) => {
    res.send('Listing of all the users');
});

// Define a user route with a parameter
router.get('/user/:id', (req, res) => {
    res.send(`User ID is ${req.params.id}`);
});
In this code, we defined three routes:
- home route (/): It returns the home route.
- users route(/users): It returns all the users.
- user route(/user/:id): It returns the specific user with its id.
Step 5: Register these routes in our main app
After defining these routes, we must register or attach this route to our main express application. Without registering, the express application doesn’t know what type of route we are talking about.
To register these routes, use the app.use() function.
// Use the router instance

app.use('/home', router);
The complete code for the “app.js” file looks like this:
import express from 'express';
import { config } from 'dotenv';

// Load environment variables from .env file
config();

// Create an instance of the Express application
const app = express();
const router = express.Router();

// Define the port number
const PORT = process.env.PORT;

// Define a home route
router.get('/', (req, res) => {
    res.send('Hello, this is the home route!');
});

// Define users route
router.get('/users', (req, res) => {
    res.send('Listing of all the users');
});

// Define a user route with a parameter
router.get('/user/:id', (req, res) => {
    res.send(`User ID is ${req.params.id}`);
});

// Use the router instance
app.use('/home', router);

// Start the Express server
app.listen(PORT, () => {
    console.log(`Server is running on port ${PORT}`);
});
In this example, all routes defined in the router will be prefixed with /home.
So, the home route will be accessible at /home/, the about route at /home/about, the user route at /home/user/:id, and all users’ routes will be accessible at /home/users.
Save this file, go to the terminal, and start the express web server using this command:
node app
It will bootup the express web server at this URL: http://localhost:4000
Step 6: Testing the endpoints
Open the POSTMAN and send a GET request to this URL: http://localhost:4000/home

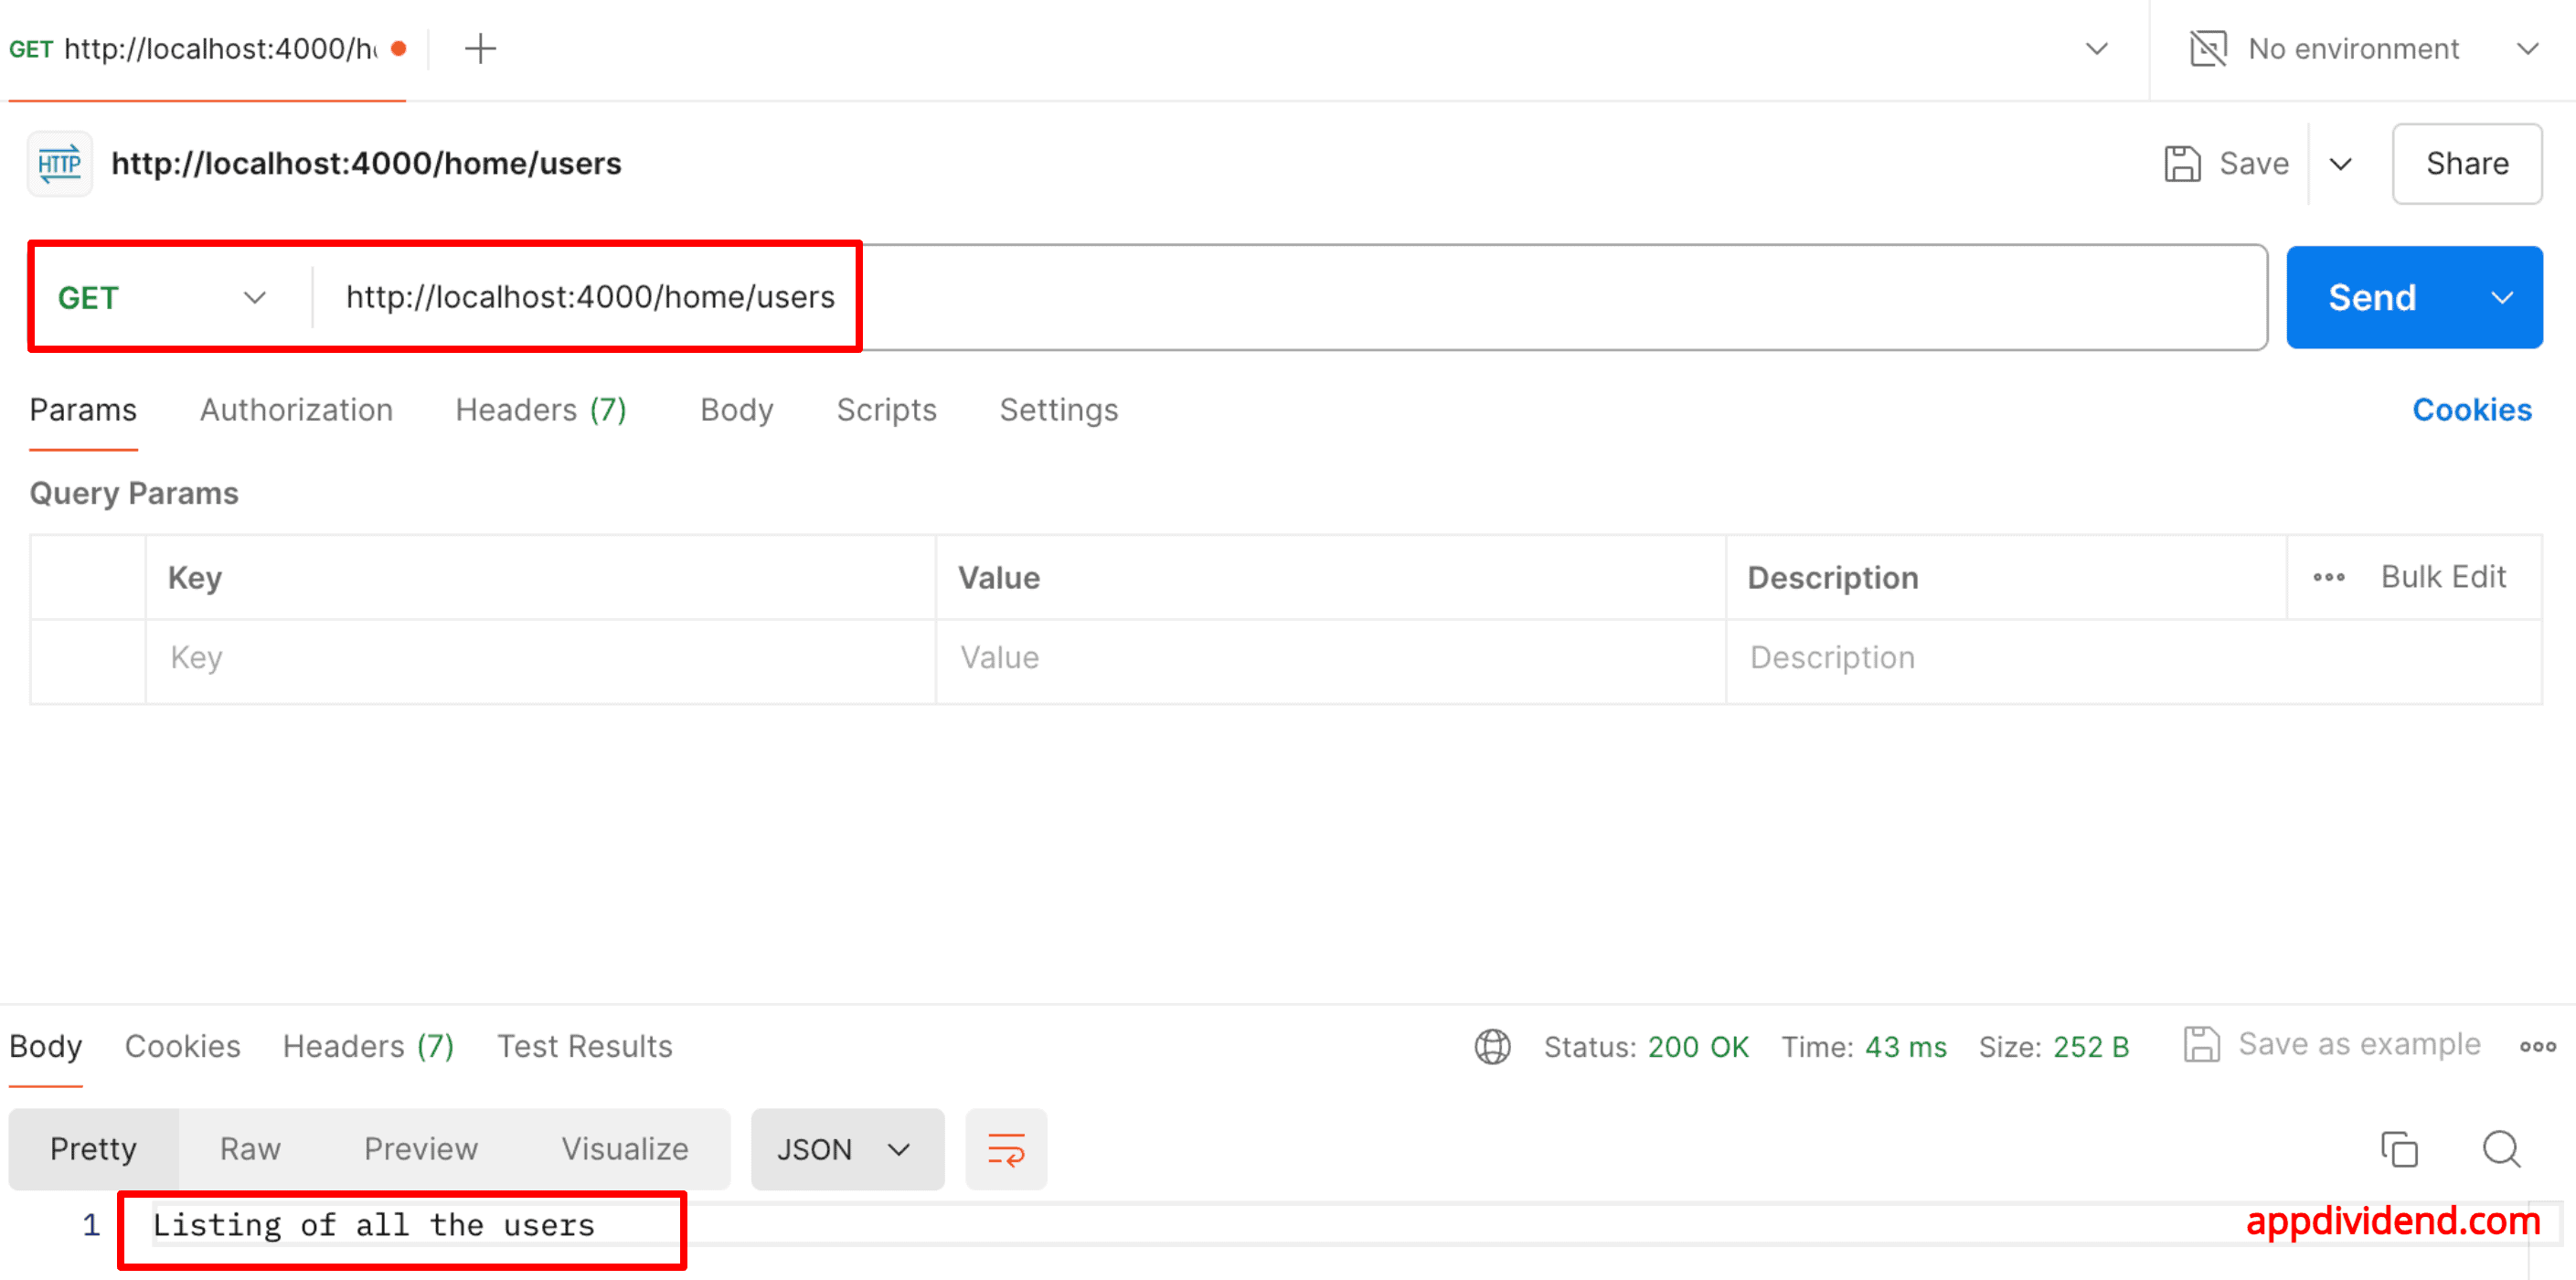
Let’s fetch all users by going to this URL: http://localhost:4000/home/users
Let’s fetch a specific user by sending a request to this URL: http://localhost:4000/home/user/10

You can see that we get the user ID, which is 10.
We can define separate router modules and import them into our app.js file, making your codebase more maintainable.
Create a file called homeRouter.js and add the below code in it:
import express from 'express';

const homeRoutes = express.Router();

// Define a home(root) route
homeRoutes.get('/', (req, res) => {
    res.send('Hello, this is the home route!');
});

// Define users route
homeRoutes.get('/users', (req, res) => {
    res.send('Listing of all the users');
});

// Define a user route with a parameter
homeRoutes.get('/user/:id', (req, res) => {
    res.send(`User ID is ${req.params.id}`);
});

export default homeRoutes;
Now, import this homeRouter.js file inside the main app.js file like this:
import express from 'express';
import { config } from 'dotenv';
import homeRouter from './homeRouter.js';

// Load environment variables from .env file
config();

// Create an instance of the Express application
const app = express();

// Define the port number
const PORT = process.env.PORT;

// Registering the homeRouter instance
app.use('/home', homeRouter);

// Start the Express server
app.listen(PORT, () => {
    console.log(`Server is running on port ${PORT}`);
});
Now, restart the node server, and it will work the same as before.
This setup provides a clear, organized way to handle different routes in your Express application. It also helps in building scalable and maintainable applications with Express.js.
Step 7: Handling different HTTP request methods
You can define different routes for different types of HTTP requests. Each method corresponds to a different kind of operation that you might want to perform on a resource.
Let’s create another route resource called itemRouter.js inside the root project folder and add the below code in it:
import express from 'express';

const itemRouter = express.Router();

// GET request to retrieve data
itemRouter.get('/', (req, res) => {
    res.send('Fetching list of items');
});

// POST request to create a new resource
itemRouter.post('/', (req, res) => {
    res.send('Creating a new item');
});

// PUT request to update a resource completely
itemRouter.put('/:id', (req, res) => {
    res.send(`Updating item with ID: ${req.params.id}`);
});

// PATCH request to update part of a resource
itemRouter.patch('/:id', (req, res) => {
    res.send(`Partially updating item with ID: ${req.params.id}`);
});

// DELETE request to delete a resource
itemRouter.delete('/:id', (req, res) => {
    res.send(`Deleting item with ID: ${req.params.id}`);
});

// OPTIONS request to get communication options
itemRouter.options('/', (req, res) => {
    res.send('Options for /items');
});

// HEAD request to get headers
itemRouter.head('/', (req, res) => {
    res.send('Headers for /items');
});

export default itemRouter;
In this file, we included all HTTP requests in one resource.
Import this itemRouter resource inside the app.js file and register it with our main application.
import express from 'express';
import { config } from 'dotenv';
import homeRouter from './homeRouter.js';
import itemRouter from './itemRouter.js';

// Load environment variables from .env file
config();

// Create an instance of the Express application
const app = express();

// Define the port number
const PORT = process.env.PORT;

// Registering router resource
app.use('/home', homeRouter);
app.use('/items', itemRouter);


// Start the Express server
app.listen(PORT, () => {
    console.log(`Server is running on port ${PORT}`);
});
We imported the itemRouter resource and registered it in our express application using the app.use() function. Save this file and restart the express web server.
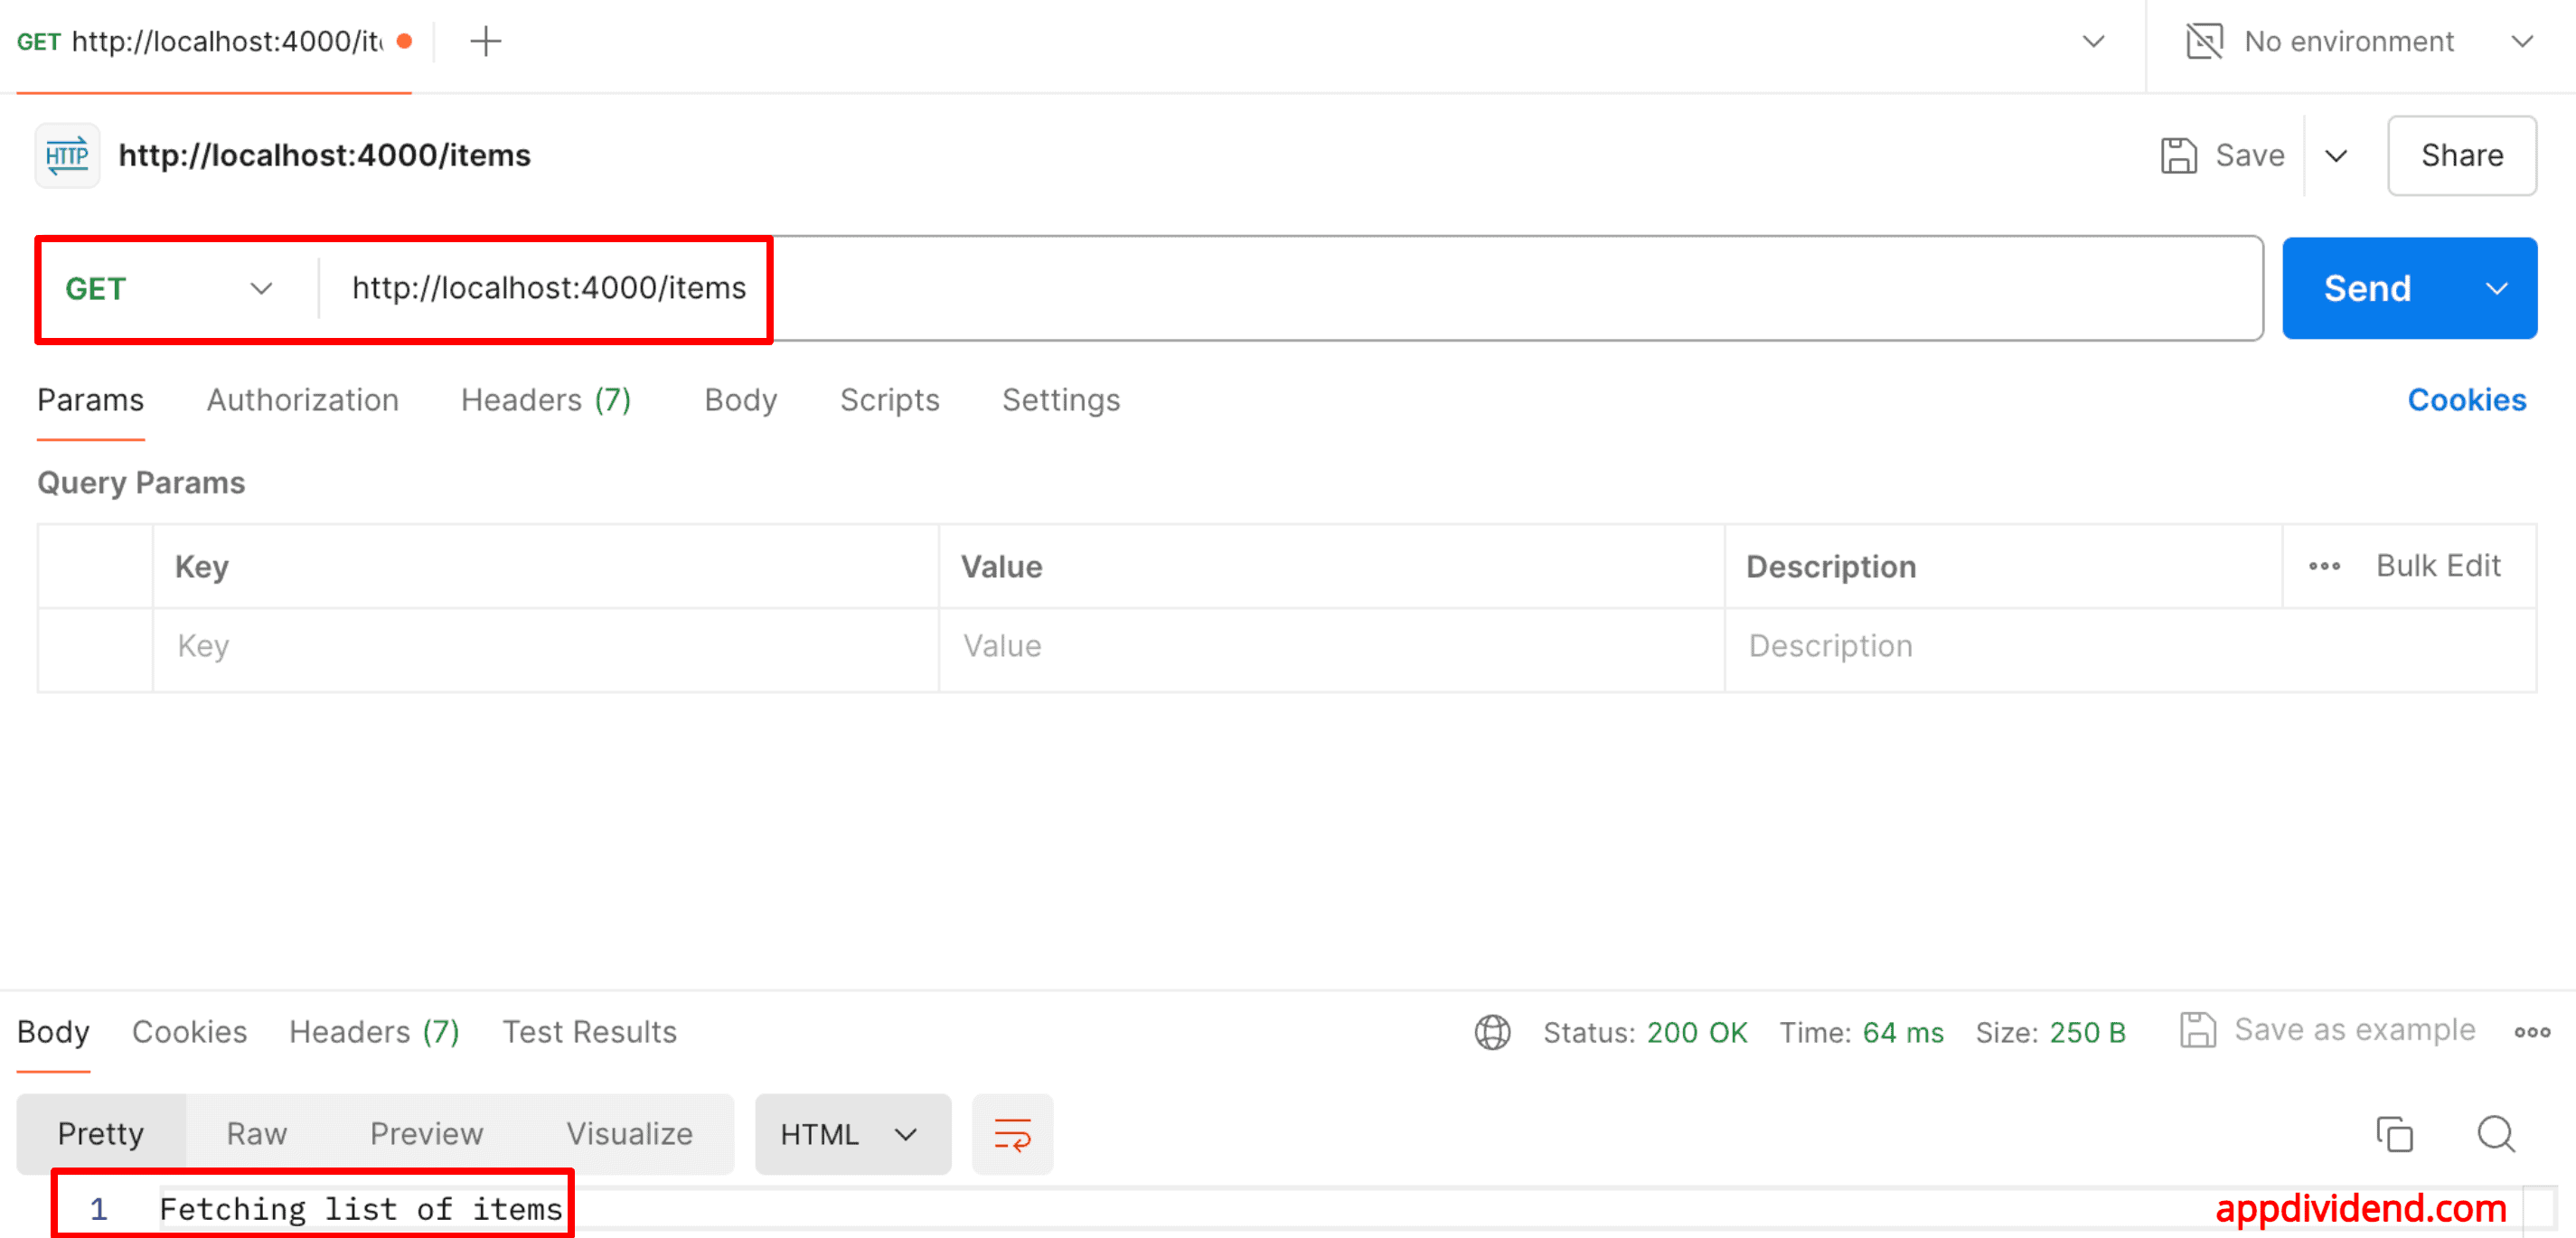
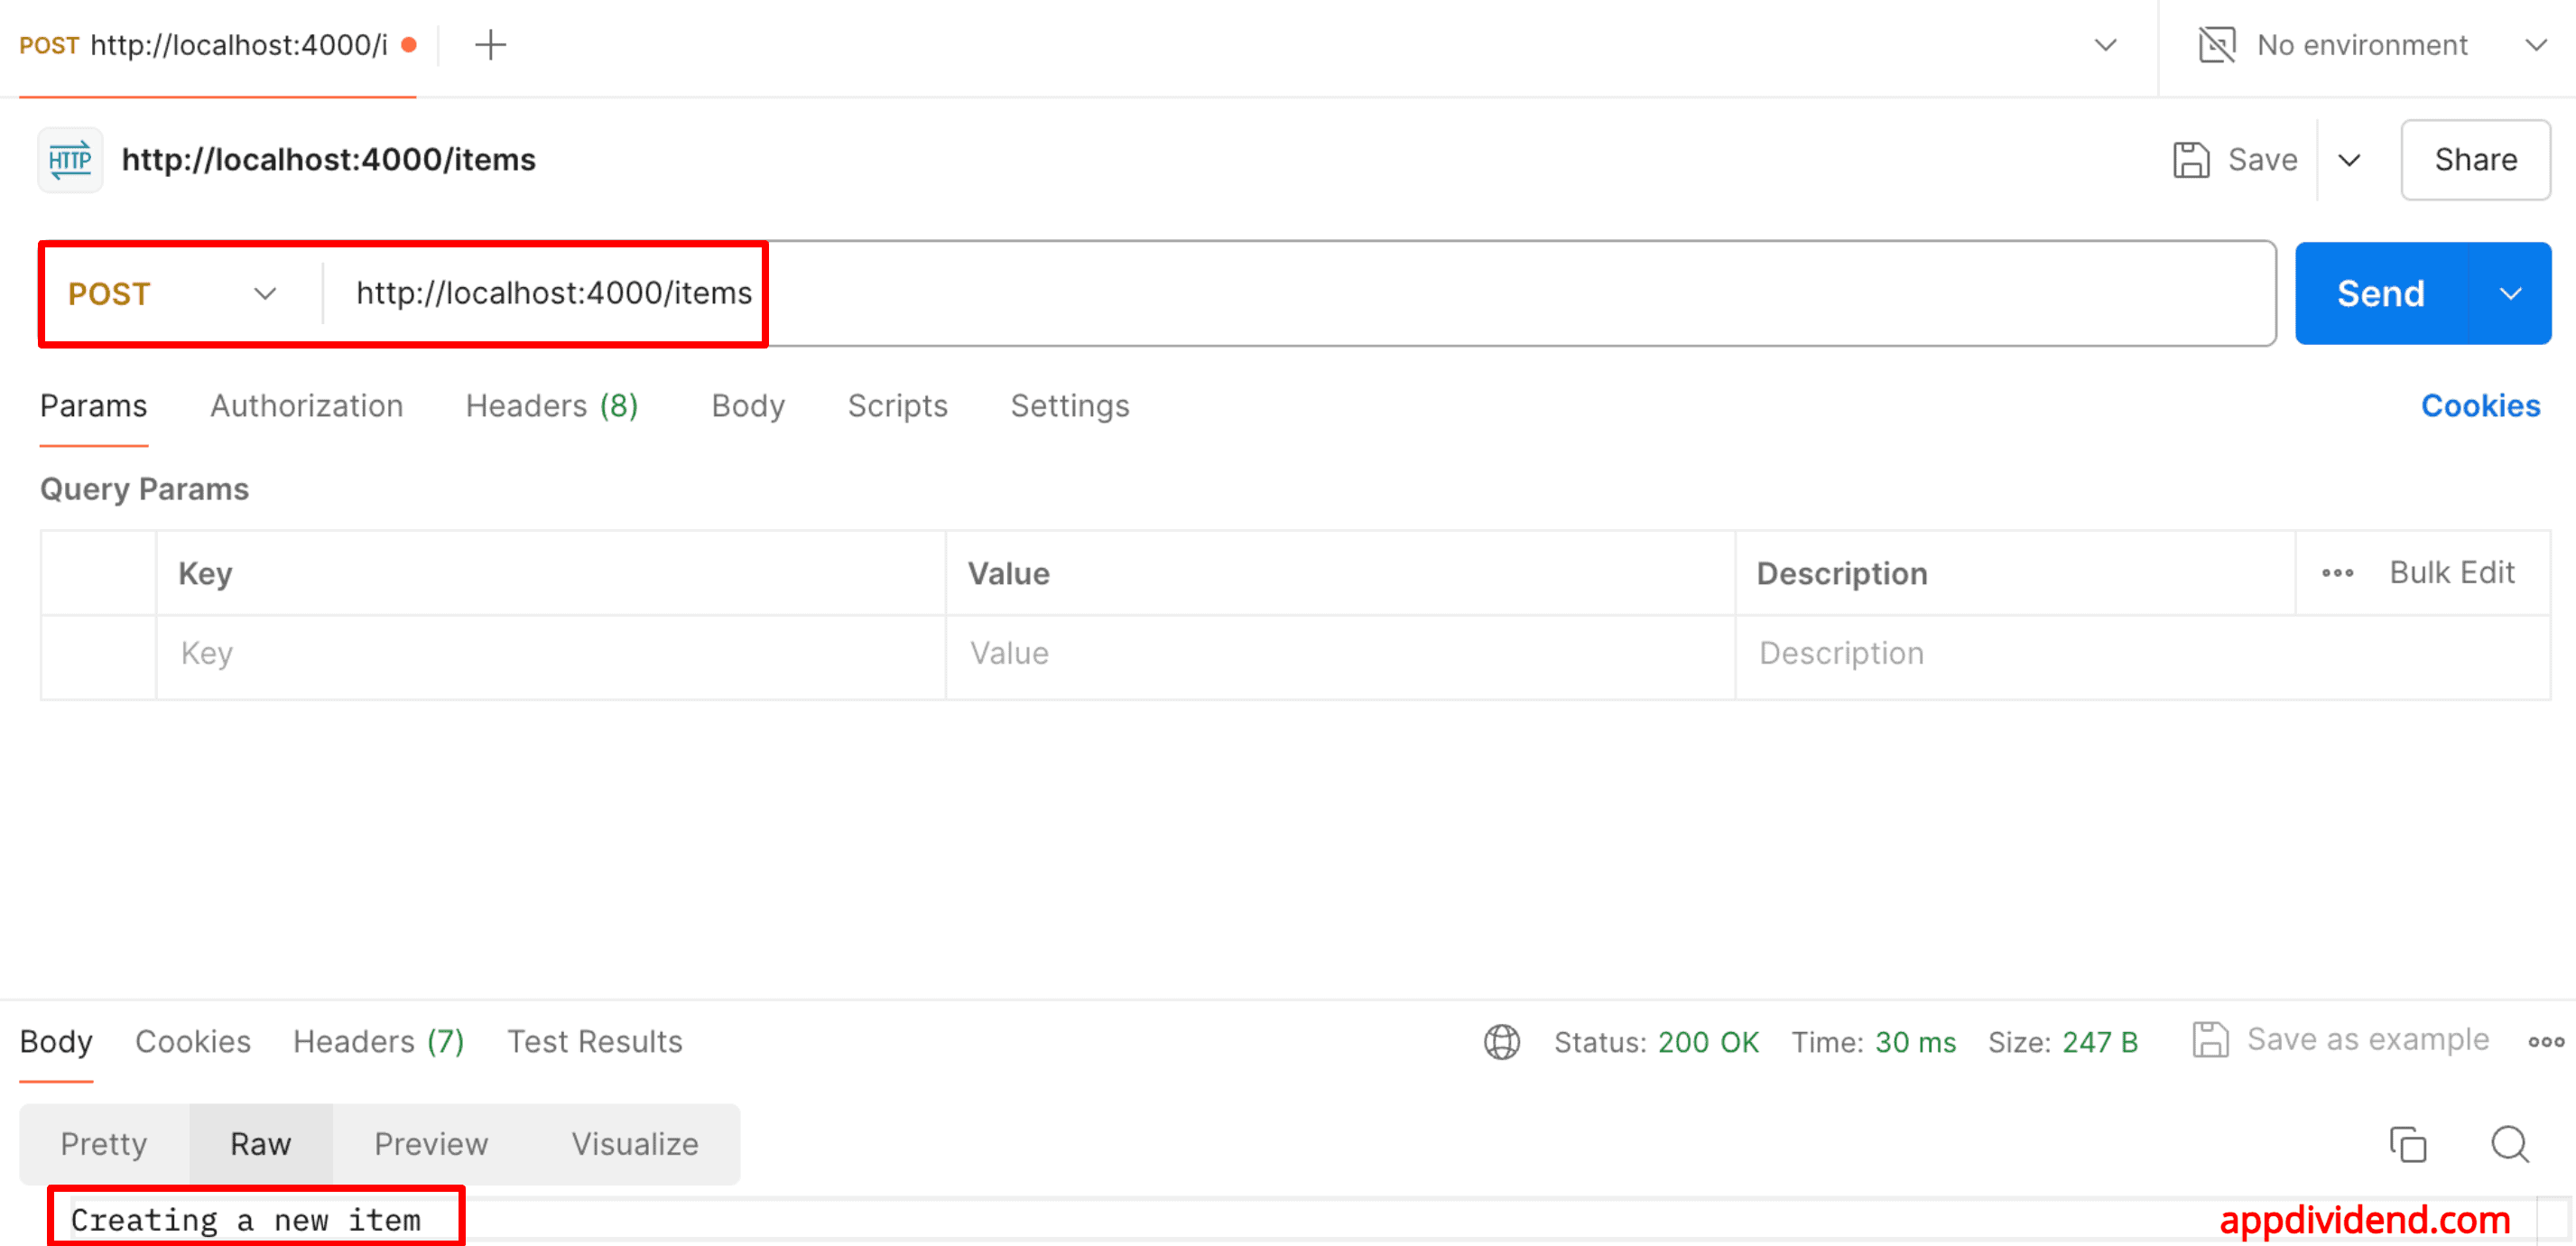
Go to POSTMAN and test all types of HTTP requests one by one like this:
GET request
POST request
You can test PUT, PATCH, DELETE, OPTIONS, and HEAD requests like this.
This setup provides a clear, organized way to handle different HTTP request methods in your Express application.
Putting everything together, your directory structure might look like this:

That’s all!
