

From AngularJS to Angular 2 to Angular 18, we have come a long way, and many things have changed in that journey. However, one thing that has not changed is the modularization approach.
Imagine cluttered code filled with piles of different modules scattered everywhere. It could become very difficult if you need to fix any bug or make that code more efficient.
Now, paint this, walking into a well-organized code where every module is perfectly categorized, making it easy to find precisely what you need. This is where angular modules come into play.
By default, the file structure has changed significantly, and the app.module.ts file has been removed in later versions. Angular’s default structure is well organized, and this article will guide you through creating Angular modules to organize your code effectively.
By the end of this tutorial, you will understand how to structure your Angular application using modules, components, services, and directives, leading to a cleaner and more scalable codebase.
What is Module?
Module in Angular is a cohesive block of code dedicated to an application domain, a workflow, or a closely related set of capabilities. It contains components, services, directives, and pipes.
Angular modules allow you to group related components, directives, pipes, and services, making your code more modular, reusable, and maintainable.
Every Angular app has at least one module, the root module. You bootstrap that module to launch the application.
Why use modules?
Modules can help in web applications in the following ways:
- Modularity: It breaks down your code into manageable smaller pieces.
- Reusability: It shares modules across different sections of your app or multiple apps.
- Lazy loading: It improves performance by loading modules only when needed. You can eagerly load the module or lazy load by routing.
- Separation of concerns: It keeps related functionalities together and separates unrelated ones.
Let’s dive into the small project and explore how you can use modules to structure your application.
Step 1: Setup an Angular project
Install Angular CLI if you have not installed it already, and then type the following command to create a new project:
ng new modules-app
After creating a new project, go inside the project:
cd modules-app
Step 2: Create two modules
By default, Angular comes with a single App module, and now we want to create two other modules to organize the rest of the code.
Angular CLI is beneficial in creating modules using the below command:
ng generate module feature
It will create a src/app/feature/feature.module.ts file. You can see that it has created a new directory called feature. This folder is responsible for every feature we create in this application.
For example, all types of services and components related to the feature will be created in this “feature” folder.
Inside the feature folder, there is a file called feature.module.ts. We will import all the necessary components related to the feature inside the feature.module.ts file.
Now, we will create a second module using the below command:
ng generate module shared
It will also create a new folder called “shared” inside the “app” folder. Inside that folder, the shared.module.ts file is created.
Step 3: Create two components
We have already created modules, and now is the time to create two separate components with respect to their modules. Let’s create a component for the feature module using the below command:
ng generate component feature/dashboard
This command will create a dashboard folder inside the feature folder.
The dashboard folder contains the following four files:
- dashboard.component.css
- dashboard.component.html
- dashboard.component.ts
- dashboard.component.spec.ts

Modify the src/app/feature/feature.module.ts file and add DashboardComponent to the imports and exports array.
import { NgModule } from '@angular/core';
import { CommonModule } from '@angular/common';
import { DashboardComponent } from './dashboard/dashboard.component';

@NgModule({
  declarations: [],
  imports: [CommonModule, DashboardComponent],
  exports: [DashboardComponent],
})

export class FeatureModule {}
Now, let’s create a second component for the “shared” module using the below command:
ng generate component shared/greeting
It will create a “greeting” folder inside the “shared” folder.
Modify the src/app/shared/shared.module.ts file like this:
import { NgModule } from '@angular/core';
import { CommonModule } from '@angular/common';
import { GreetingComponent } from './greeting/greeting.component';

@NgModule({
  declarations: [],
  imports: [CommonModule, GreetingComponent],
  exports: [CommonModule, GreetingComponent],
})

export class SharedModule {}
Step 4: Updating app.component.ts
We have created two modules, and those modules manage two components.
We have not registered these modules to the Angular application, we just created it. At this point, Angular does not know that these components exist.
To register these components, we need to import these two modules inside the src/app/app.component.ts file:
import { Component } from '@angular/core';
import { RouterOutlet } from '@angular/router';
import { SharedModule } from './shared/shared.module';
import { FeatureModule } from './feature/feature.module';

@Component({
  selector: 'app-root',
  standalone: true,
  imports: [RouterOutlet, SharedModule, FeatureModule],
  templateUrl: './app.component.html',
  styleUrl: './app.component.css',
})

export class AppComponent {
  title = 'angmodule';
}
By importing these modules, we are telling Angular about the existence of other components.
Update the AppComponent template to use components from the shared and feature modules.
<!-- src/app/app.component.html -->

<h1>Welcome to Angular Modules Example</h1>
<app-greeting></app-greeting>
<app-dashboard></app-dashboard>
Step 5: Run the project
Save the file and start the development server using this command:
ng serve --open
It will display the project output like the below screenshot:
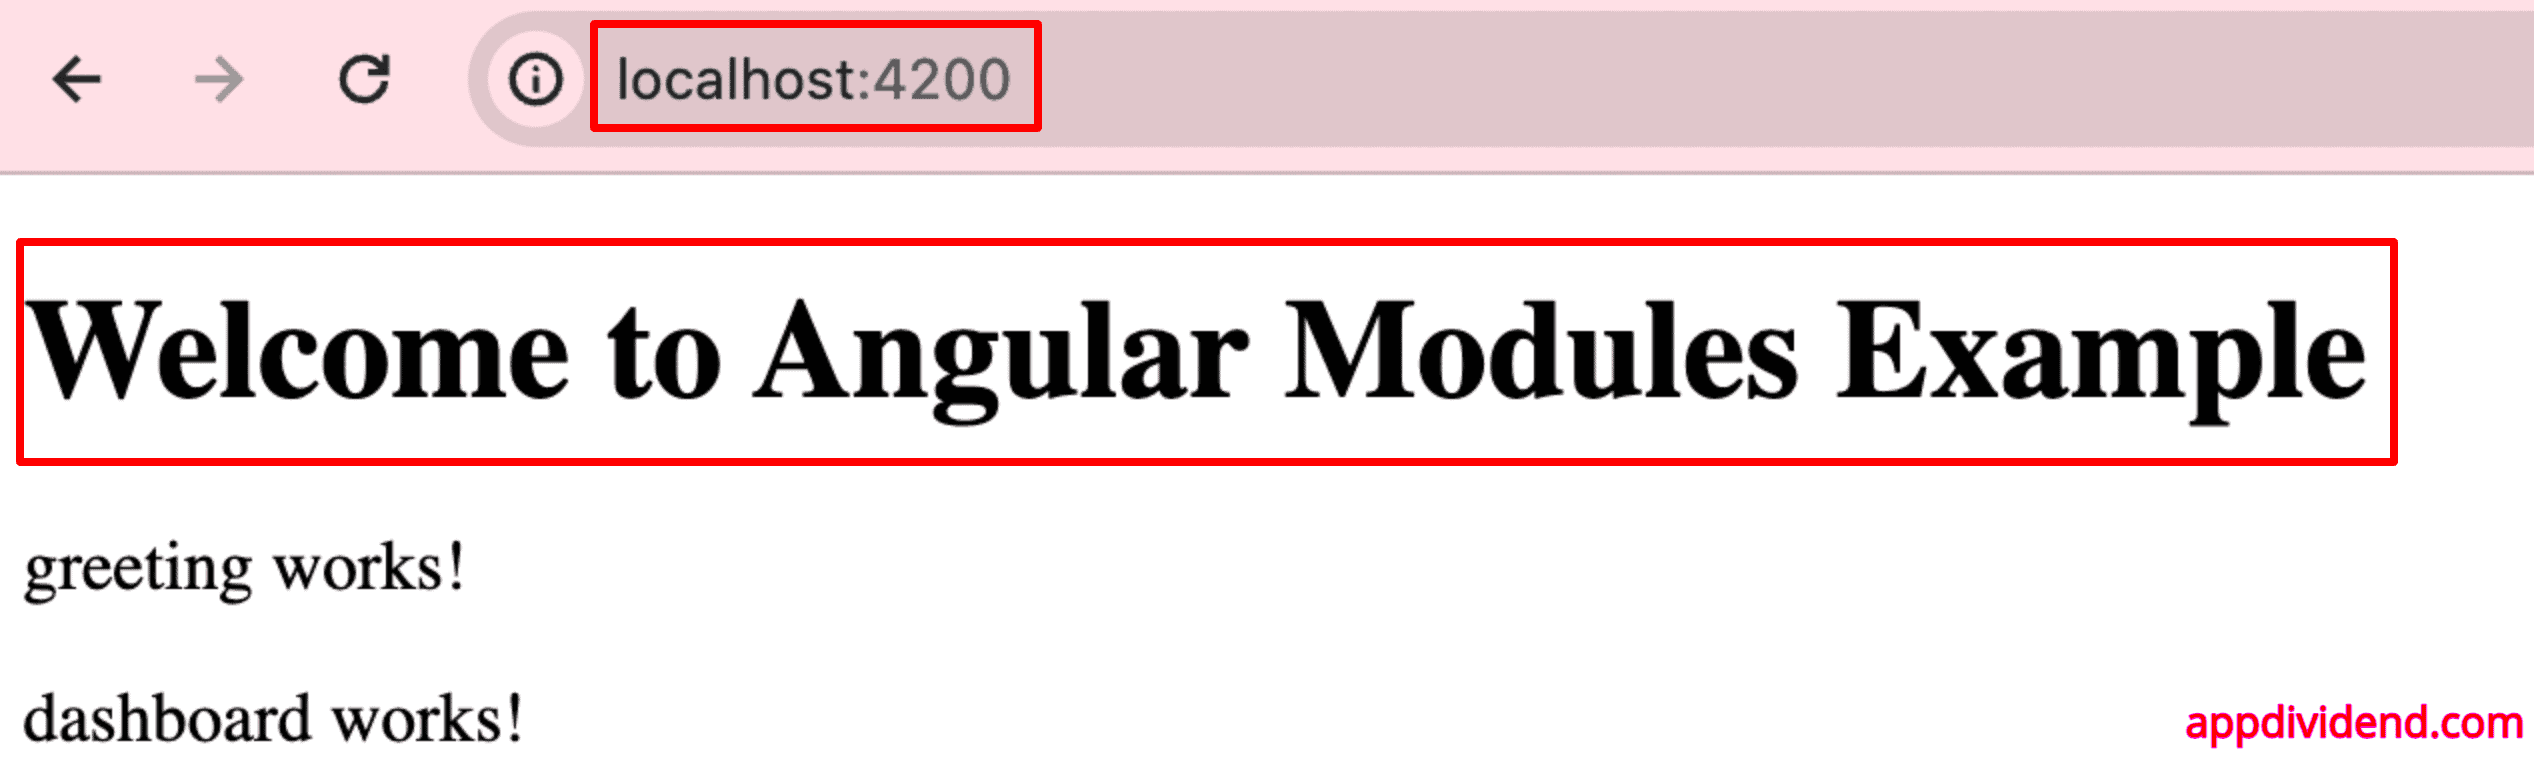
You can see that both modules are included properly and display the output appropriately. And our project structure is well organized.
That’s it!

juan
so student-list-item.component.ts is only acting as a presenter?
fatih cakiroglu
Thank you for write such a tutorial. this tutorial made me benefit
stef
student.module.ts needs to export some component
@NgModule({
declarations: [StudentComponent, StudentListComponent, StudentListItemComponent],
imports: [
CommonModule
],
exports:[StudentComponent, StudentListComponent]
})
export class StudentModule { }
Milton Gore
Thank you
Alva
While your article may be good your site isn’t. Using FireFox 73.0.1 64 bit the window won’t stop jumping around long enough for me to read the article.
Even typing this comment was a real PITA.
Riyaz
Thanks Kunal, you helped and clear the myth of feature module while creating project from scratch. Thanks.