
In Angular, template-driven forms offer a simple way to create and validate forms, which is helpful when dealing with small forms rather than complex ones.
By the end of this tutorial, you will have the proper and correct knowledge to implement form validation in your Angular 18 applications using template-driven forms.
Here is the step-by-step guide:
Step 1: Setup Angular 18 Project
Type the following command to create a new Angular app, assuming you have already installed Angular CLI:
ng new template-app
Go inside the project using the below command:
cd template-app
Install Angular material using the below command:
ng add @angular/material
Step 2: Create a user-form component
Create a standalone component using the below command:
ng g c user-form --standalone
Import this component inside the src/app/app.component.ts file:
// app.component.ts

import { Component } from '@angular/core';
import { RouterModule } from '@angular/router';
import { UserFormComponent } from './user-form/user-form.component';

@Component({
  selector: 'app-root',
  standalone: true,
  imports: [RouterModule, UserFormComponent],
  templateUrl: './app.component.html',
  styleUrls: ['./app.component.css'],
})

export class AppComponent {
  title = 'Template Validation App';
}
Now, you can use the <app-user-form> directive in src/app/app.component.html file like this:
<app-user-form></app-user-form>
Step 3: Creating a Template-Driven Form
To create a template-driven form, import NgForm and FormsModule modules. Template-driven forms use directives like ngModel, ngForm, and ngSubmit to handle form controls, data binding, and form submission.
Add the following code inside the src/app/user-form/user-form.component.ts file:
import { CommonModule } from '@angular/common';
import { Component } from '@angular/core';
import { NgForm, FormsModule } from '@angular/forms';
import { MatInputModule } from '@angular/material/input';
import { MatButtonModule } from '@angular/material/button';
import { MatFormFieldModule } from '@angular/material/form-field';

@Component({
  selector: 'app-user-form',
  standalone: true,
  templateUrl: './user-form.component.html',
  imports: [
    FormsModule,
    CommonModule,
    MatInputModule,
    MatButtonModule,
    MatFormFieldModule,
  ],
  styleUrls: ['./user-form.component.css'],
})
export class UserFormComponent {
  onSubmit(form: NgForm) {
    console.log(form.value);
  }
}
Inside the UserFormComponent class, we defined the onSubmit() method that accepts the form, which is type NgForm, and logs the form values in the console.
In src/app/user-form/user-form.component.html, define the form using Angular’s ngForm directive:
<form #userForm="ngForm" (ngSubmit)="onSubmit(userForm)">
  <div>
    <mat-form-field appearance="fill">
      <mat-label>Username</mat-label>
      <input
        matInput
        type="text"
        id="username"
        name="username"
        ngModel
        #username="ngModel"
      />
    </mat-form-field>
  </div>
  <div>
    <mat-form-field appearance="fill">
      <mat-label>Email</mat-label>
      <input
        matInput
        type="email"
        id="email"
        name="email"
        ngModel
        required
        #email="ngModel"
      />
    </mat-form-field>
  </div>
  <button mat-stroked-button type="submit">Submit</button>
</form>
In this HTML code, we created a local template reference variable userForm and assigned it the ngForm directive.
The ngSubmit directive binds the form’s submit event to the onSubmit() method in the component’s class, passing the form object as an argument.
You can see that we used the ngModel directive for two-way data binding.
The #username=”ngModel” variable is a local template reference variable that accesses the ngModel directive associated with the “username” input.
We defined two form fields, “username” and “email,” for signup.
If you run the project by starting the development server using the “ng serve -o” command, then you will see the below output:
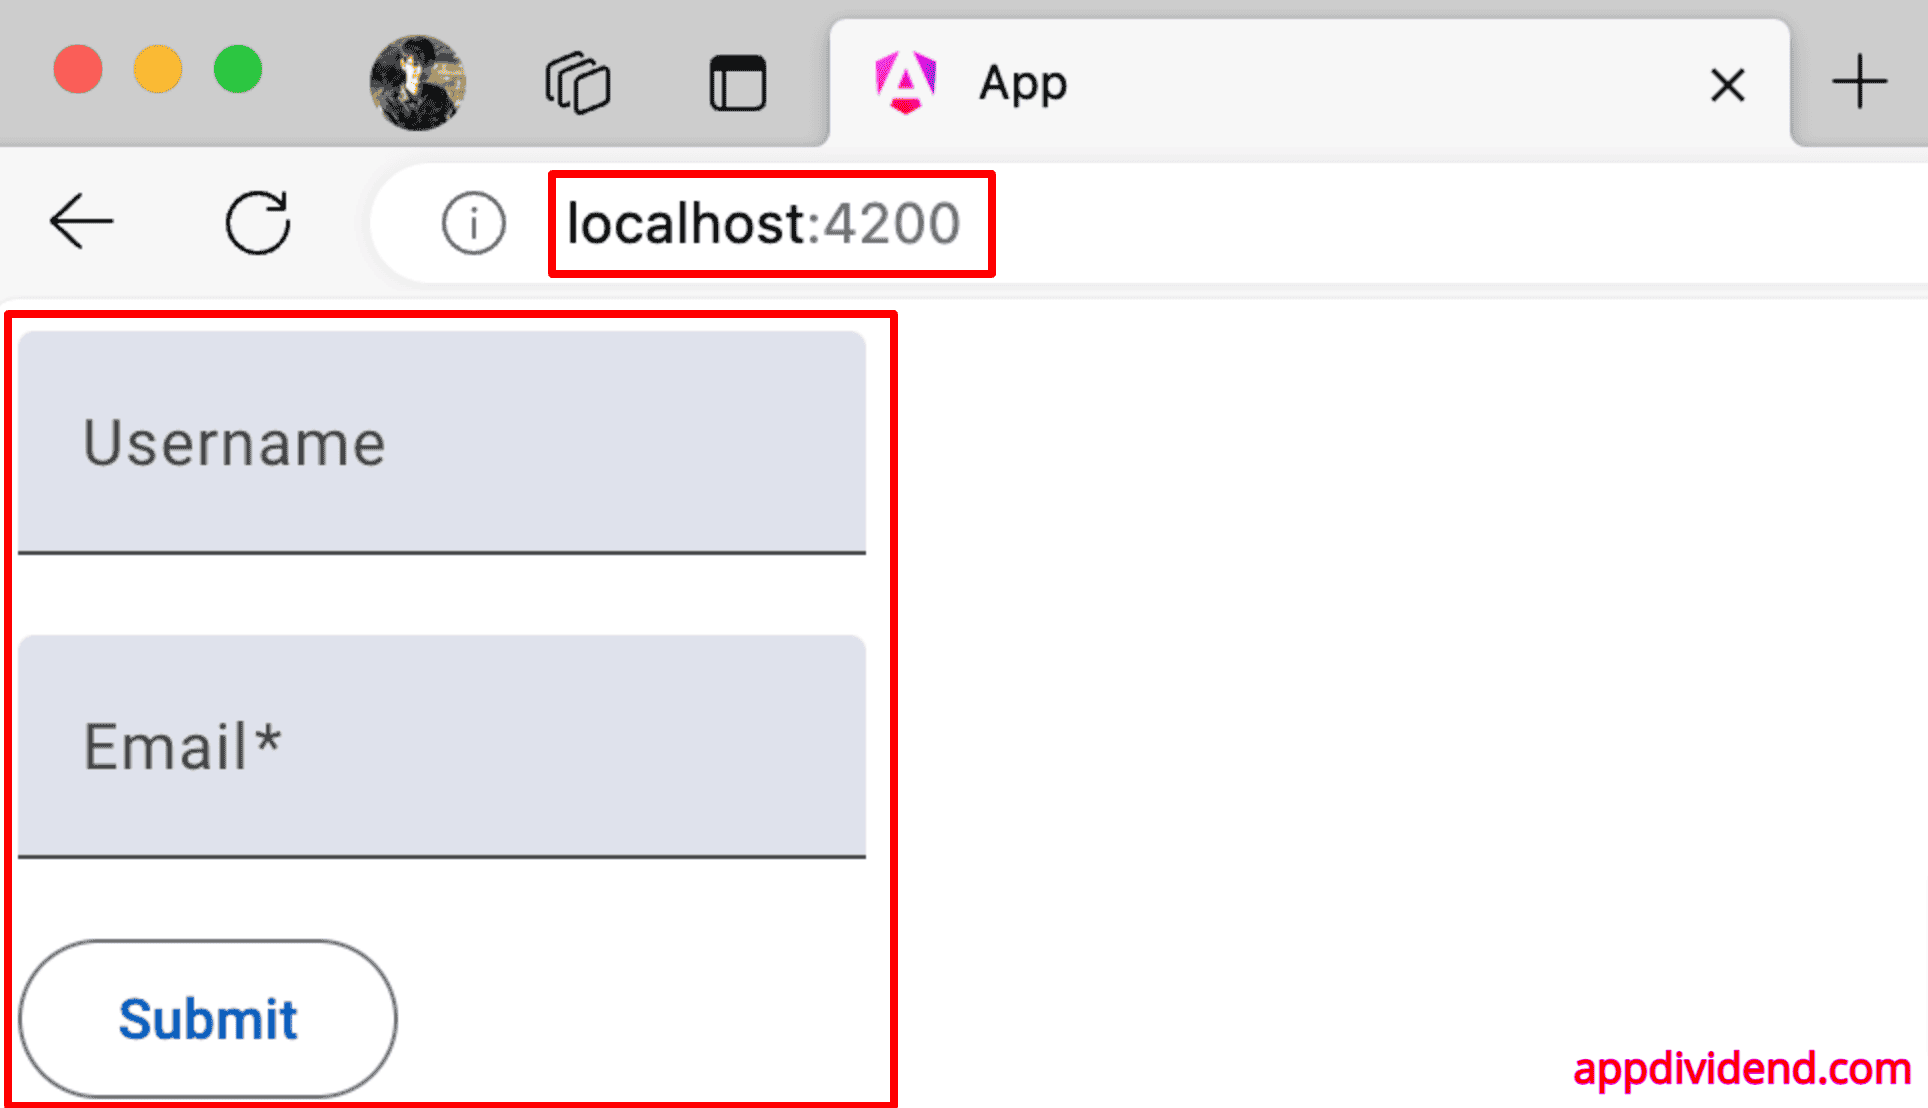
The current form lacks validation. Our next step is to add proper validation for each input field so the user gets feedback when the values are not valid.
Step 4: Applying built-in Validation
You can use several built-in validators to apply to form controls using directives such as required, email, minlength, and maxlength.
Add required to the form fields like this:
<div>
     <mat-form-field appearance="fill">
      <mat-label>Username</mat-label>
      <input
        matInput
        type="text"
        id="username"
        name="username"
        ngModel
        #username="ngModel"
      />
    </mat-form-field>
</div>
<div>
    <mat-form-field appearance="fill">
      <mat-label>Email</mat-label>
      <input
        matInput
        type="email"
        id="email"
        name="email"
        ngModel
        required
        #email="ngModel"
      />
    </mat-form-field>
</div>
Step 5: Displaying Validation Messages
We did not display any error messages if the user leaves the fields empty. We need to display validation messages conditionally to provide immediate feedback to users.
To do that, we can use the invalid and touched properties of form controls to determine when to show error messages.
Update the src/app/user-form/user-form.component.html file with the below code:
<form #userForm="ngForm" (ngSubmit)="onSubmit(userForm)">
  <div>
    <mat-form-field appearance="fill">
      <mat-label>Username</mat-label>
      <input
        matInput
        type="text"
        id="username"
        name="username"
        ngModel
        required
        #username="ngModel"
      />
      <mat-error *ngIf="username.invalid && username.touched">
        <small *ngIf="username.errors?.['required']"
          >Username is required.</small
        >
      </mat-error>
    </mat-form-field>
  </div>
  <div>
    <mat-form-field appearance="fill">
      <mat-label>Email</mat-label>
      <input
        matInput
        type="email"
        id="email"
        name="email"
        ngModel
        required
        email
        #email="ngModel"
      />
      <mat-error *ngIf="email.invalid && email.touched">
        <small *ngIf="email.errors?.['required']">Email is required.</small>
        <small *ngIf="email.errors?.['email']">Invalid email format.</small>
      </mat-error>
    </mat-form-field>
  </div>
  <button mat-stroked-button type="submit" [disabled]="userForm.invalid">
    Submit
  </button>
</form>
In this code, we displayed validation messages conditionally. So, if the field is required and the user leaves it empty, it will display the error message. If the pattern of the email field is not email, it will display the error message saying, “Invalid email format.”
Here is the form-validation output with error messages:
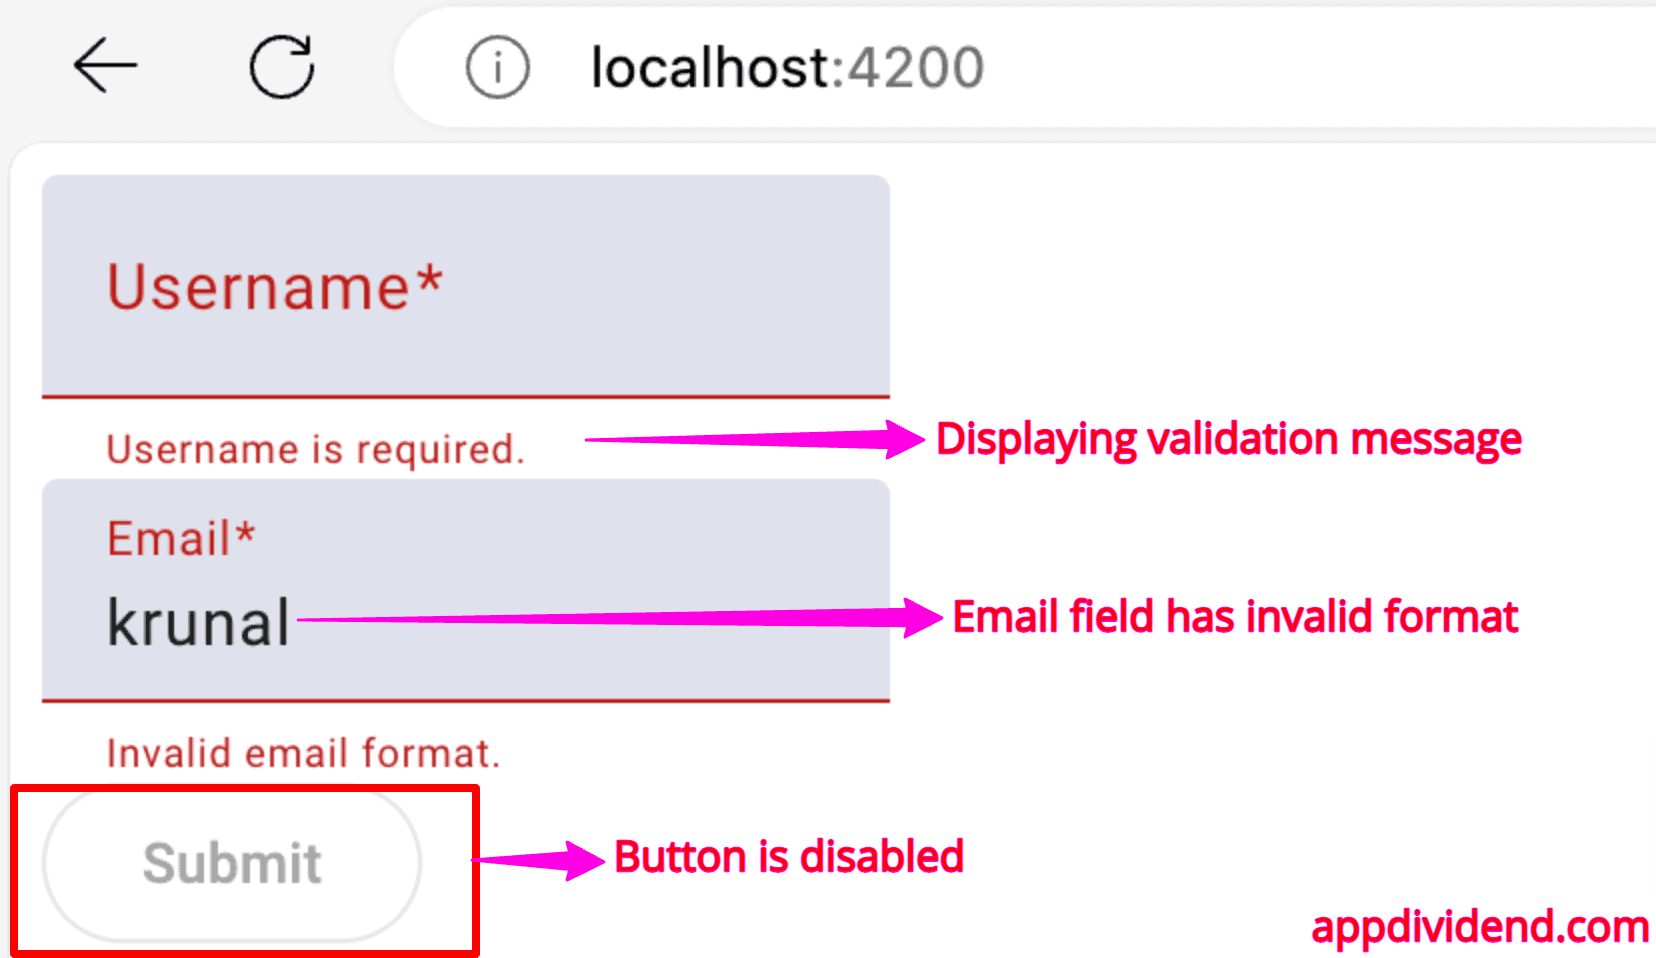
The submit button remains disabled when any form fields are invalid. Once every value of the form fields is valid, the submit button will be enabled, and you can submit the form and log the values in the console.

That’s all!
