
To save an image in JPEG format in Python, use the PIL library’s Image.save() method. The Image.save() method serializes an Image object to a JPEG file or stream.
What you need to do is load or create an image, then save it as a JPEG. Format is inferred from .jpg extension; specify format=’JPEG’ for streams.
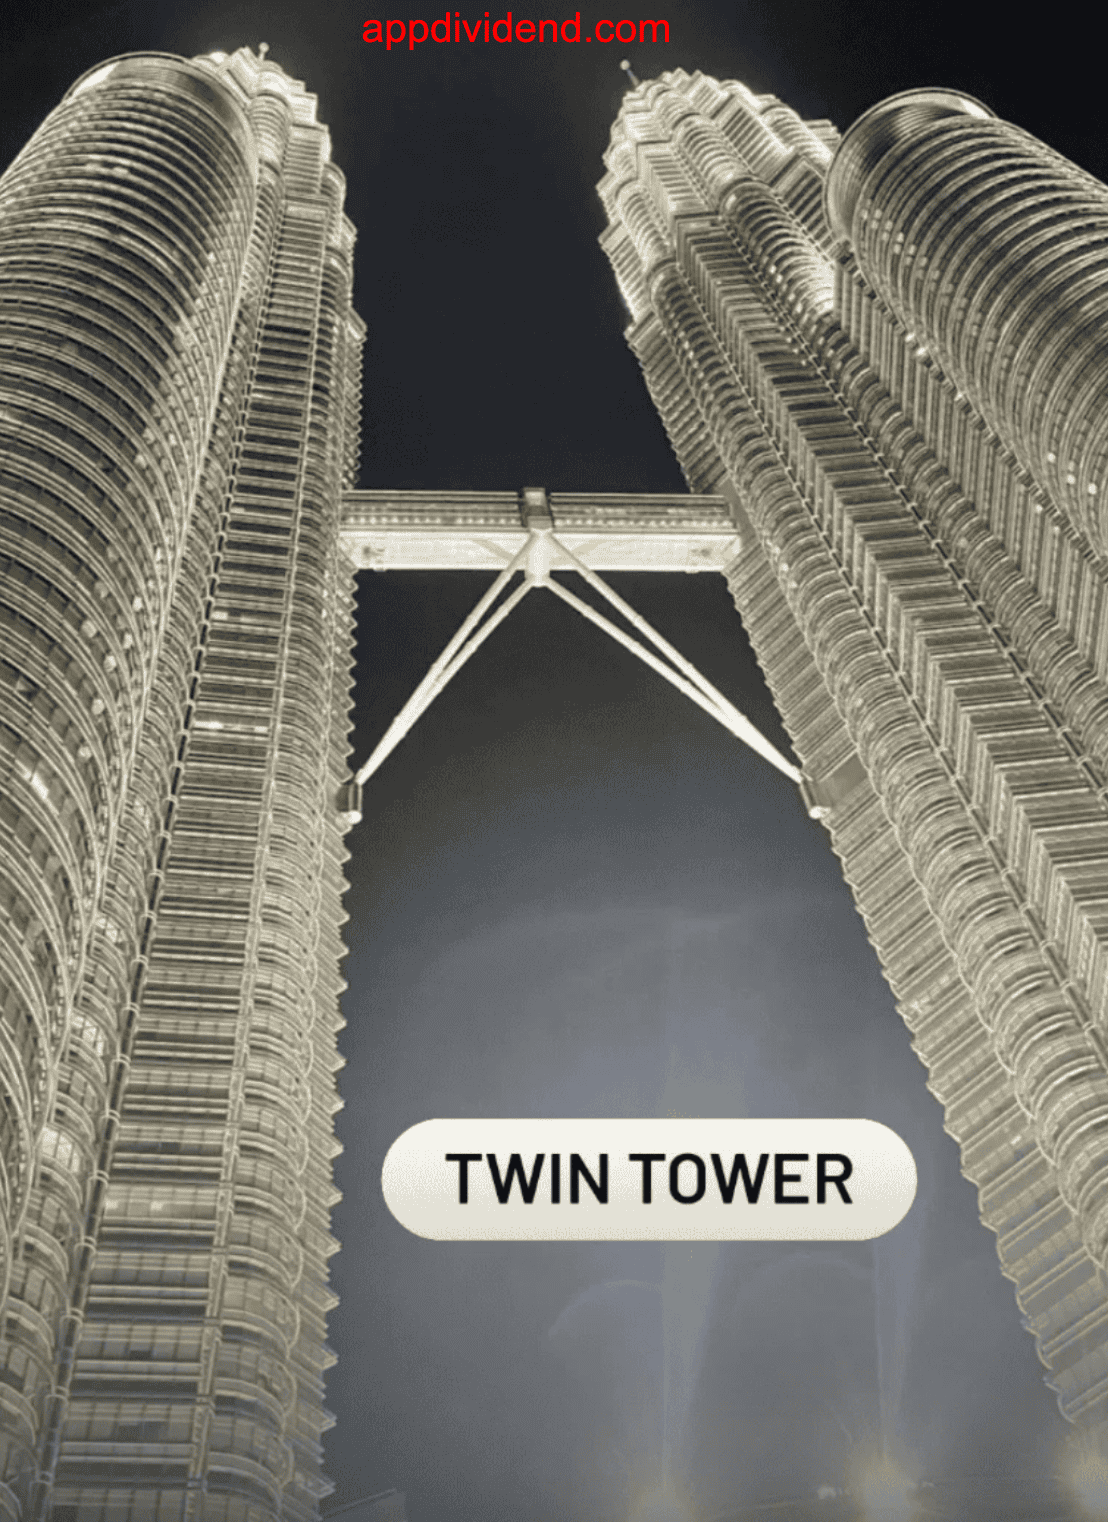
Here is the existing PNG image that we will load and then save as a JPEG.
from PIL import Image

# Loading an existing image
im = Image.open('Tower.png')  # Assume RGB mode

# Converting to RGB (if not already in that mode)
rgb_image = im.convert('RGB')

# Saving an image to file (quality=75 default)
rgb_image.save('output.jpg')  # Infers JPEG from extension

print("Image saved as output.jpg in RGB mode.")

# Output: Image saved as output.jpg in RGB mode.

The image above is a JPEG, which takes much less space than the original PNG.
In this code, we first load an existing PNG image. The image was not already in RGB mode, so we converted it with .convert(‘RGB’) and saved it with the .save(output.jpg) method.
The JPEG supports the following modes:
- L: 8-bit grayscale (1 channel).
- RGB: 24-bit color (3 channels).
- CMYK: 32-bit print (4 channels).
Syntax
image.save(fp, format, quality, exif, subsampling)
Parameters
| Arguments | Description |
| fp | It represents a file name. It can be a string or an actual file object. |
| format | It is an optional string that describes the output image format. For example, PNG or JPEG. |
| quality | It represents compression and optimization options. |
| exif | It preserves metadata and color info. |
| subsampling | It represents a chroma subsampling level (affects quality and size). |
Controlling JPEG Quality
By default, the JPEG quality is 75, but you can manually set it by passing the “quality” argument to the save() function.
from PIL import Image

# Loading an existing image
im = Image.open('Tower.png')  # Assume RGB mode

# Converting to RGB (if not already in that mode)
rgb_image = im.convert('RGB')

# Saving an image to file (quality=75 default)
rgb_image.save("output_high.jpg", "JPEG", quality=95)
rgb_image.save("output_medium.jpg", "JPEG", quality=70)
rgb_image.save("output_low.jpg", "JPEG", quality=30)

print("Different type of JPEG Qualities have been saved.")

# Output: Different type of JPEG Qualities have been saved.
Here are three images with three different qualities:
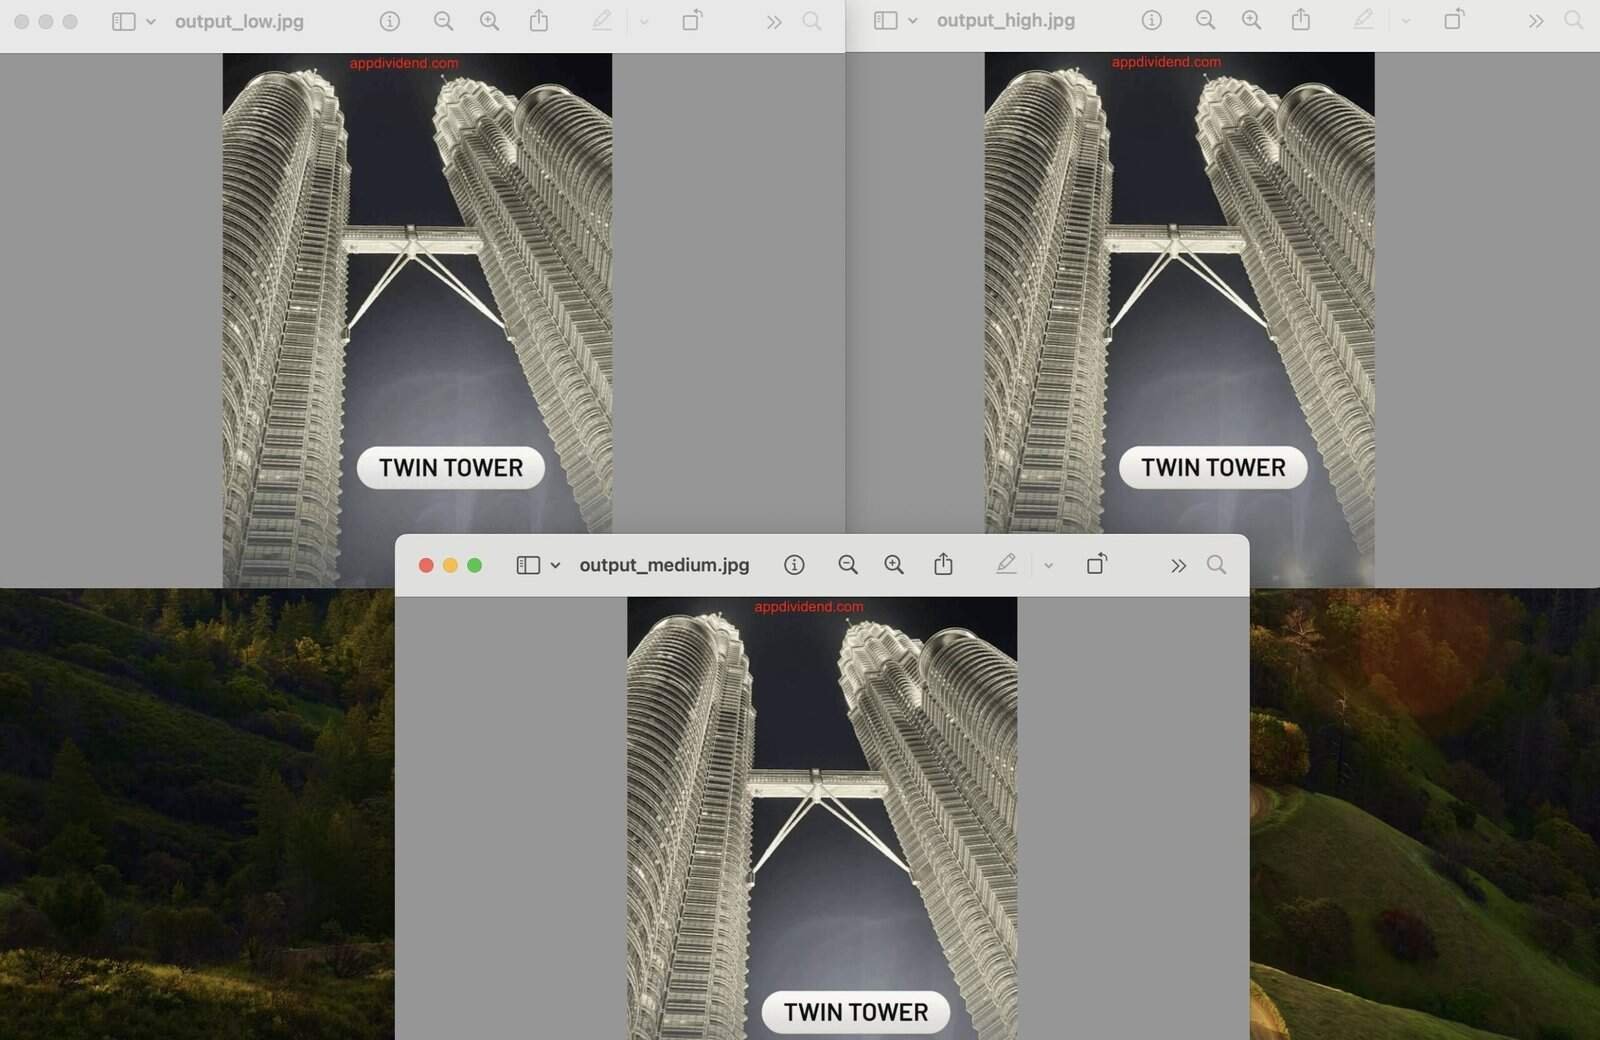
The qualities range from 1 to 95 (100 allowed but not recommended — no gain, bigger size). It affects file size and detail retention.
Progressive JPEG (for Web)
Progressive JPEGs load in layers (from blurry to clear), which is beneficial for the web.
from PIL import Image

# Loading an existing image
im = Image.open('Tower.png')  # Assume RGB mode

# Converting to RGB (if not already in that mode)
rgb_image = im.convert('RGB')

# Progressive JPEG saving
rgb_image.save("progressive.jpg", "JPEG", progressive=True)

print("Progressive JPEG saved.")

# Output: Progressive JPEG saved.
 Combine with compression
Let’s combine progressive image with optimization, quality, and compression.
from PIL import Image

# Loading an existing image
im = Image.open('Tower.png')  # Assume RGB mode

# Converting to RGB (if not already in that mode)
rgb_image = im.convert('RGB')

# Progressive JPEG saving
rgb_image.save("web_optimized.jpg", "JPEG", quality=80,
               optimize=True, progressive=True)

print("Compressing and optimizing a JPEG image")

# Output: Compressing and optimizing a JPEG image

That’s all!