
Here are four main ways to create a PDF file efficiently in Python:
- Using reportlab
- Using xhtml2pdf
- Using fpdf (fpdf2 or pyfpdf)
- Using pdfkit
In our practical, I will embed an image too, and for that, I will be using the following image:
![]()
Method 1: Using reportlab
ReportLab is by far the most suitable, efficient, and comprehensive library in Python for creating PDFs from data, including plain text and images. It can easily embed an image in a PDF, which is helpful in many scenarios.
Install reportlab using pip:
pip install reportlab
Here is the complete code:
# importing reportlab
from reportlab.lib.pagesizes import letter
from reportlab.pdfgen import canvas

# Creating a custom function that accepts
# filename and image_path as arguments
def create_pdf_with_image(filename, image_path):
    c = canvas.Canvas(filename, pagesize=letter)
    width, height = letter

    # Add some text
    c.setFont("Helvetica", 12)
    c.drawString(100, height - 100, "PDF with an embedded image:")

    # Draw the image
    c.drawImage(image_path, 100, height - 300, width=200,
                height=150)  # Adjust position and size as needed

    # Save the PDF
    c.save()


# Calling the custom function
if __name__ == "__main__":
    create_pdf_with_image("reportlab_image.pdf", "Avatar.png")
In this code, we imported a letter and canvas from “reportlab”, created a canvas, set font family and size, wrote some text, drew an image, and saved the data in PDF format.
The output “reportlab_image.pdf” file looks like this:

Method 2: Using xhtml2pdf
As the name suggests, the xhtml2pdf library is used when you are working with an HTML-based layout. It will directly convert HTML/CSS into a PDF document.
The xhtml2bpdf accommodates HTML5, CSS version 2.1, and select aspects of CSS3. It is a pure Python-based solution.
You can install it using the command below:
pip install xhtml2pdf
Here is how you can use the package:
# Importing xhtml2pdf package
from xhtml2pdf import pisa


# Creating a custom function
# to convert html page to pdf
def create_pdf_with_image(html_content, filename):
    with open(filename, "wb") as pdf_file:
        pisa_status = pisa.CreatePDF(
            src=html_content,
            dest=pdf_file
        )
    if pisa_status.err:
        print("Error creating PDF")
    else:
        print(f"PDF created successfully: {filename}")


if __name__ == "__main__":
    html = """
    <html>
        <head>
            <style>
                body { font-family: Verdana, sans-serif; }
                h1 { color: red; }
            </style>
        </head>
        <body>
            <h1>PDF with an Embedded Image</h1>
            <img src="Avatar.png" alt="Embedded Image" width="300"/>
        </body>
    </html>
    """
    create_pdf_with_image(html, "xhtml2pdf_image.pdf")
Output
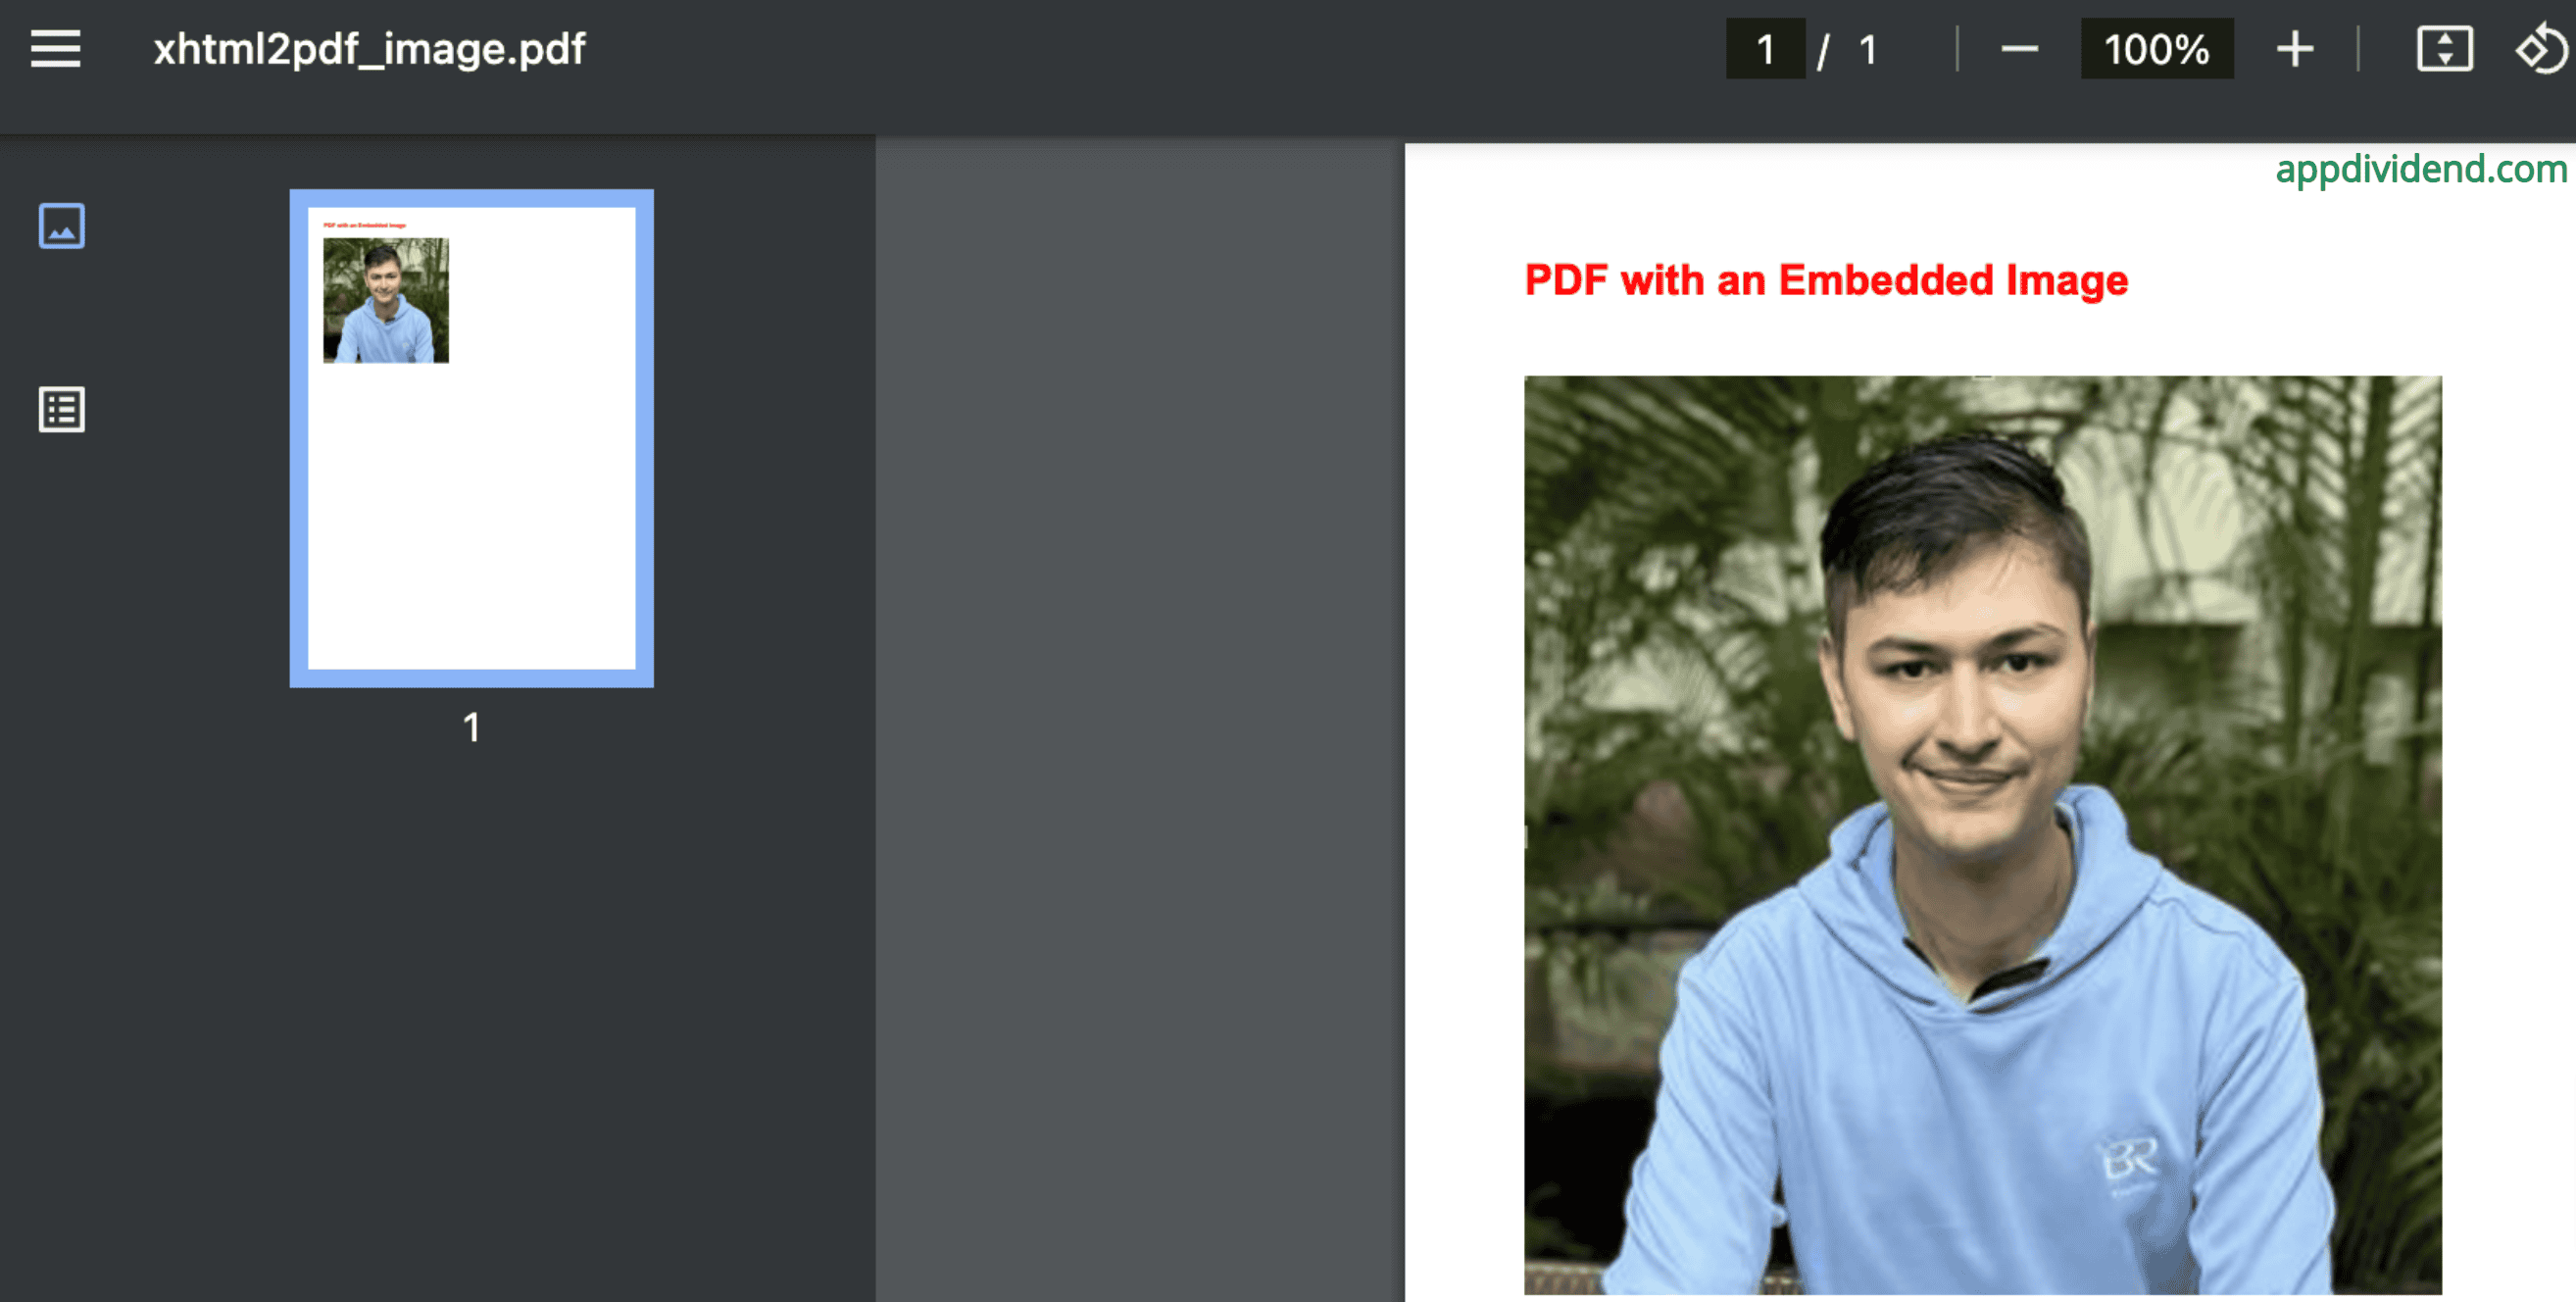
As shown in the above code, we embed an image using the HTML <img> tag within our HTML content and then convert it to a PDF.
Method 3: Using fpdf
If you have worked with PHP, then you may be familiar with this library. Developers designed the fpdf library to create simple PDFs with introductory text and graphics.
You can install the fpdf library using the command below:
pip install fpdf
You can use various methods like FPDF().add_page(), FPDF().image(), or FPDF.output() with the help of content to generate a PDF like this:
# importing fpdf
from fpdf import FPDF
# Creating a custom function that will save the content into pdf file
def create_pdf_with_image(filename, image_path):
pdf = FPDF()
pdf.add_page()
pdf.set_font("Helvetica", size=12)
# Add some text
pdf.cell(200, 10, text="PDF with an embedded image:", ln=True, align='C')
# Insert image
# Adjust position and size as needed
pdf.image(image_path, x=10, y=20, w=100)
# Save the PDF
pdf.output(filename)
# Calling the function
if __name__ == "__main__":
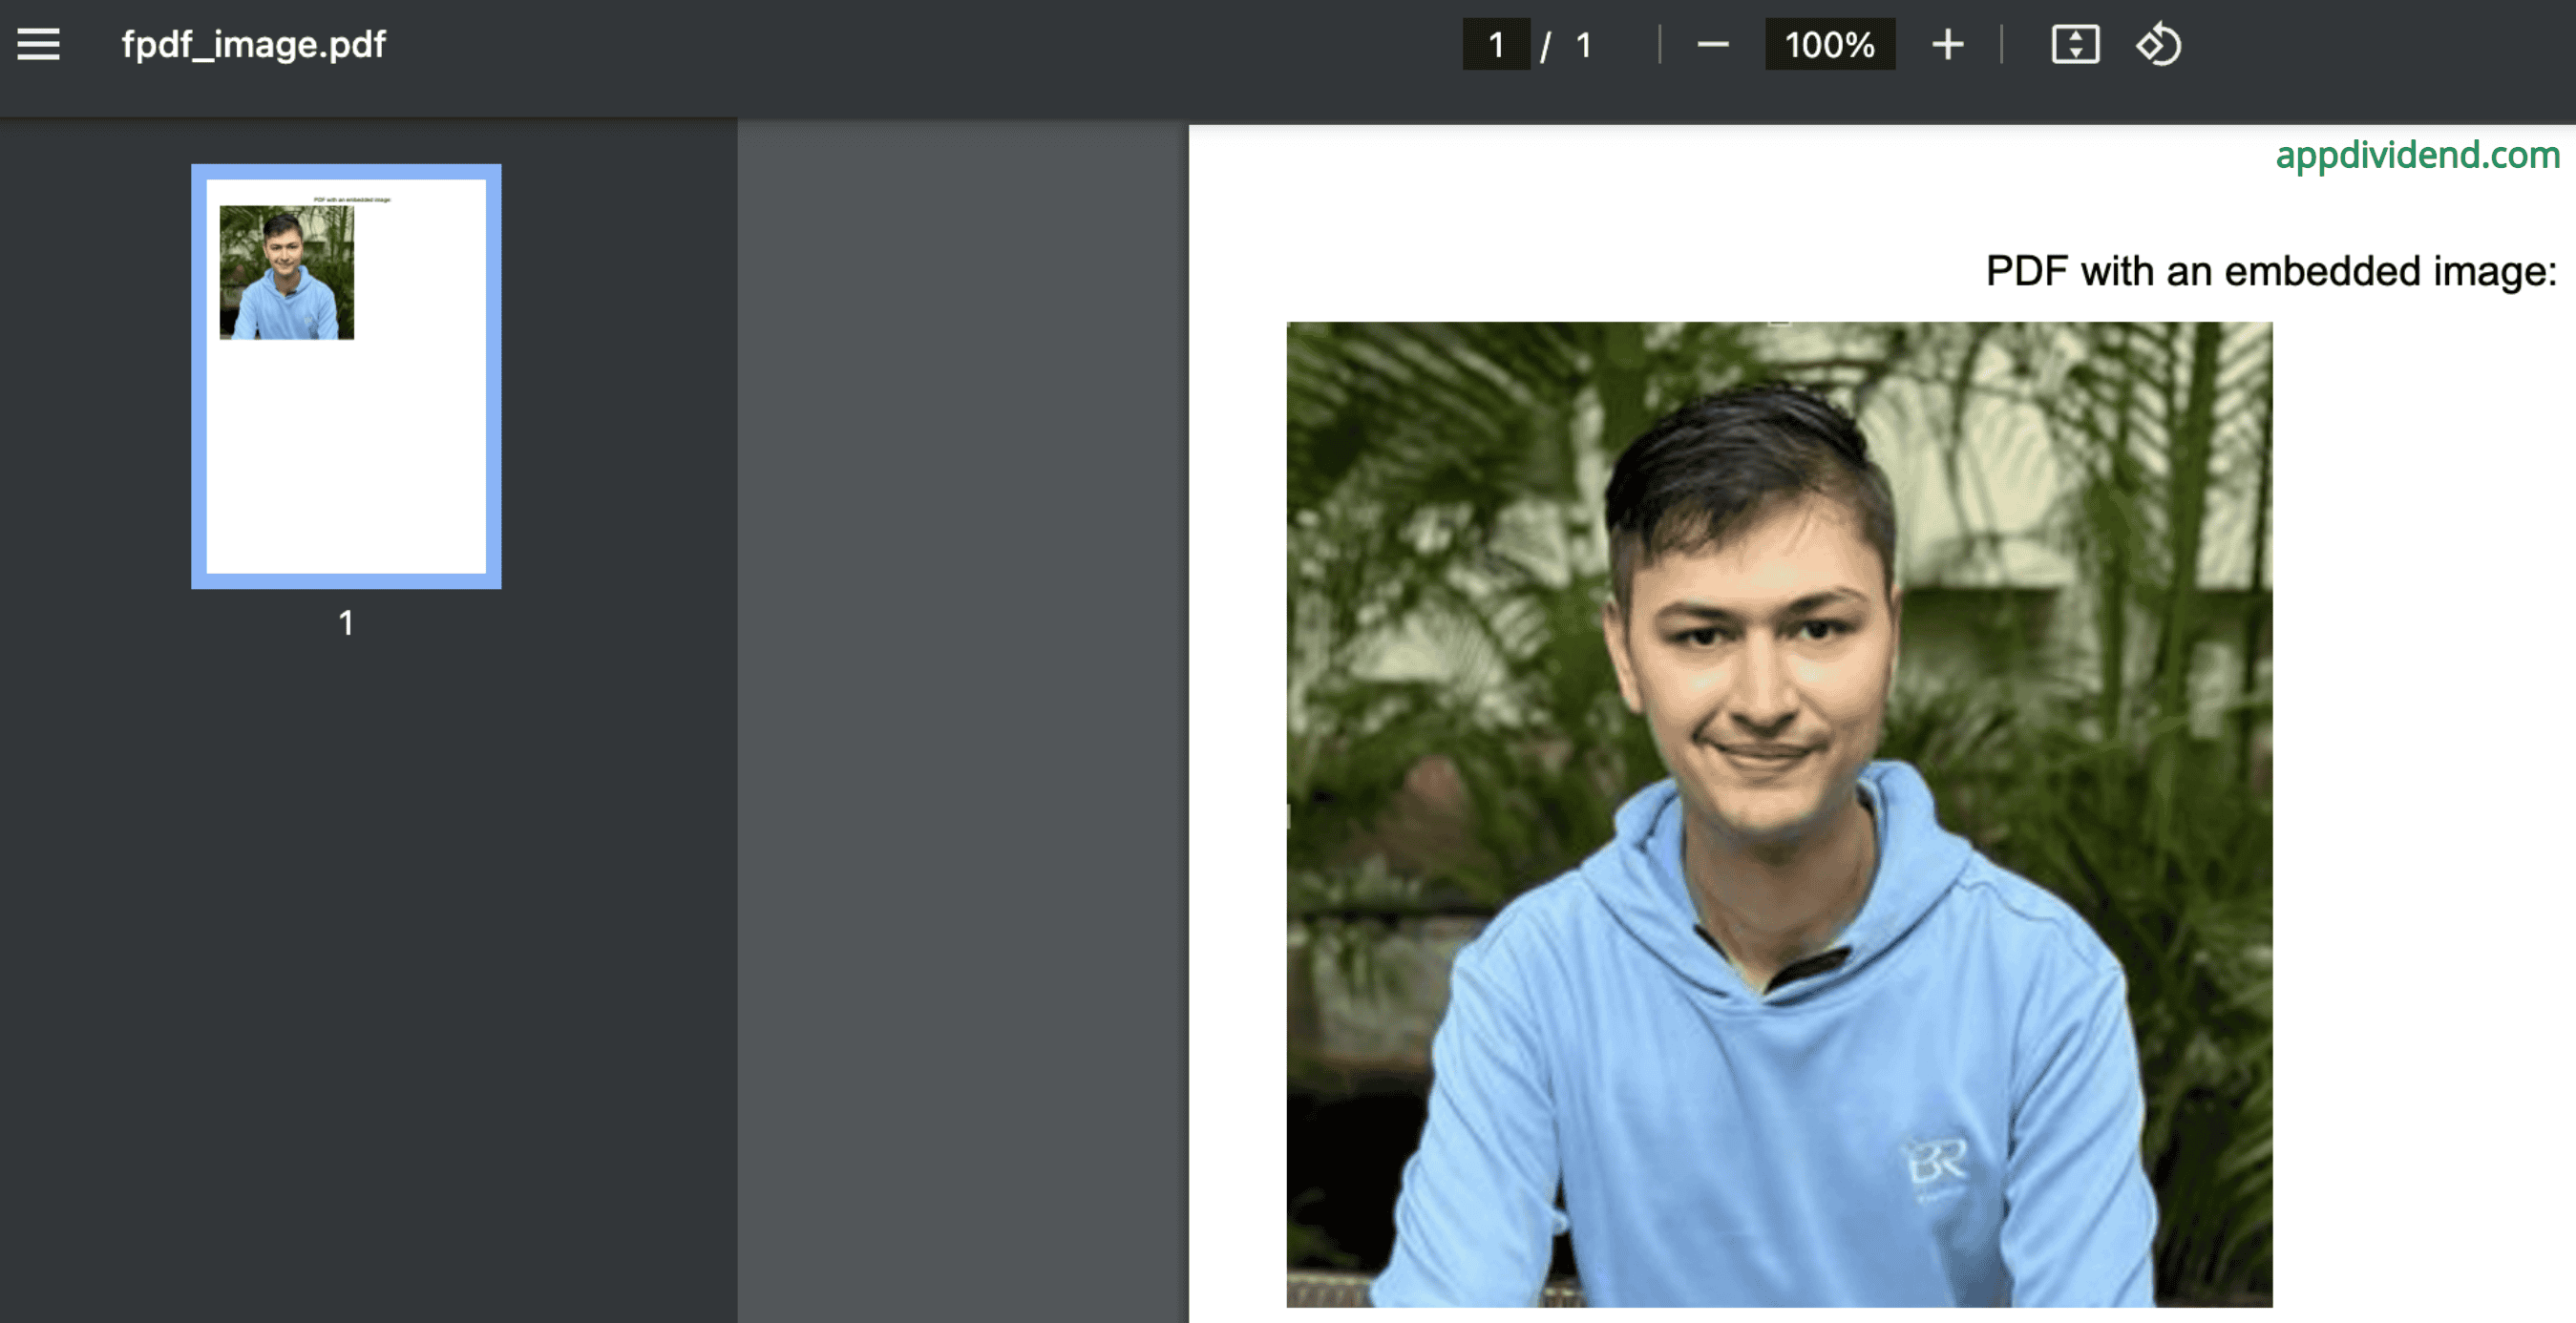
create_pdf_with_image("fpdf_image.pdf", "Avatar.png")
Output
Method 4: Using pdfkit
Another approach is “pdfkit”, which is a wrapper around the wkhtmltopdf tool, which converts HTML to PDF using the WebKit rendering engine.
Before installing PDFKit, we first need to install the wkhtmltopdf tool if it has not already been installed.
I am using MacOS, so I can install it using the command below:
brew install wkhtmltopdf
Now, we can install the PDFKit library using the command below:
pip install pdfkit
Here is how you can generate using pdfkit:
import pdfkit
def create_pdf_from_html(html_content, filename):
# Configure path to wkhtmltopdf if not in PATH
config = pdfkit.configuration(wkhtmltopdf='/usr/local/bin/wkhtmltopdf') # Update the path as needed
pdfkit.from_string(html_content, filename, configuration=config)
if __name__ == "__main__":
html = """
<html>
<head>
<style>
body { font-family: Times New Roman, serif; }
h1 { color: green; }
</style>
</head>
<body>
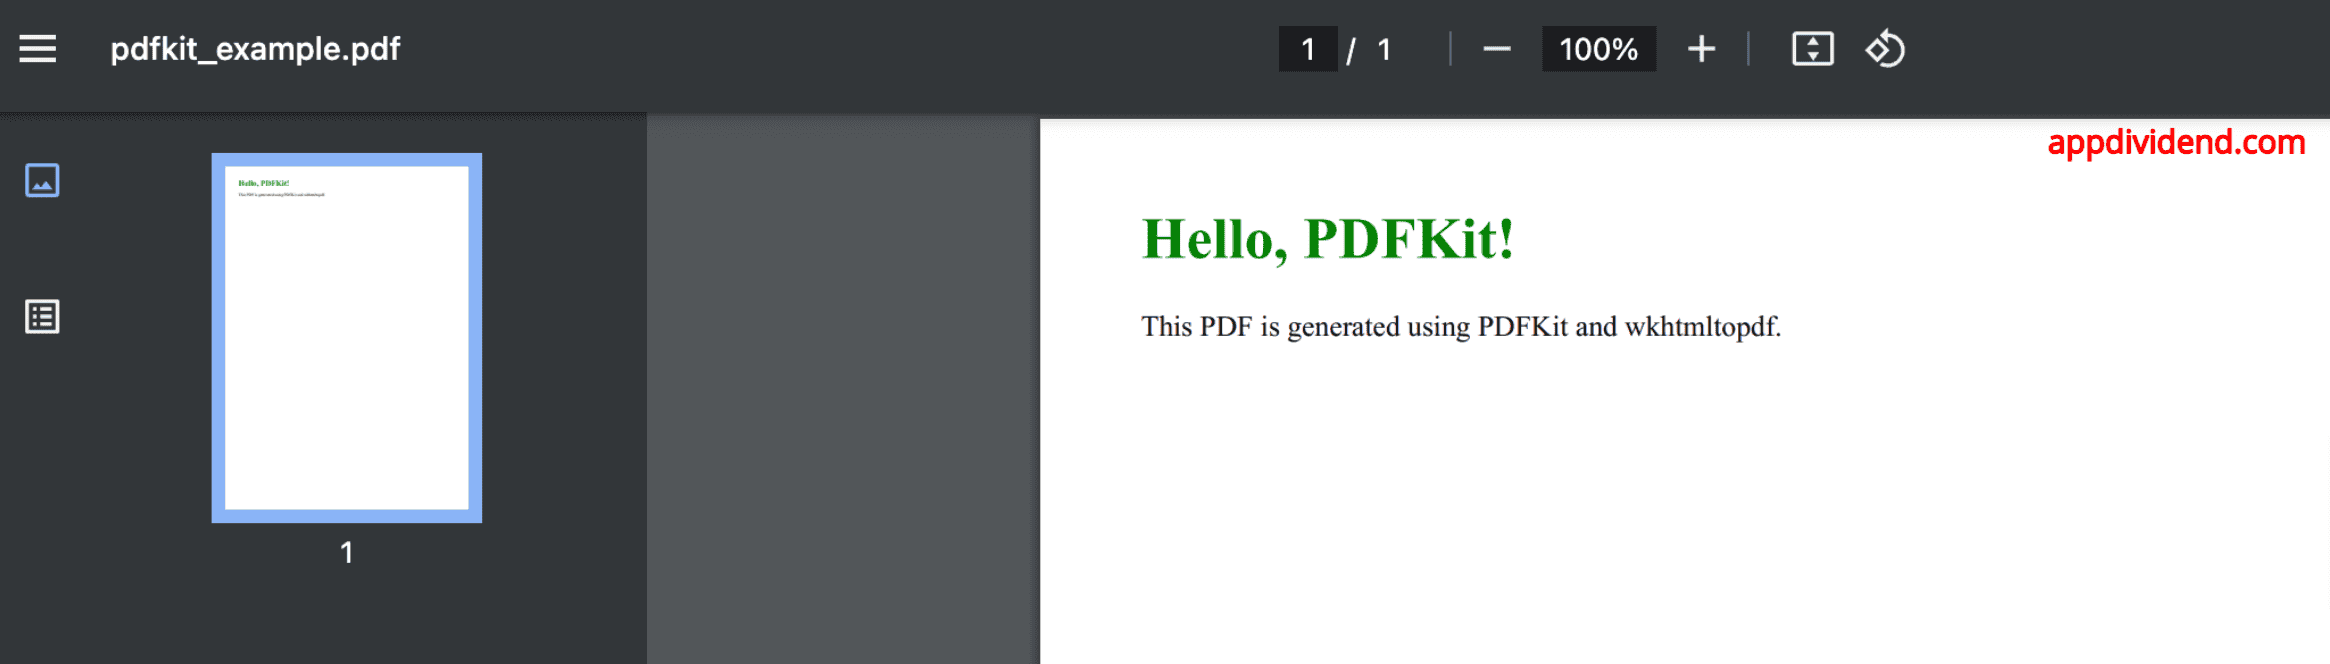
<h1>Hello, PDFKit!</h1>
<p>This PDF is generated using PDFKit and wkhtmltopdf.</p>
</body>
</html>
"""
create_pdf_from_html(html, "pdfkit_example.pdf")
Output
That’s all!